Now that we know how a tool like Ansible can control and automate several features, let us dive into its installation procedure on Linux.
Installing Ansible
First and foremost, we start with the system update to ensure our packages and repositories are up to date for the Ansible’s installation. To update our Linux system, we type.
And once the update is completed, we install Ansible using.
The system will now start installing relevant packages. Once done, it will prompt us to confirm the installation. We may enter “Y” and proceed to complete the installation.
Once installed, we can confirm the installation of Ansible by using the version command:
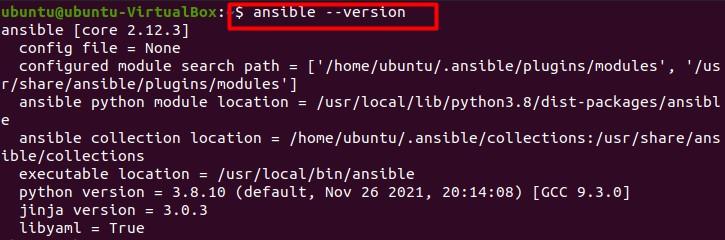
To which the terminal gives us the latest version of Ansible which is installed on our Linux.
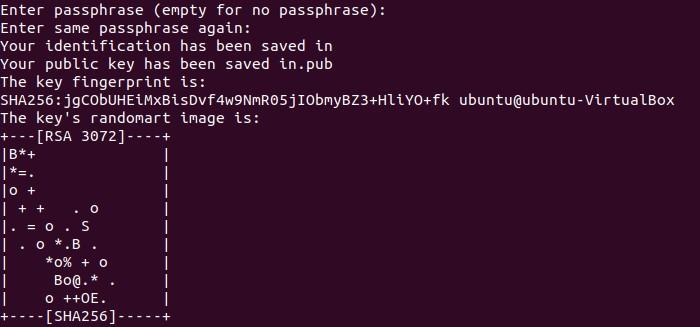
The next step is to generate an SSH key which we can generate by appending the command.

This generates a public-private key pair. The next step is to enter the path where we will save our key. Once done, the system will prompt us to enter a passphrase to allow entry. We enter and confirm the passphrase. Once done, the output will be displaying the fingerprint of the key and a 2048-4096-bit RSA key.
Now that we have successfully generated our key, the next step is to configure our hosts to automate Ansible on Ubuntu.
We start the configuration by updating the system once again using:
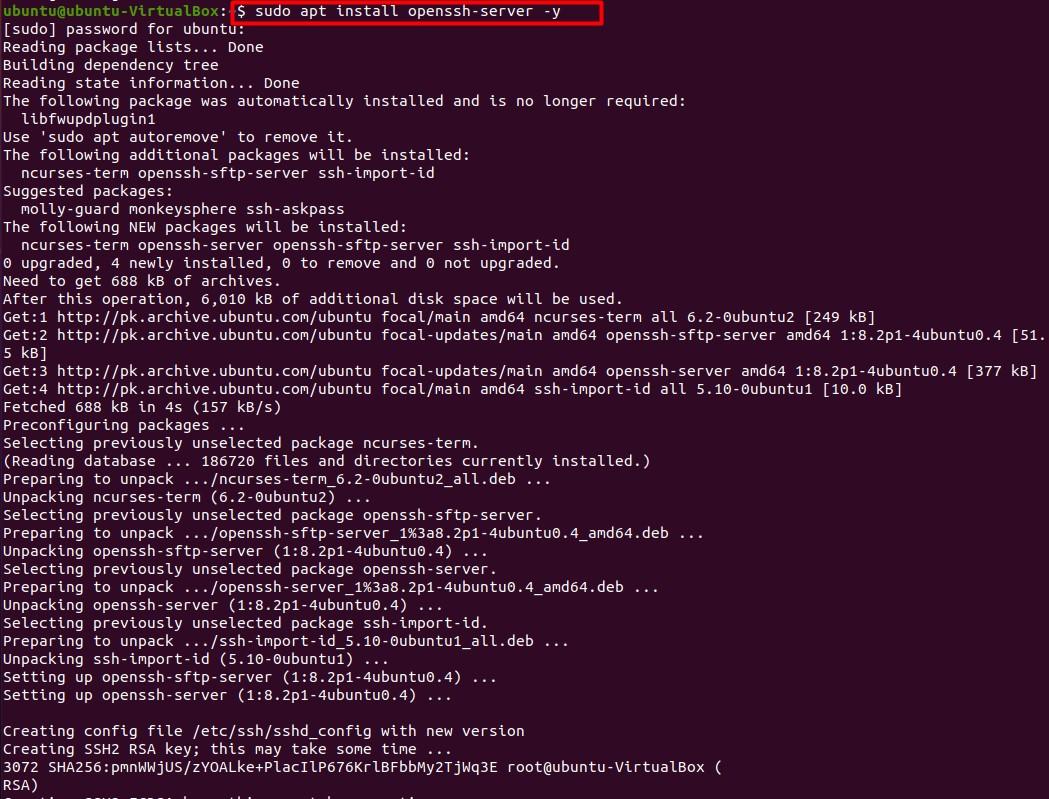
Then, install the open SSH server by executing the following command.
Once openssh is installed, we check the status of its activity by using the command below.
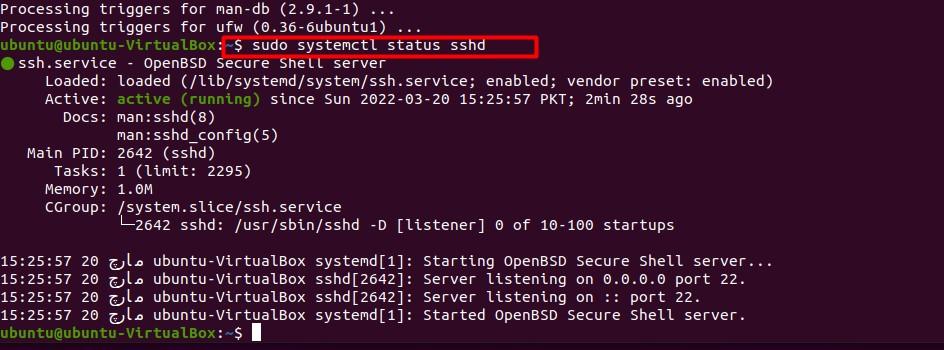
Once we press Enter, we should see the status as “active” and run to ensure the operation was a success.
In case openssh is disabled, we can always enable it as follows.
Next, we proceed to firewall configuration, so SSH server access is allowed. To do that, we type:
We should see a “rule added” string. This means the firewall was configured successfully. Now, we add a user to Ansible.

Next, we fill in the credentials asked, we may also press enter to keep the default values. This includes password/passwordless access and the copying of SSH public key to Ansible host using.
![]()
Which is the IP address of the Ansible host.
Testing Ansible
Ansible can be tested by creating a project directory, accessing it using the command line, and connecting a host file using the following set of commands.
$ cd ~/ansible-demo/
$ nano hosts
(Opens the nano editor. You may use the editor of your choice as long as it supports the YAML format).
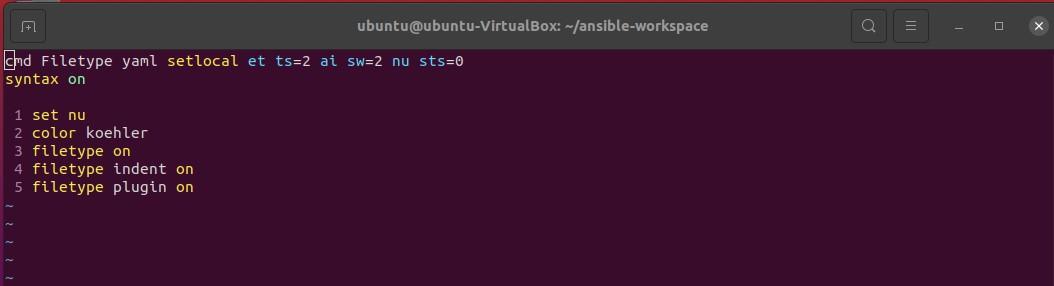
Once the nano editor is open, Ansible will use the host contained in this file to SSH. Now, we type in the IP address of the host we want to ping in the nano editor.
If a success message is displayed, that means we have successfully managed to set up Ansible and can now automate our tasks using the right set of commands or modules.
Automate Multiple Hosts
To automate more than 1 host, we need to repeat the same procedure for all hosts individually. Also, it should be noted that all Ubuntu hosts that have Ansible installed and need to be configured need to have their SSH keys along with SSH package.
The Pause Module
The Ansible pause module can pause operations for a certain period and allow users to perform certain operations on the automated tasks. Its main parameters include:
Minutes: describes how many minutes to pause.
Seconds: to describe seconds for pause.
Prompt: prints a string with certain information to display while the pause module is active.
The “*” in the entries describes default operation and negative entries in minutes or second slot results in a pause of 1-second duration.
Examples
hosts: all
vars:
wait_seconds: 20
tasks:
- name: pause for {{wait_seconds | int }}
ansible.builtin.pause:
seconds: "{{ wait_seconds | int }}"
- name: message
ansible.builtin.debug:
msg: "paused"
Here, the registry in Ansible is named “pause module demonstration” and all remote hosts are to perform the action of “pause” for 20 seconds as specified in the script above.
Of course, the built-in pause module is used for this task.
Conclusion
In this article, we went over Ansible, an automated task manager that has various features and can help us in better management of our Linux system. We went over its installation, configuration, and testing. We also went over the pause module and its working. We hope any query you had regarding Ansible and its pause module is cleared after reading this article.