How to add a user on Linux Mint using terminal
To add a user, follow the below-mentioned general syntax.
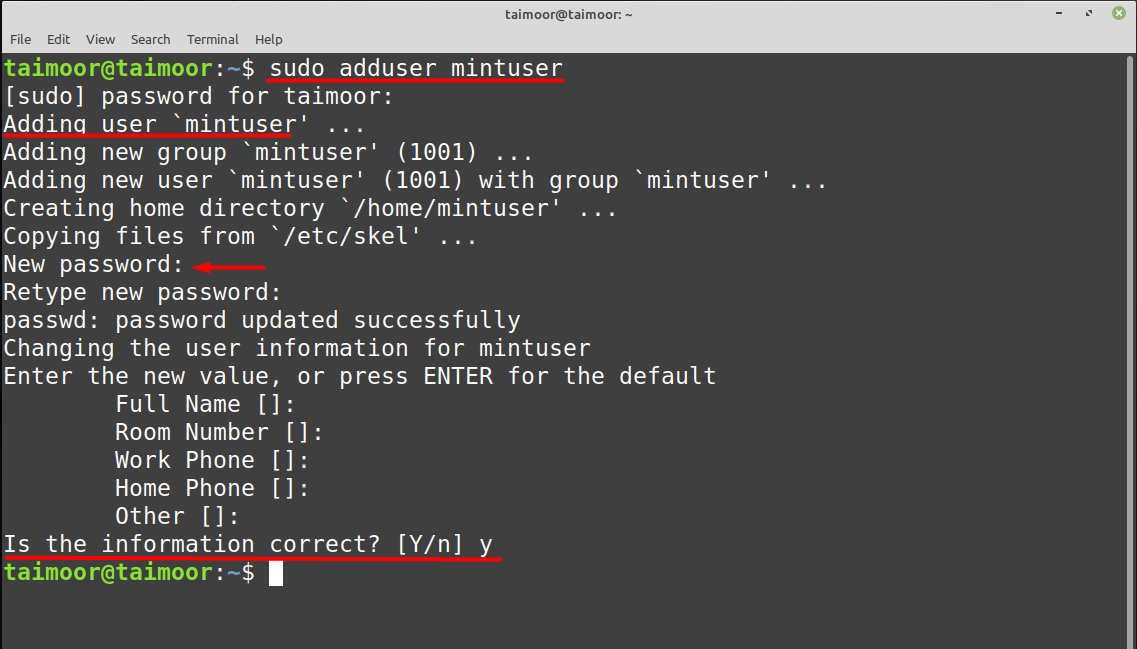
Replace the <username> in the above syntax, in our case, we are creating a user with the name “mintuser” by typing.
This command creates a user with a mentioned name and will also ask about the other details that you can see in the image below.
If you want to access the new account then you can do that by typing.
For example, in our case, it will be:

This user doesn’t have any privileges on the Linux Mint OS, and you cannot update or install the new application by using it, and you will get an error as shown below.

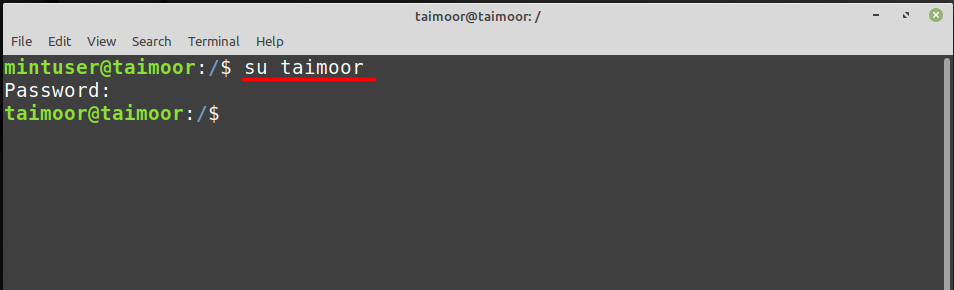
So, to give access to this user, you need to switch to the root user (the user that has all the access privileges). In our case the root user is “taimoor”:
The execute the command mentioned below to give sudo privileges to the new user “mintuser”:
This command will provide all the privileges to the newly created user. You can also verify this by executing any command in the terminal, as displayed in the image below.

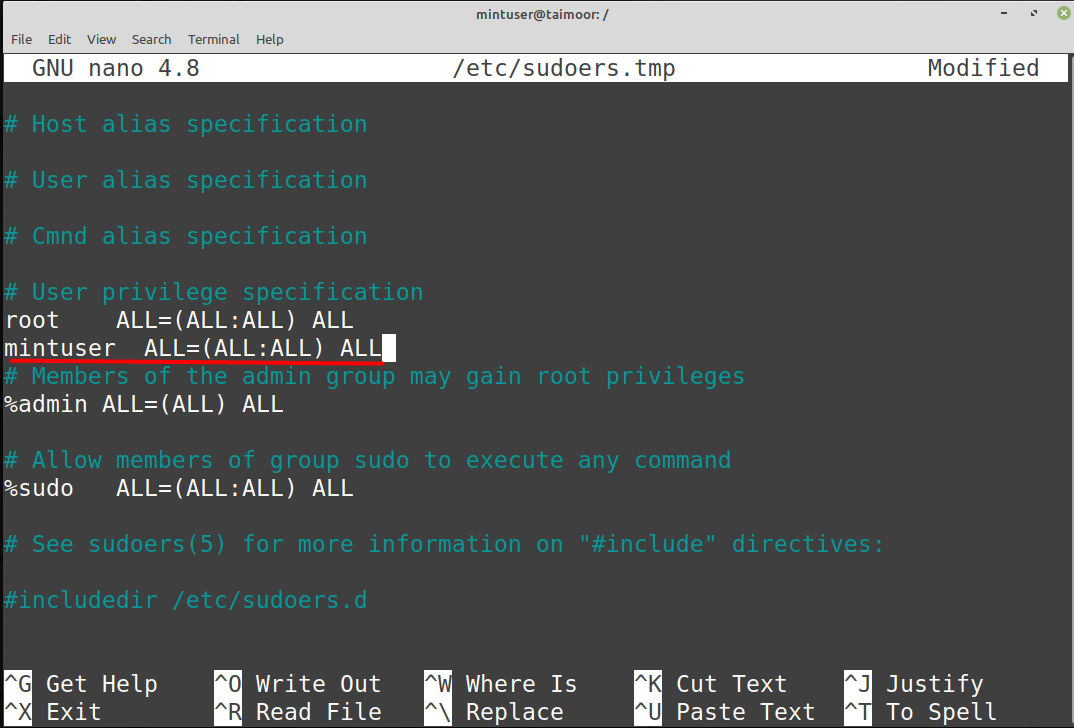
There is also one other method to give privileges to the newly created user by typing.
This will open a new file in a default text editor like in our case, it’s a nano editor. You need to write the following line mentioned in the nano file editor and save the file to make this work.
How to add a user on Linux Mint using a GUI
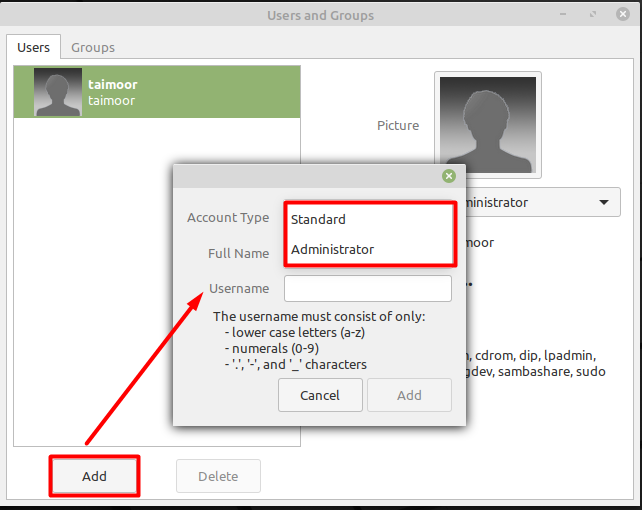
You can also add a user without accessing a terminal, and for that, you need to click on the Linux Mint ”Menu” that you can find on the bottom left of the screen search and select the option of “Users and Groups” as shown below.

After completing the authentication process, you will see the new window, as shown below. From this window, you need to click on the “Add” button, where you will see the new dialogue box asking you whether you want to create a “Standard” user with limited rights or create a new user with “Administrator” rights. It will also ask you to set the name of the user that you can set as per your likings, and as in our case, we have set the name to “mintuser”:
By default, there will be no password set for the new user, but you can create one by selecting the user, and then on the right side, you will see the option of “password”.

After setting the password a new user will be created.
Conclusion
It is sometimes important to add numerous users to the same system in order to save money on resources. The administrator should be in charge of it entirely, deciding how many users should be allowed and what privileges each should have, otherwise the system can face some severe difficulties. This article has explained in detail how you can add a user on Linux mint. There are two ways to do that. The first one is by using a terminal and the second way is by using a graphical user interface (GUI).