Install Redis on CentOS 8
Redis is available in the official repository of CentOS 8 and can be installed quite easily as such. There are no significant obstacles to overcome during the installation process. Simply follow the procedure given below to install Redis on your CentOS 8 system.
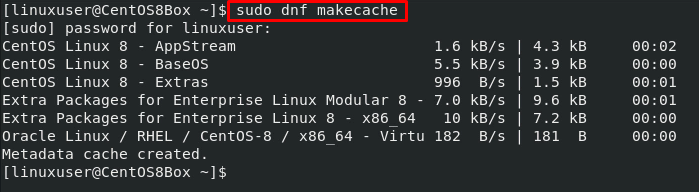
As always, it is a good practice to update the dnf repository cache. Issue the command given below to update the dnf repository cache:
After updating the repository cache, upgrade the system’s packages, as well, by entering the command given below:

Now, the system is up-to-date and ready to install Redis. To install Redis on CentOS 8 using the DNF package manager, issue the following command:
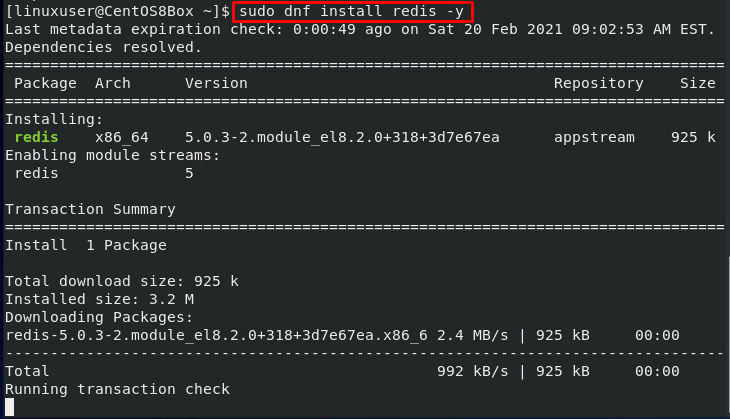

And that is it; version 5.0.3 of Redis is now installed on the CentOS 8 operating system. Next, we will configure Redis on CentOS 8.
Configure Redis on CentOS 8
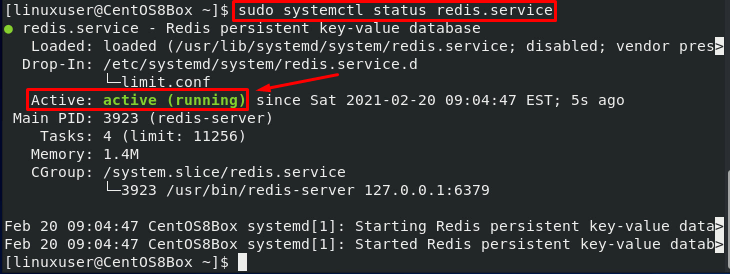
To configure Redis on CentOS 8, first, the Redis service must be running on the CentOS 8 system.
First, check the status of Redis service by issuing the command given below:

If Redis is inactive, then start the service by entering the following command:
![]()
Redis may not be enabled on system startup. Enable the Redis service on boot by entering the command given below:
After successfully starting the Redis service, you can confirm that the service is active by pinging it using the Redis CLI command-line tool.

If Redis responds with the output “PONG,” this means that the Redis service is running perfectly fine. Now, we can configure the Redis server.
All the configurations can be performed in the “redis.conf” file located in the “/etc” directory. Edit the configuration file in the nano editor using the following command:
In this configuration file, to bind Redis to another private IP address, find the line starting with bind, uncomment the line if it is commented, and provide the IP address in place of ‘127.0.0.1.’

After completing the configuration, restart the Redis service. Otherwise, the changes will not be applied.

Now, we will configure the firewall to allow traffic from port 6379.
First, add the Redis zone.

After adding the new zone, add port 6379.

Now, add the private IP address that you want to allow to pass through the firewall.

Finally, reload the firewall.

That is it. The firewall is configured.
Conclusion
Redis is a powerful key-value data store. This article showed you how to install and configure Redis on the CentOS 8 operating system. You also learned how to configure Redis to set it for remote access, as well as how to configure the firewall for Redis.