Installation of TeamViewer on CentOS 8
Installing TeamViewer on CentOS is pretty simple. Just follow the steps given below to install TeamViewer on your system.
Step 1: Download TeamViewer RPM File
You can download the TeamViewer RPM file from its official website by visiting the following link:
https://www.teamviewer.com/en-us/download/linux/
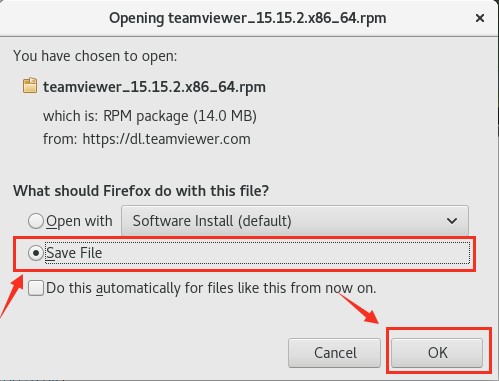
Click ‘x86-64bit’ to download the 64-bit RPM package for CentOS 8, or select ‘x86_32bit’ on the base of your operating system.
Save the RPM file and press “OK” in the prompt box.
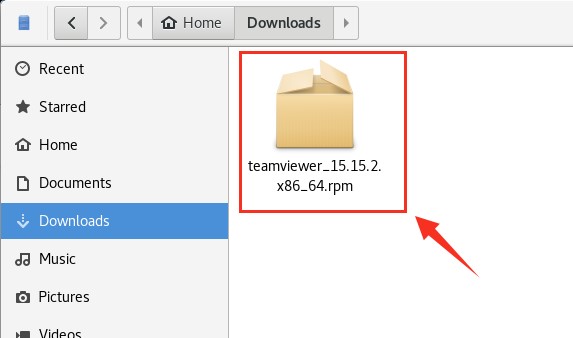
The Teamviewer RPM package will be downloaded in the Downloads folder.
Step 2: Enable EPEL Repository
Fire up your terminal and navigate to the Downloads directory.
Now, before starting the installation process of TeamViewer, we need to enable an EPEL repository on our CentOS 8 machine. First, issue the following command to enable the EPEL repository.
Next, update the system’s DNF repository cache.
Step 3: Install TeamViewer Using RPM File
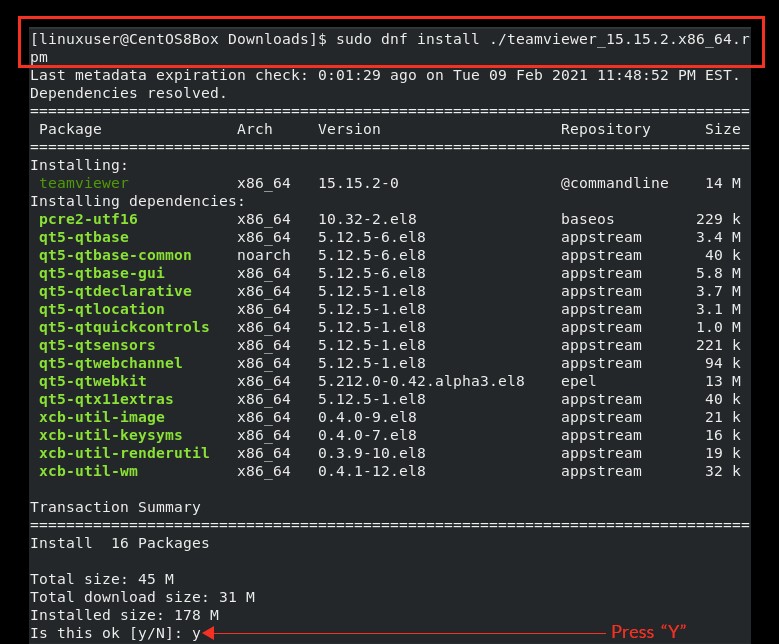
After enabling the EPEL repository, make sure that you are in the Downloads directory. In the Downloads directory, issue the command given below to start the installation process of Teamviewer.
Type “y” to give the system permission to take up the required disk space and continue the installation.
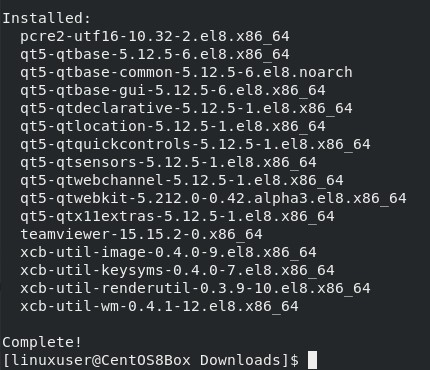
The TeamViewer application has now been installed on CentOS 8. After successfully installing the TeamViewer application on CentOS 8, you can launch the TeamViewer application
Step 4: Start TeamViewer Application
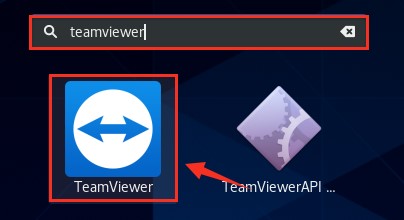
To launch the TeamViewer application, go to Activities and search for “TeamViewer.”
From the search results, select the TeamViewer icon by clicking on it to start the TeamViewer application.
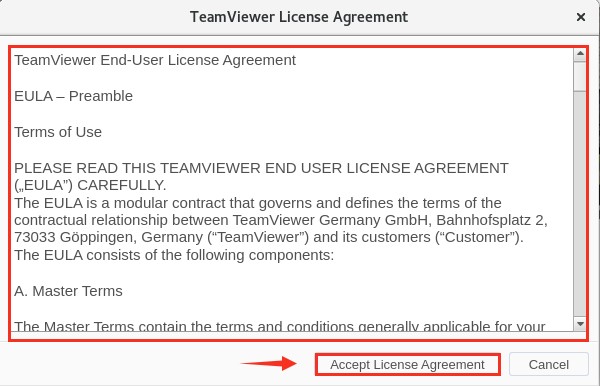
Before starting the TeamViewer application, you will be prompted to accept the License Agreement. Accept the License Agreement and proceed to use TeamViewer.
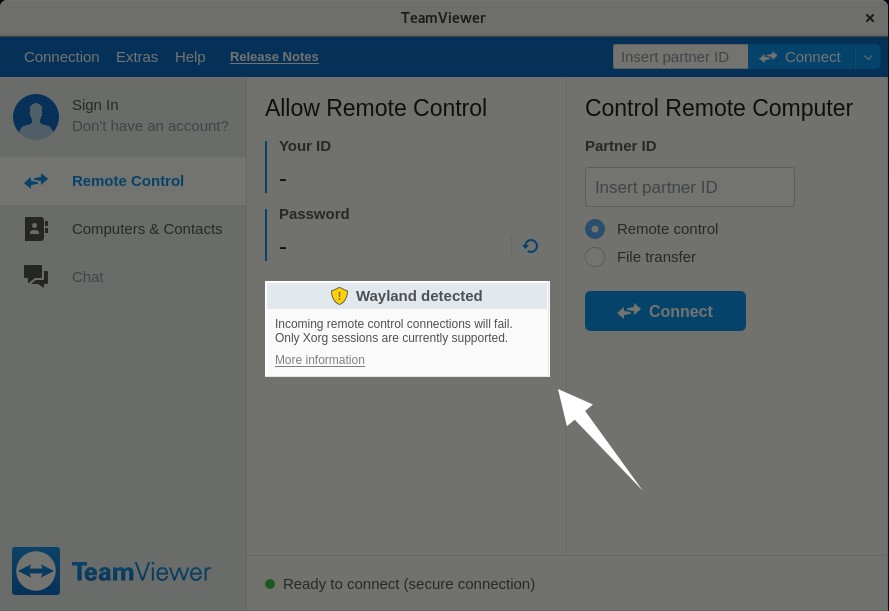
TeamViewer has now successfully started. But, you can see that the application is giving a warning that “Wayland detected” and incoming remote control connections will fail. In the next step, we will fix this warning.
Step 5: Configuring TeamViewer for Incoming Remote Control Connections
Though connecting to other computer systems is possible using TeamViewer, the incoming remote control connections will not be able to access this CentOS machine until you log out from the Wayland session and log in with the X11 display server. To resolve the Wayland detection warning, first, log out from the Wayland session.
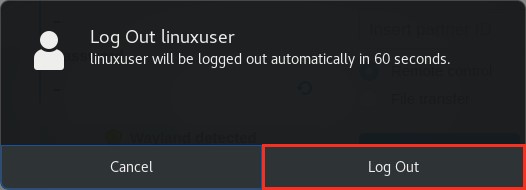
Next, click the “Log Out” option,
And, click the “Log Out” button in the prompt, as well.
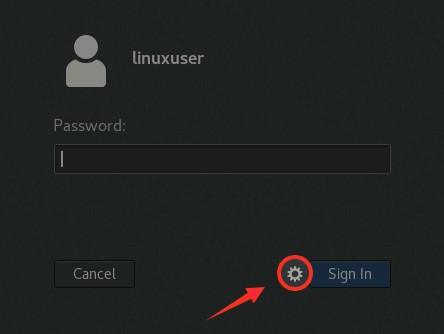
Then, click the “Settings” icon, as shown in the picture above.
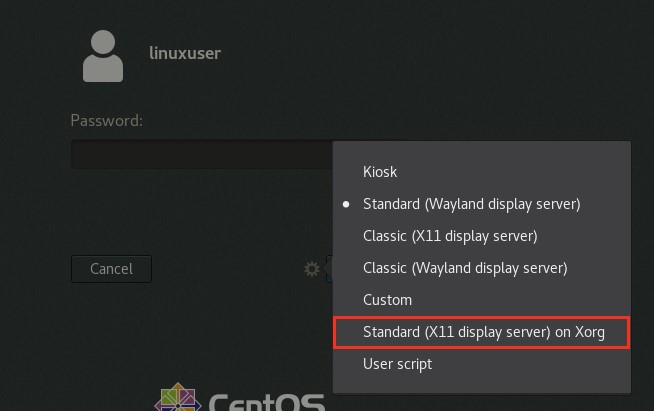
In this menu, you will see options for selecting different display servers. Select the “Standard (X11 display server) on Xorg” option for the modern desktop environment.
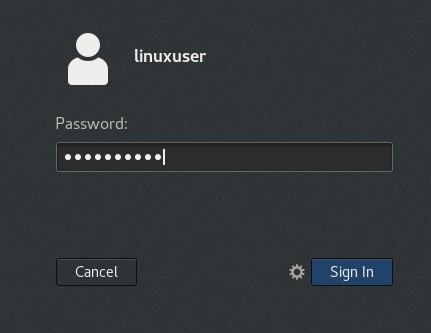
After selecting the display server, log in with your CentOS 8 user credentials, and relaunch the TeamViewer application.
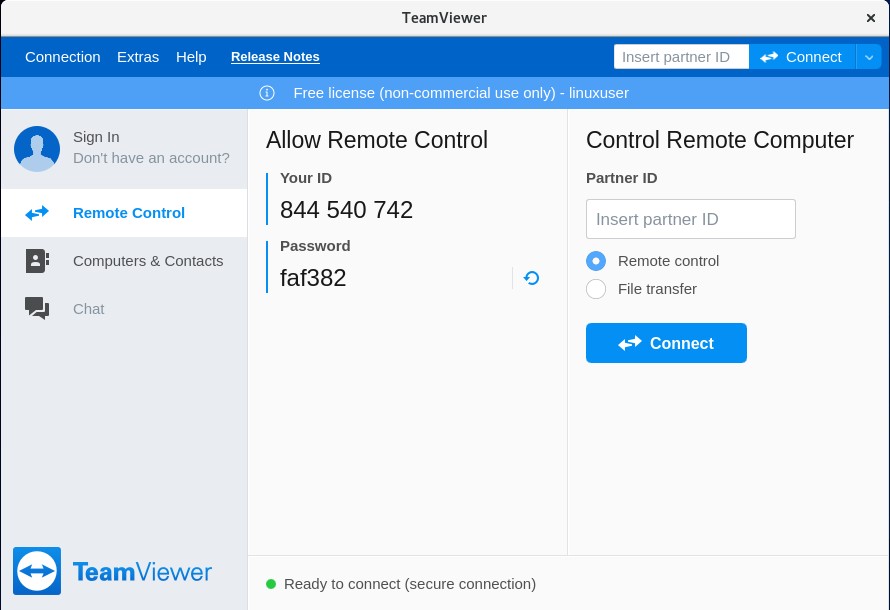
Here, you can see that we have successfully configured the TeamViewer application for remote control connections. Now, we can remotely access the designated CentOS 8 machine.
Conclusion
In this post, you learned how to install the latest version of the TeamViewer application on CentOS 8 by downloading the RPM file from its official website. We also showed you how to configure TeamViewer for incoming remote control connections on CentOS 8 by changing the display server from Wayland to X11.


