In this guide, we will explore installing Redis on Linux Mint.
Redis on Linux Mint
Linux Mint is one of the most popular Linux distros that focuses on being simple and user-friendly. Because it’s based on Ubuntu, Linux Mint takes advantage of the Ubuntu repositories for its packages. Learn more about Linux Mint.
This offers two different options when it comes to installing Redis:
- Installing from the official Ubuntu repo
- Installing from the Redis dedicated repo
- Installing Redis snap
- Building from source
Installing Redis From the Ubuntu Repo
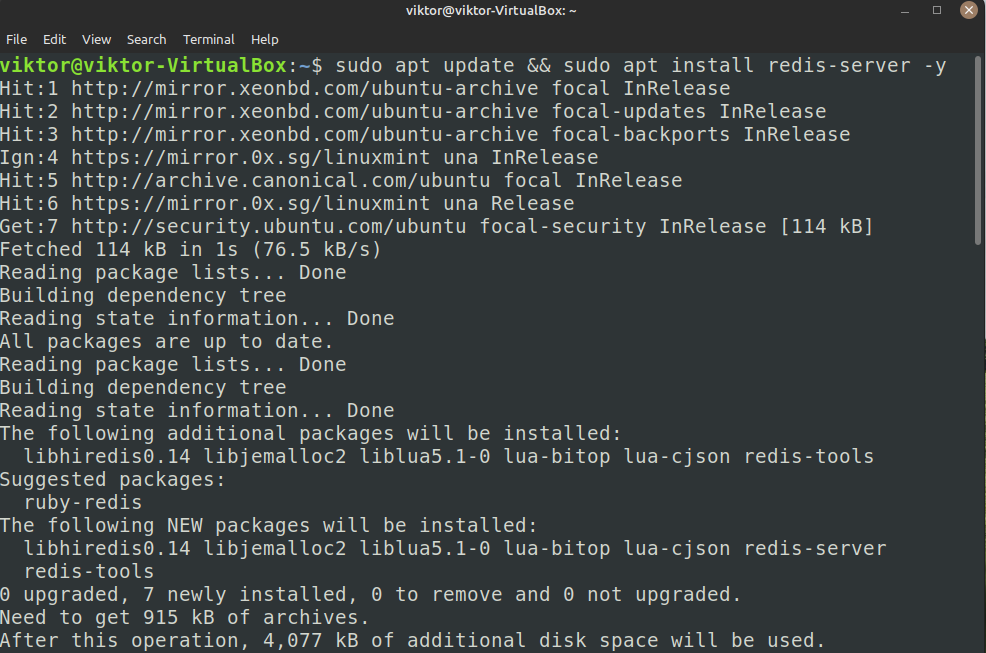
This is the easiest way of installing Redis. All we have to do is to tell the package manager (APT) to install the Redis package (redis-server).
The command is as follows:
If you prefer to use GUI, then you can also install Redis from Software Manager.
Installing Redis From the Redis Repo
Ubuntu releases package updates after rigorous testing (stability, bugs, and others). In many situations, this adds additional delays before the latest version of the package is available from the repo.
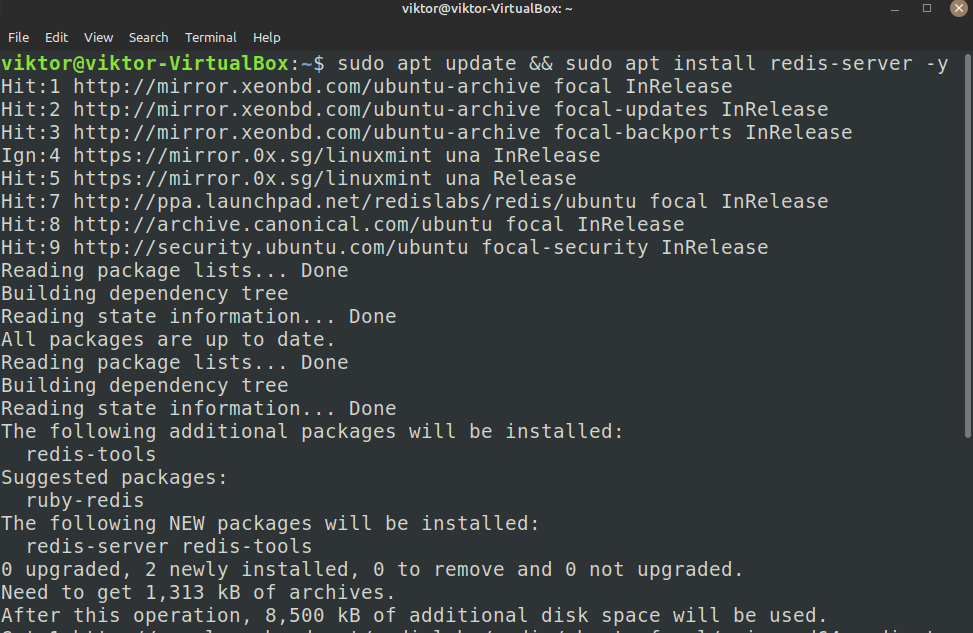
To avoid this release delay, many developers offer third-party repos. In the case of Redis, there’s a dedicated PPA available (ppa:redislab/redis). Run the following command to add the repo:
Update the APT cache and install Redis:
If you added the Redis PPA, then Software Manager should also pick it up.
Installing Redis Snap
Redis is also available as a snap package on Snapcraft.
This method comes with a couple of advantages:
- No need to worry about having the latest version of Redis. Snappy (the snap package manager) keeps installed snaps updated.
- No need to configure additional repositories.
Snap comes pre-installed on Linux Mint. Refer to the official documentation if you need help installing snap on Linux Mint.
The following command will install the Redis snap package:
Building and Installing Redis From Source
Redis is open-source software. The source code is available under the BSD license. We can compile and install Redis from the source code with the right tools.
However, this approach comes with some downsides. You have to manage the installation manually. It’s only recommended for developers and advanced users.
First, install the necessary tools and libraries needed to compile the source code:
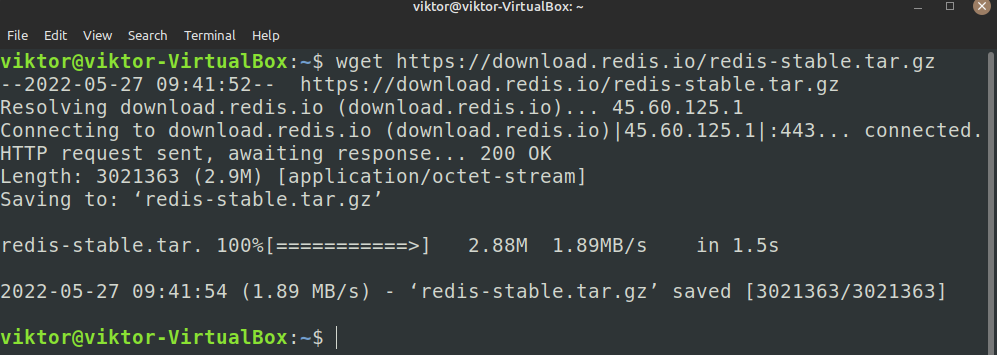
Grab the source code of the latest stable release:
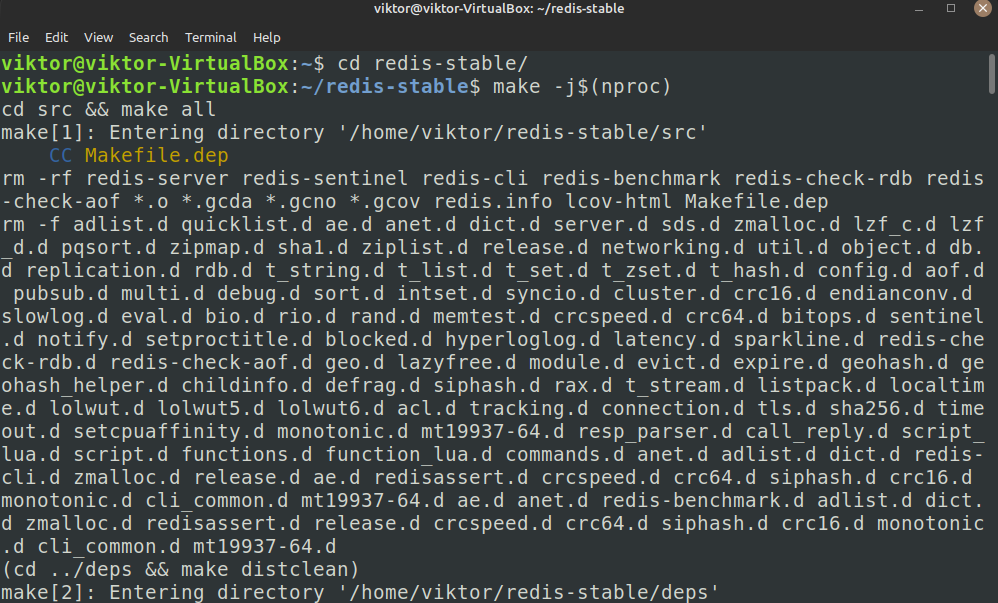
Compile the source code:
$ make -j$(nproc)
The following command will run some tests to verify if the compilation was successful. Note that the test requires an additional dependency (tcl).
If the testing went successful, we can now install it. Run the following command:
If you decide to uninstall this installation, use the following command:
Configuring Redis
Before we start using Redis, there are some configurations that need to be done.
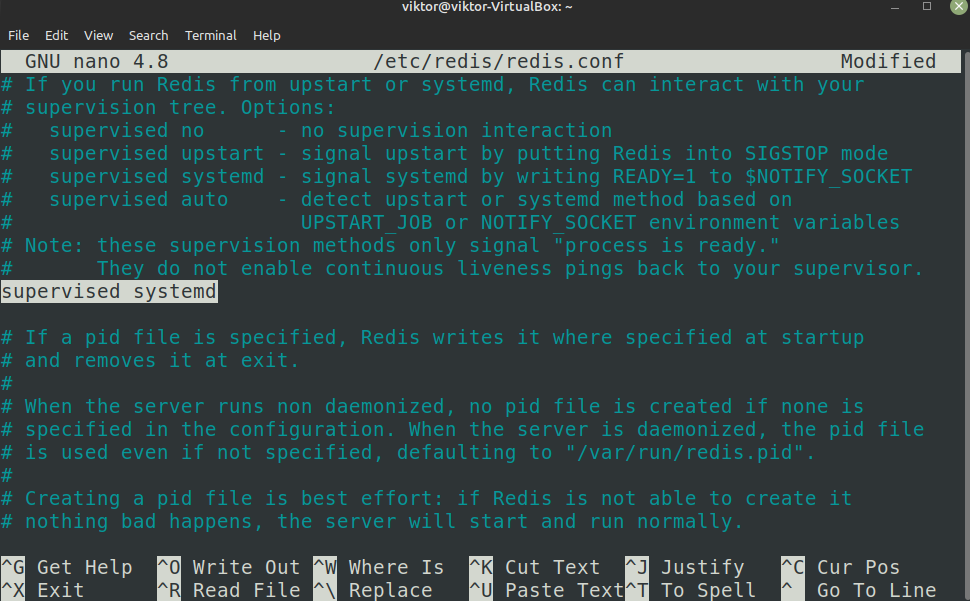
We want systemd to manage the Redis service. It requires some tweaking in the Redis configuration file (redis.conf). If you installed Redis from the source, then redis.conf will be located in the source directory. Otherwise, it will be located at the following location:
Change the value of the directive supervised to systemd:
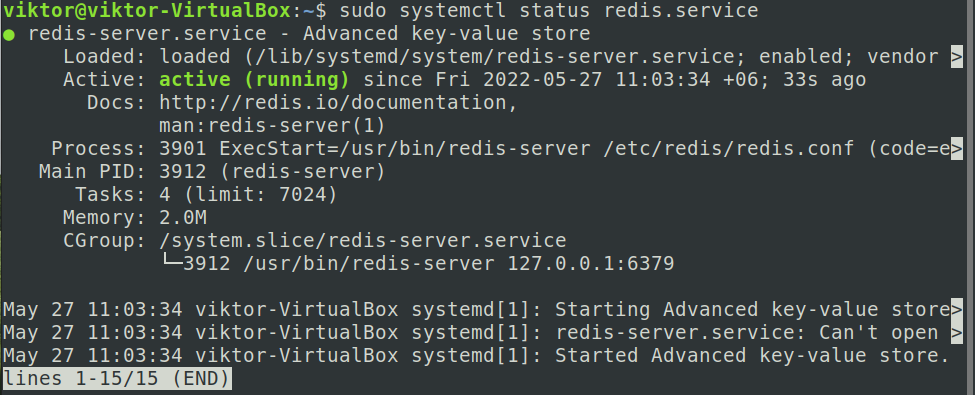
Save the file and close the editor. Restart the Redis service to take the change into effect:
Finally, check the Redis service status:
Verifying Redis Installation
This step will perform some basic Redis tasks to verify if the installation procedure was successful.
Launch the interactive Redis shell:
Use the PING command to test the server connection:
Next, we need to test if Redis can store key-value pairs. We will register a key test with the value “the quick brown fox”:
Try retrieving the value of the key:
Final Thoughts
This guide explored multiple ways of installing Redis on Linux Mint from different sources. While it’s directly available from the official package repo, Redis also has a dedicated PPA. Alternatively, we can also install and use Redis as a snap package. For advanced users and developers, Redis can also be installed from the source code.
Interested in learning more about Redis? Check out the Redis sub-category for more Redis guides, for example, using the Redis CLI, Redis with LUA scripting, partitioning, etc.
Happy computing!

