How to Install gThumb on Linux Mint 21
gThumb is developed by a team of volunteers and is released under the GNU General Public License (GPL) and there are two ways to install it on Linux Mint which are:
Using Apt Package Manager
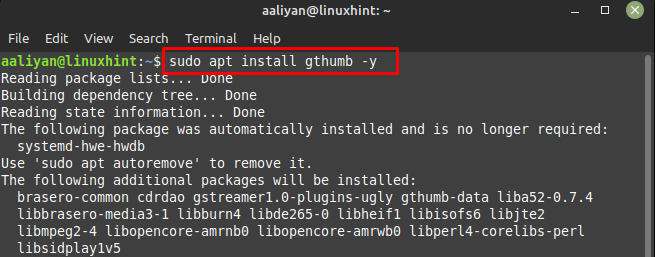
For the users who have firm grip on using Linux commands and have sound knowledge of them then try this method of installing gThumb by executing:
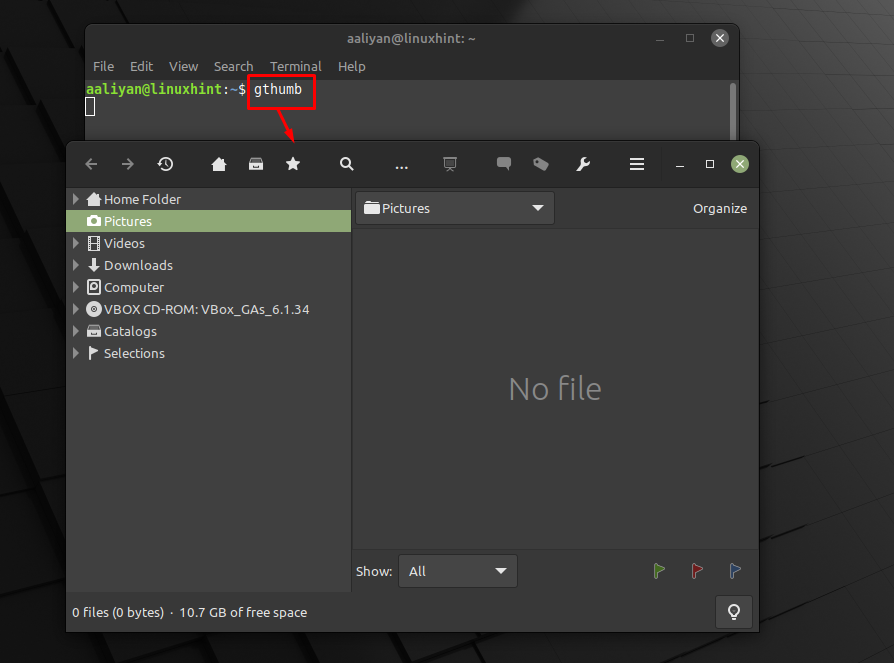
Now run the gThumb image viewer and browser through the gthumb terminal command:
Using Linux Mint Software Package Manager
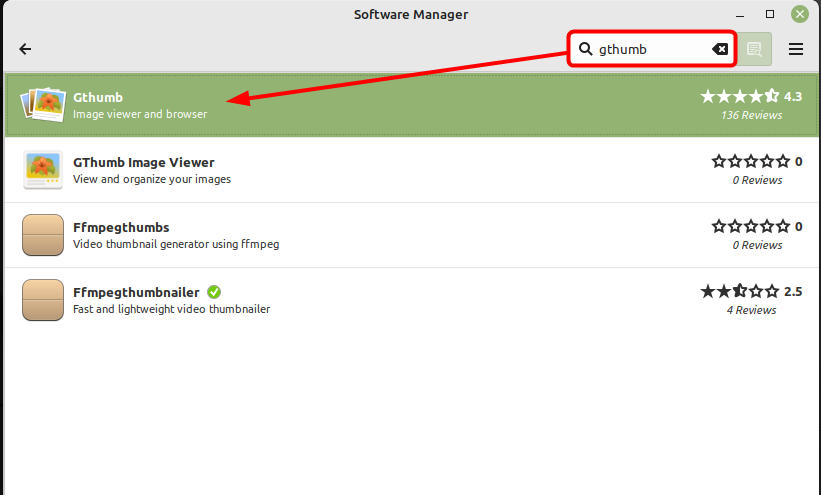
Another way to get gThumb on Linux Mint is by installing it through Software Manager and for that just search for gThumb its search bar and click on the first option that appears in the search:
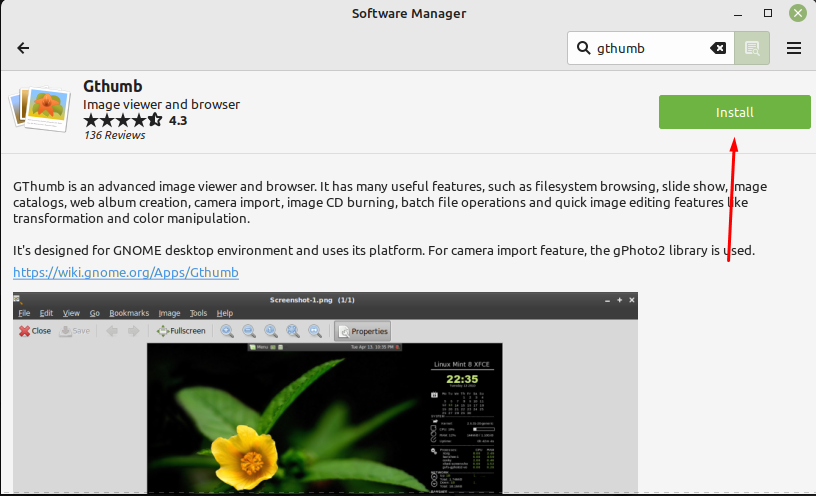
Next to install it on Linux Mint click on the green install icon and wait for few minutes:
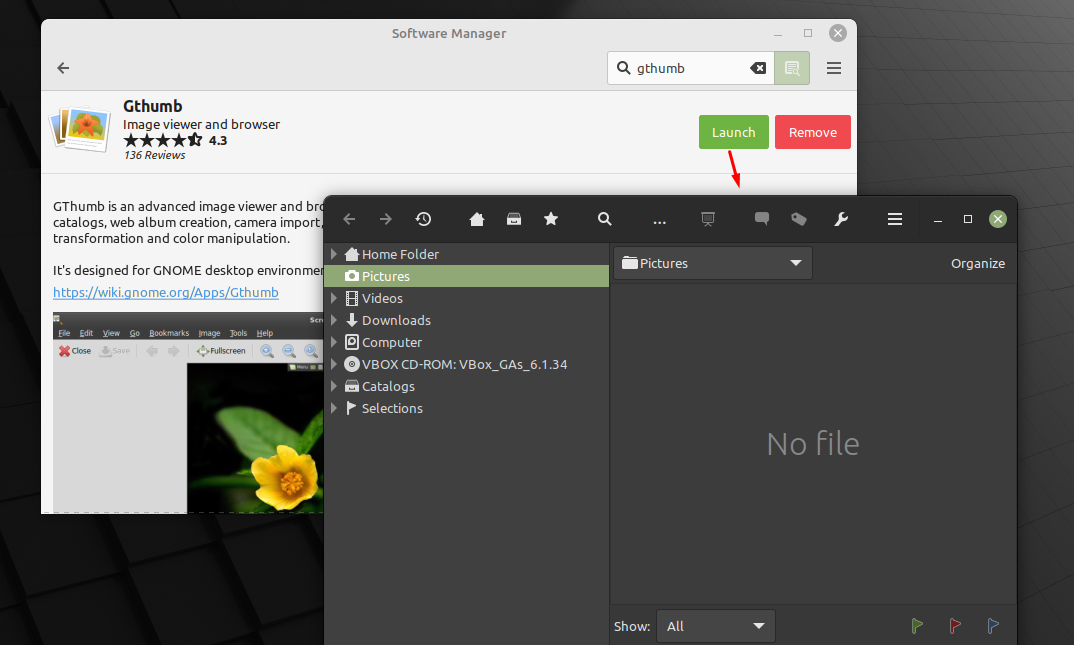
Once the application is installed correctly run by clicking on the Launch button at the top right side of the screen:
Getting Started with gThumb on Linux Mint 21
gThumb provides a range of features for viewing, organizing, and editing photos and other images, including the ability to view images in a variety of formats, create and manage albums, tags, and ratings, perform basic image editing tasks, and import and export images. So here is the getting started guide that you need to know in order to use this application effectively:
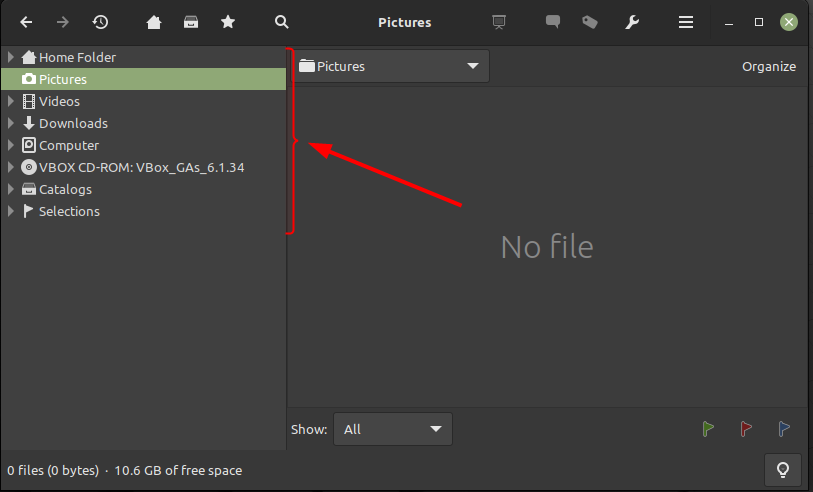
i: On the left side there are all the folders on the Linux system which you can access to view images:
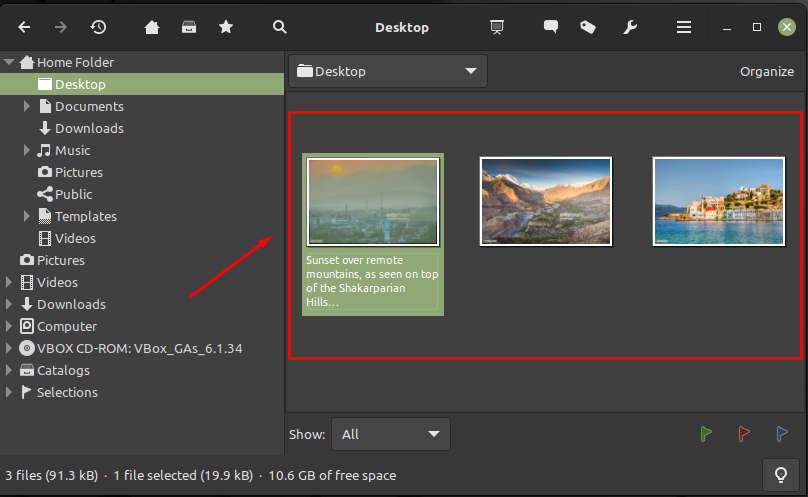
ii: Once you have selected the respective directory containing the images, they will appear on the right side in the application:
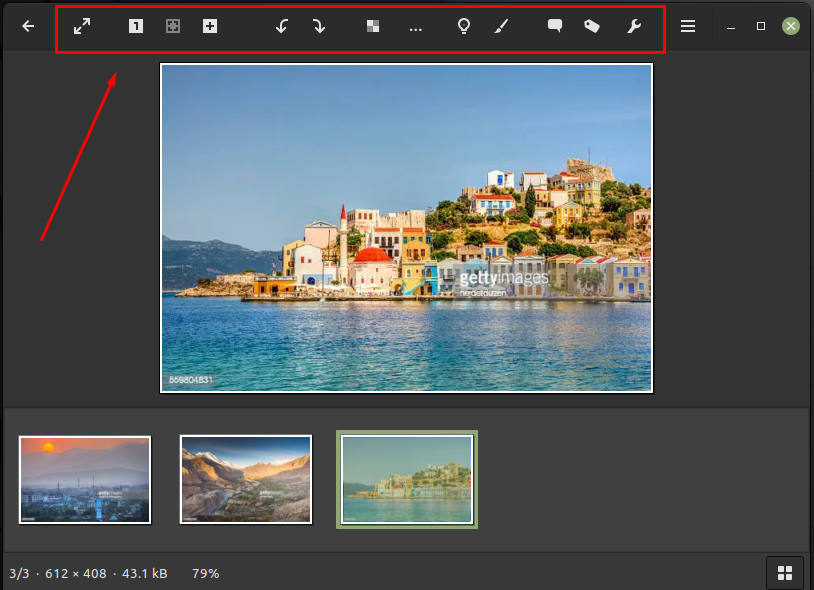
iii: Select the image you want to view and edit; the image viewer along with some editing options will open:
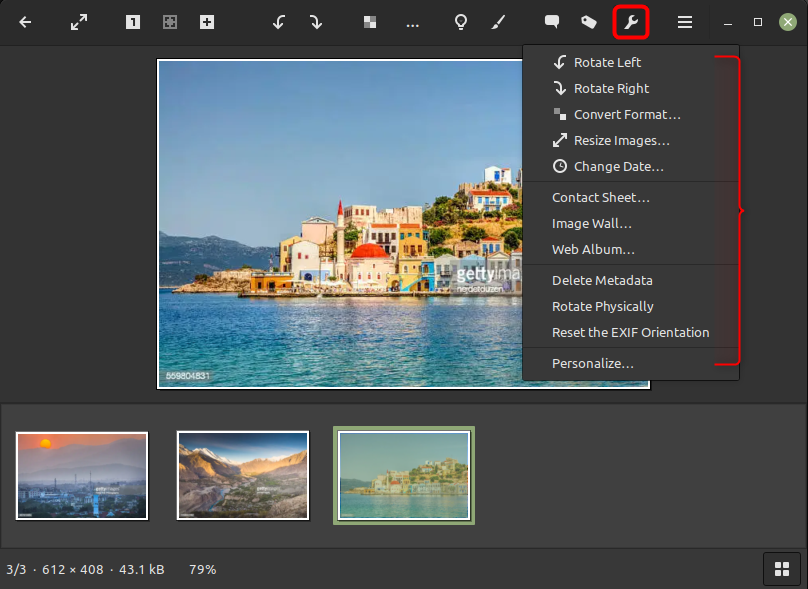
iv: To either rotate the image or to convert it to any desirable format click on the tuning icon; there are some other useful options as well like personalization managing meta:
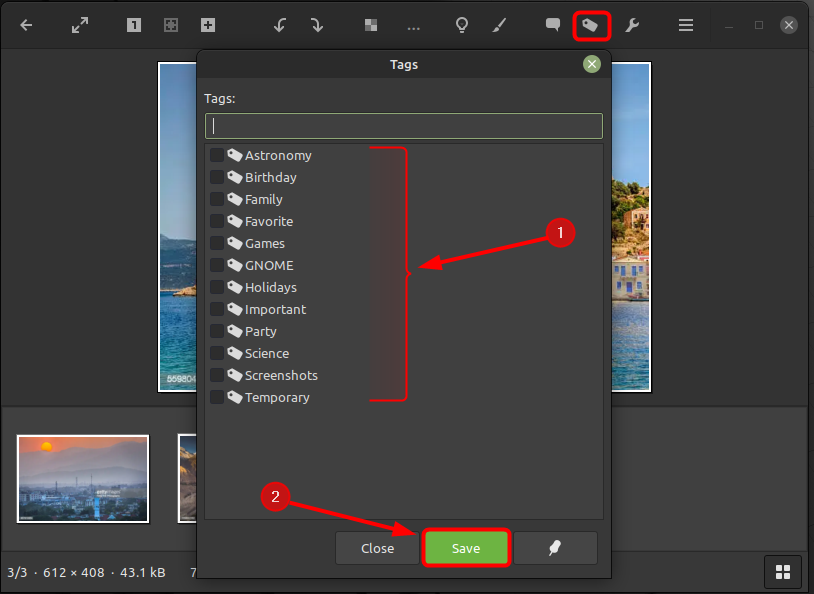
v: Next there is the tag option for image as one can label the viewing image based on the tags given in the drop-down list, once you have selected the tag click on Save to apply the changes:
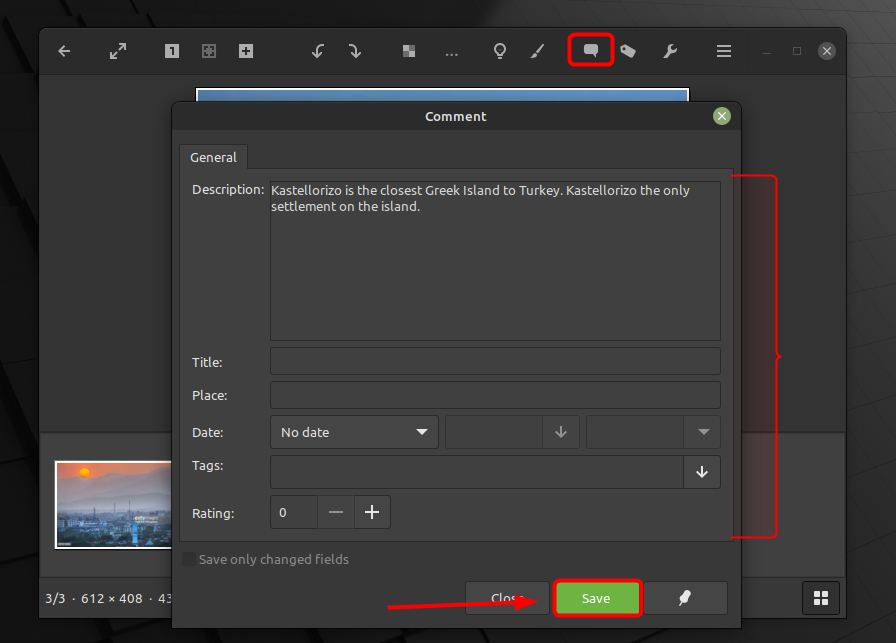
vi: The next icon is about adding the comments which include description of the image, its title, place where the image is taken along with date, after adding relevant details click on Save to apply the changes:
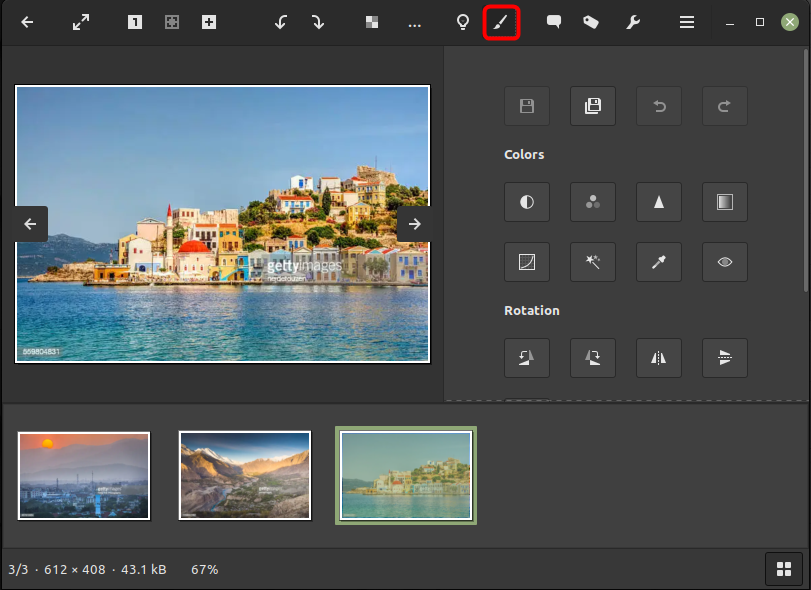
vii: The next brush icon gives a drop-down menu that comes with a number of editing features like managing curves, brightness and contrast of the image:
So, this was all about some of the major features that a beginner should know.
How to Remove gThumb from Linux Mint 21
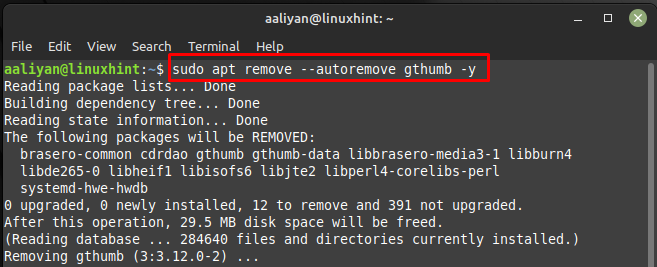
Through Terminal: To remove gThumb using the terminal command execute:
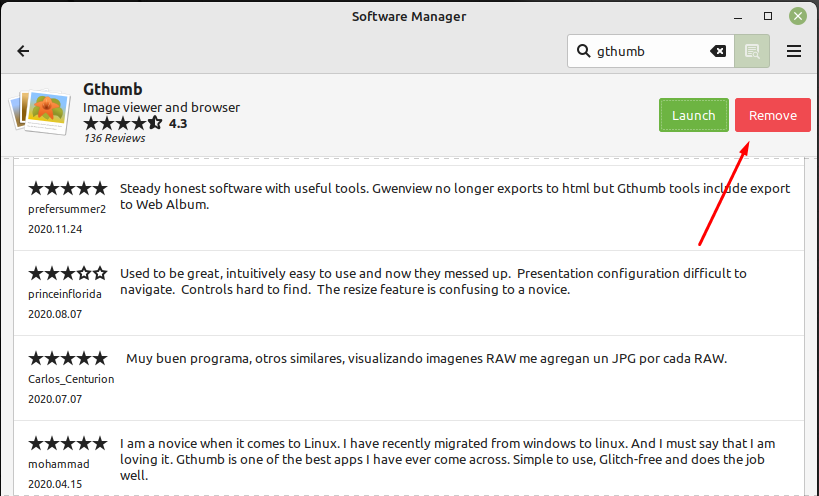
Through Software Manager: If you have installed gThumb Through Linux Mint Software Manager the simply go search for gThumb in it and the click on the Remove button:
Conclusion
The gThumb is a Linux based image viewer and organizer that provides a number of features for managing, viewing, and editing images. There are two ways to install it on Linux Mint one is by using its Software Manager and the other is by using its default package manager both are given in this guide.

