The learning outcomes of this blog are:
How to Add an input File Type Element in HTML?
The HTML <input> element with the “type” attribute “file” is utilized to make an input element that accepts files.
Let’s check it’s working first.
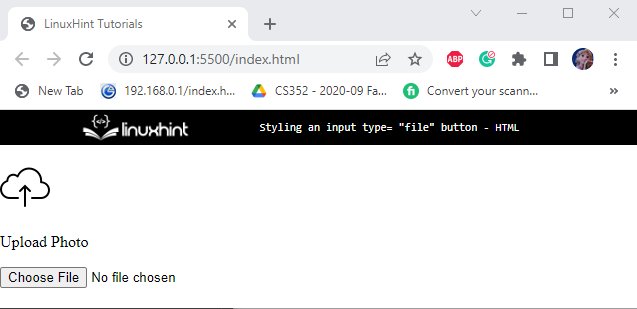
In HTML, add an “<input>” element and associate the “type” attribute as “file” to it:
Output

How to Style an input type= “file” Button?
The <input> element with “type=file” comes with the default style. In the example below, the HTML “<label>” element is utilized to style an input “type=file” button.
In HTML, follow the below steps to create an HTML page:
- Add a “<label>” element along with the “for” attribute and assign it a class “file-style”. The “for” attribute is used to access the <input> tag’s “id” attribute.
- Inside the label element, add the “<img>” tag to embed the image and the “<p>” tag for the paragraph.
- The “<img>” element is added with the “src” and “width” attributes.
- The “src” attribute contains the image’s URL.
- The “width” attribute determines the image’s width:
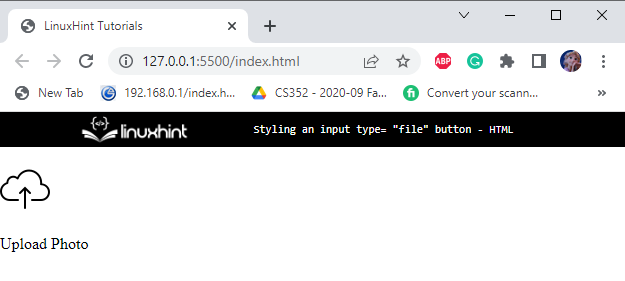
Output
In the next section, the CSS properties we are going to utilize will be discussed.
Style “file” id
display: none;
}
To hide the ordinary input file element, the “display” property is set as “none”.
Output
Style “file-style” label class
To access the label element, utilize the “.file-style” class and apply the below-provided code:
font-family: 'Trebuchet MS';
width: 400px;
display: block;
background-color: #f5f4f4;
margin: auto;
cursor: pointer;
text-align: center;
padding: 20px;
border-radius: 15px;
border: 2px dashed #cdc8c8;
}
In the above-mentioned code, the “<label>” is styled through following CSS properties:
- “font-family” sets the font style.
- “width” determines the “<label>” element’s width.
- “display” property adjusts the “<label>” element’s layout. The value “block” will take the full width.
- “background-color” applies the color to the “<label>” element’s background.
- “margin” property adjusts the space around the element.
- “cursor” defines the mouse cursor style as a “pointer” when pointing to the element.
- “text-align” identifies the element’s text alignment.
- “padding” determines the space around the element content.
- “border-radius” makes the element’s edges round.
- “border” adjusts the element’s border by defining the values for the border’s width, style, and color.
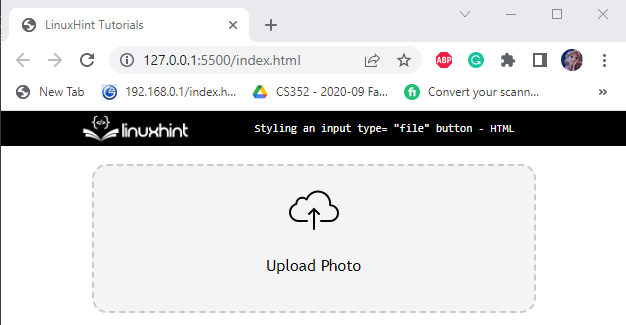
The below image displays the output of the above-stated code:
Style “file-style” class on hover
background-color: rgb(228, 213, 213);
}
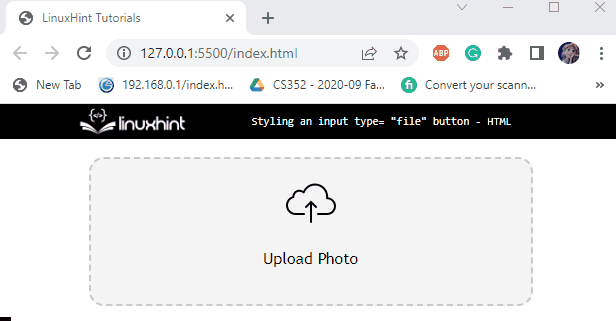
The “:hover” is a pseudo-class that is utilized to apply the hover effect on the element. In our scenario, when the mouse cursor points to the element, the background color of the element will be changed.
Output
We have taught you how to style an input type = “file” button in HTML.
Conclusion
The HTML “<label>” element is utilized to style the input element with the “type=file” button. The label tag defines the “for” attribute that is used to access the “id” attribute of the input tag. After that, the CSS properties such as border, background-color, cursor, padding, and many more can be utilized to style the input “type=file” button. This blog guided related to styling an input type=“file” button.


