Installing uGet on Linux Mint 21
There are two approaches offered by the Linux system to install uGet download manager on Linux Mint 21 system:
1: Installing uGet via Terminal
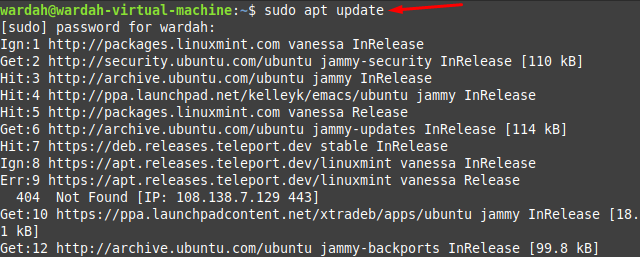
To install the uGet using the terminal approach, first update the system to let refresh all packages list. It will help the system to install the latest release of the required application:
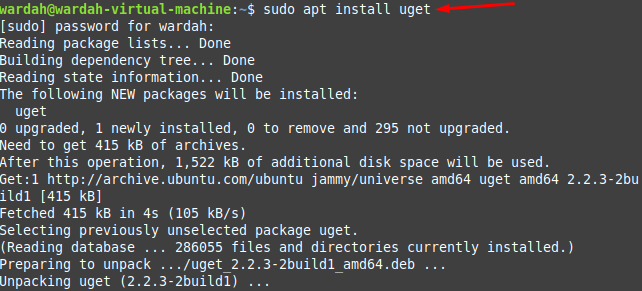
Install the uGet application on Linux Mint 21 system by executing the mentioned command in the terminal:
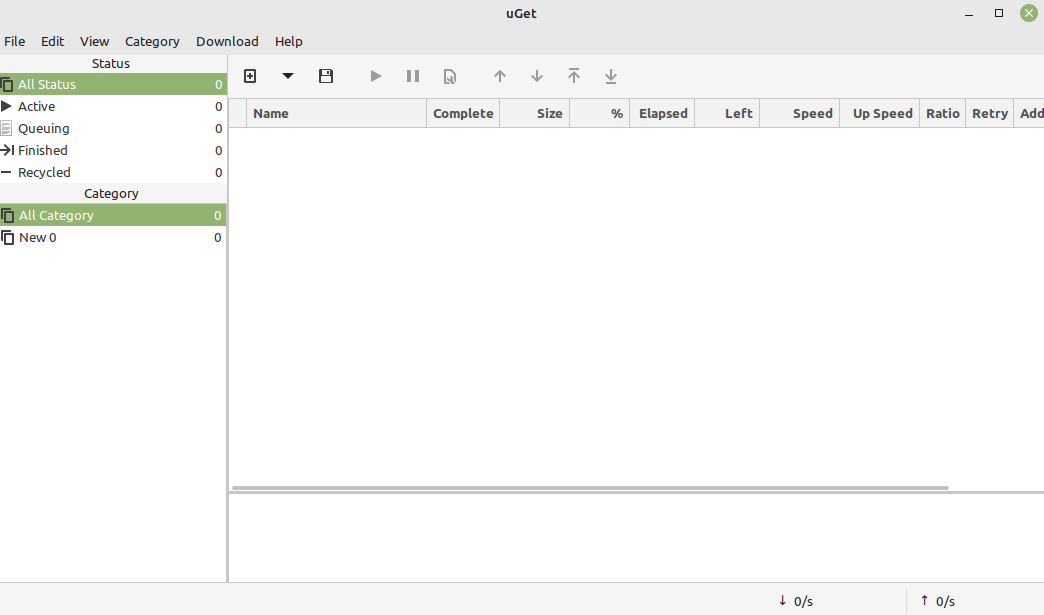
After the successful installation of uGet on Linux Mint 21 system, you can launch it by typing the following on terminal:
2: Installing uGet via GUI
Another way to get uGet utility on Linux Mint 21 system is through the graphical user interface.
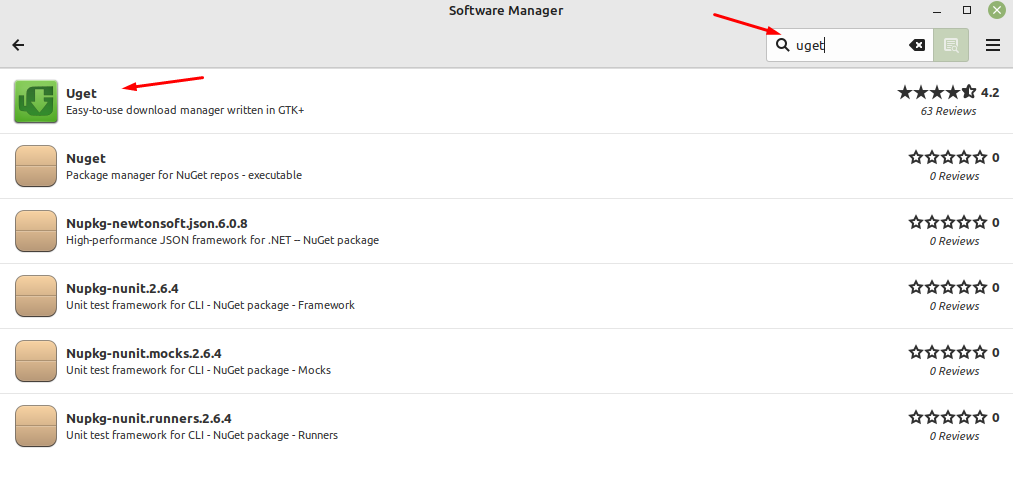
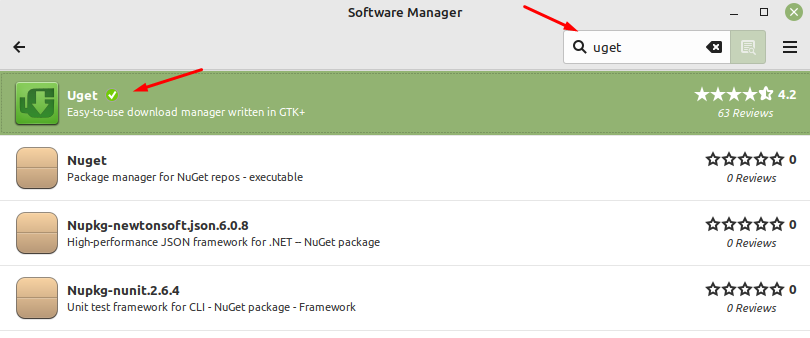
For this, what you need to do is, open the Software Manager, search for the uGet:
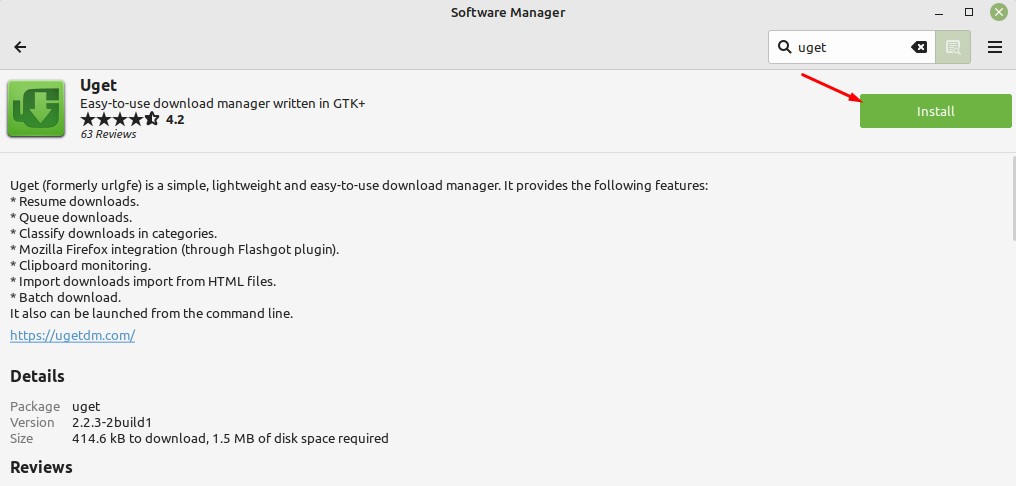
You’ll get a uGet screen on the system, click Install:
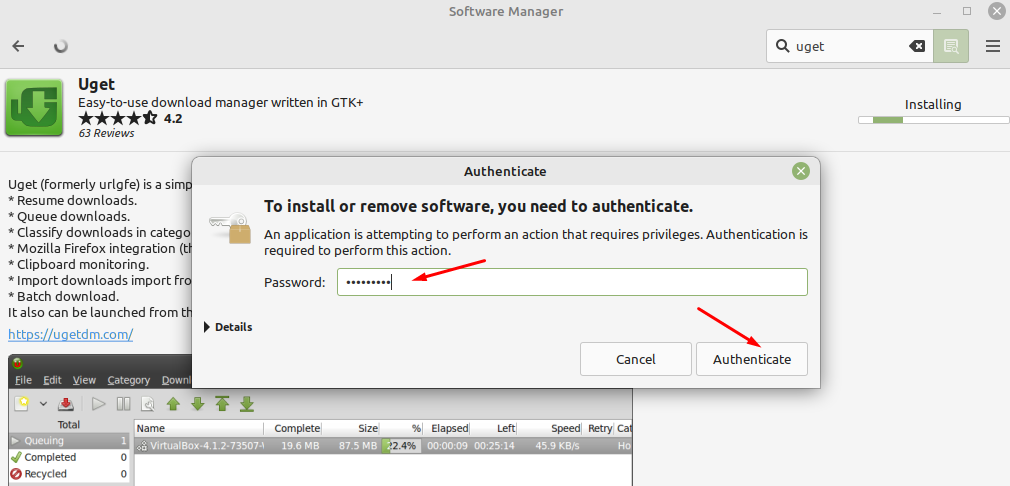
It needs sudo privileges to install uGet, enter the correct Linux Mint password and select Authenticate button:
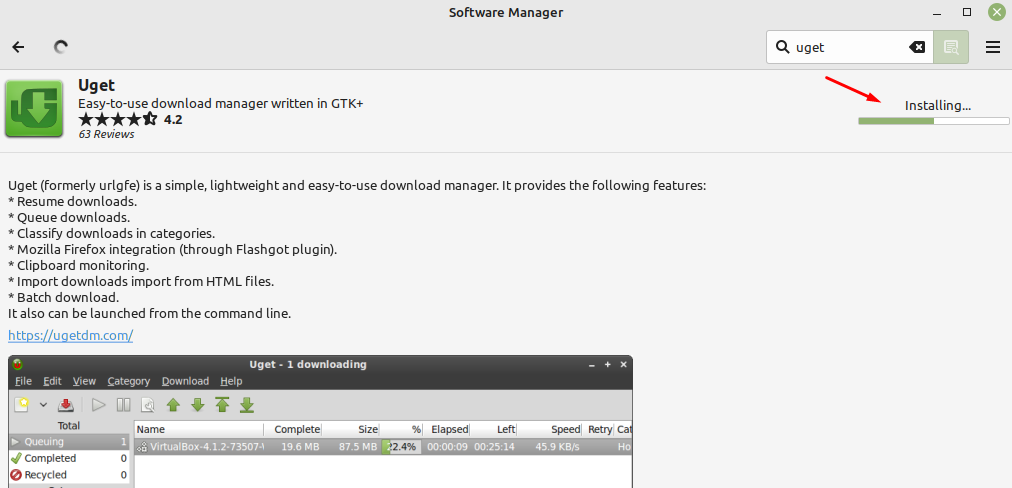
It will start downloading on the Linux Mint 21 system:
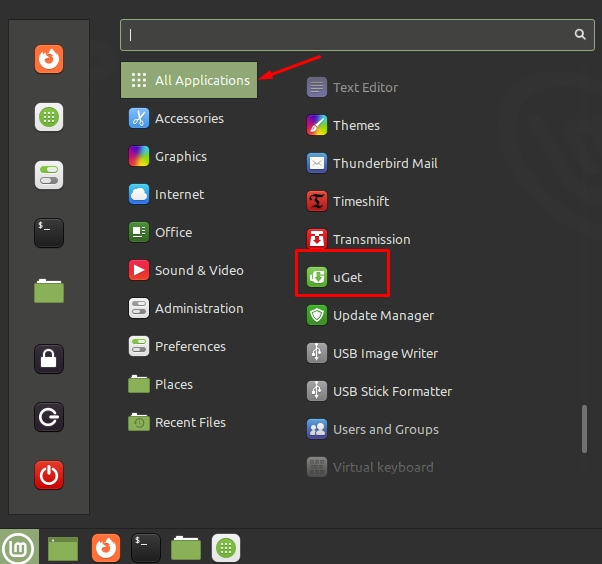
And the uGet utility is installed successfully on the Linux Mint 21 system. You can get it on All Applications menu:
How to Remove uGet on Linux Mint 21
The uGet utility can be removed from Linux Mint 21 system by using two different approaches:
1: Removing uGet via Terminal
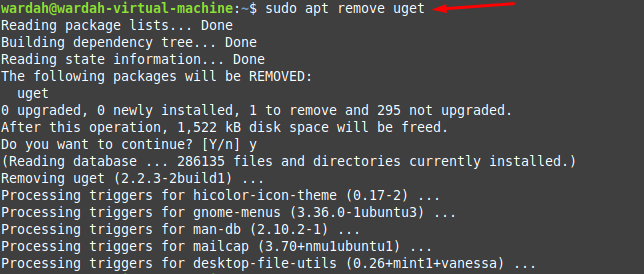
If you want to uninstall uGet tool from the Linux Mint 21 system, run the mentioned command:
2: Removing uGet via GUI
To uninstall uGet application using GUI approach, open the Software Manager, search for the uget there, and hit the first option to display its screen:
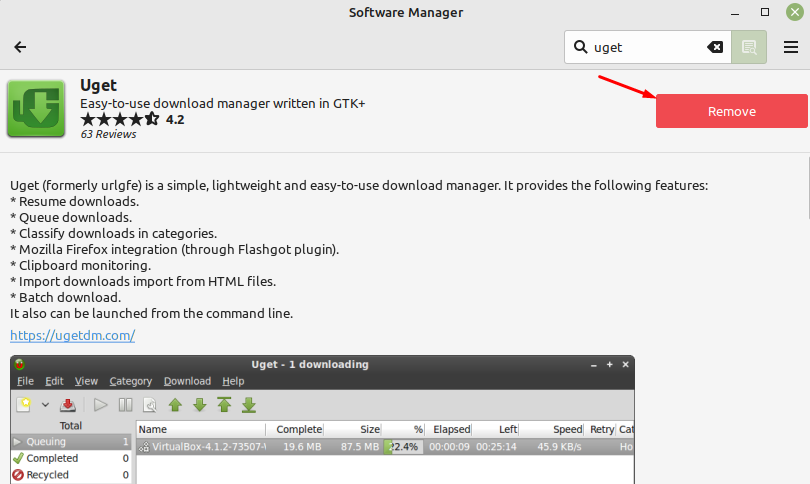
Click on the Remove button to uninstall it from the Linux Mint 21 system:
Conclusion
In Linux distributions, there is a free and an open-source download manager known as uGet. It is a light-weight and powerful application that is popular among people. Through this guide, we learned how to install uGet download manager on Linux Mint 21 system. We have done it using two different i-e Terminal and GUI. Moreover, you can also get the way to uninstall it from this guide.

