strcpy() Function
To copy a string from source to a new string normally referred to as destination, we use Arduino strcpy() function. It also includes null characters while copying. It copies a string from one variable and stores it inside a new variable.
To avoid overflows, the destination array size must be greater than source including terminating character. It can also overwrite the destination string with a new one. Some keys highlights of strcpy() function is given below:
- Source string is copied to the destination string.
- The whole string is replaced instead of being appended.
- No change in source string.
Syntax
Syntax shows that strcpy() functions copies string having const char type from source to a new destination string char type including null termination character ‘\0’.
- Source is of const char* type. The const char type ensures that the string pointed to by source cannot be modified by function.
- Destination is of char* type. This data type will ensure that the string pointed to by destination can be modified by function.
Parameters
This function takes two parameters:
- Destination: Pointer to destination array where source string content is to be copied.
- Source: Pointer to string from where the string content is copied from.
Return Value
strcpy() function returns:
- Destination: strcpy() function return destination string after copying it from source.
strcpy() Undefined Behavior
The strcpy() function shows undefined behavior if:
- Memory allocated for the destination string is smaller than the source string.
- The strings overlap.
Example Code
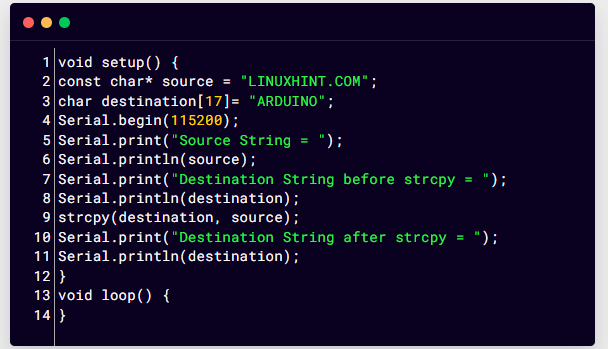
Type the below code in the Arduino IDE. Upload code to the Arduino board and open the serial monitor to see output.
const char* source = "LINUXHINT.COM";
char destination[17]= "ARDUINO";
Serial.begin(115200);
Serial.print("Source String = ");
Serial.println(source);
Serial.print("Destination String before strcpy = ");
Serial.println(destination);
strcpy(destination, source);
Serial.print("Destination String after strcpy = ");
Serial.println(destination);
}
void loop() {
}
Above code starts with defining source and a destination string. Source string is defined as const char which defines a no change in source string while destination string is only char type showing that it can be modified. Next serial communication begins by defining baud rate.
First, we will print both source and destination string using Serial.println() on the serial monitor. After that we have defined strcpy() function which will copy source string to destination.
Last part of the code will print the new copied string at destination.
Output
Code output will be printed on the serial monitor. Source and destination string will be printed. Destination string before and after strcpy() function can be seen in the output terminal.
Conclusion
Arduino is a platform that gives freedom to its users to program the microcontroller. Multiple functions like strcpy() helps to optimize Arduino code. This function will copy a string from source to a new char array string called destination. Any string can be copied but keep the destination string of size greater than source.


