Windows Xbox Game Bar
The Windows “Xbox Game Bar” is an in-built tool for screen recording within the Windows operating system. It can be utilized to take a screenshot of any game short or browser screen, and record the browser screen or Xbox game along with the audio. To open the Xbox Game Bar tool, we use the search bar of our Windows system. Write “Settings” in the search bar and the “Settings” app pops up. Use a single tap to launch it.

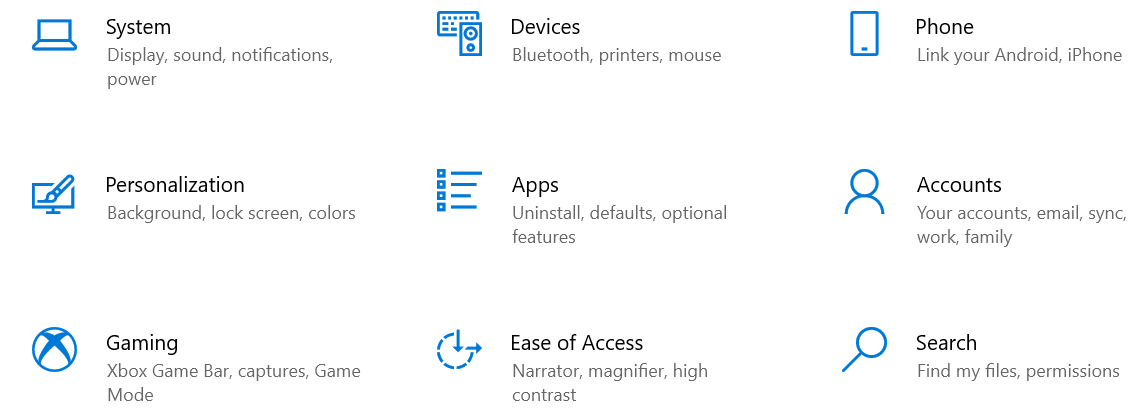
Within the “Settings” app screen, you will see a bunch of main options that are available to make updates on the Windows operating system. Within these options, you will find an option of “Gaming” with a ball-type icon. Tap on it to open the settings of Gaming on Windows 10.
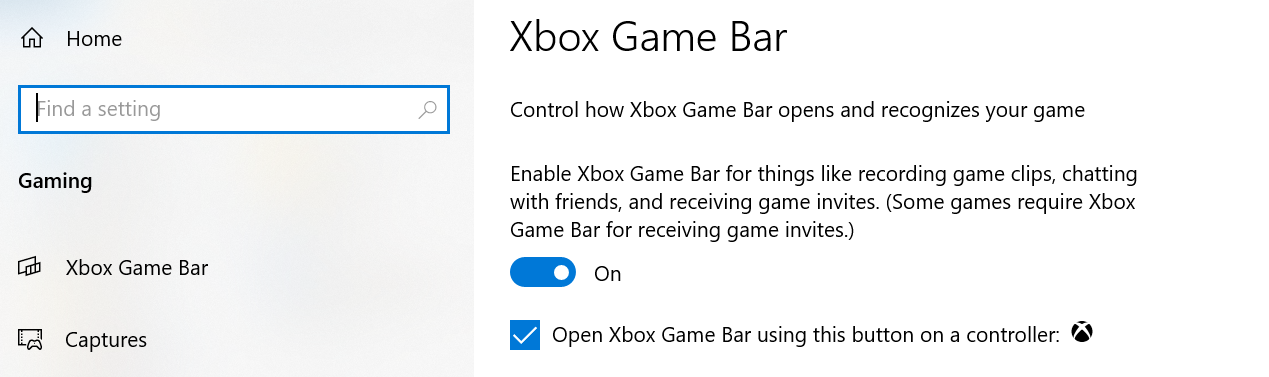
Now, the Xbox Game Bar Settings are opened and ready to get updated. From the left pane under the “Gaming” segment, pick “Xbox Game Bar”. You will find a toggle button on the right side of the Xbox Game Bar settings window. If your toggle button is disabled, you will not be able to record your game shorts or chrome browser. Therefore, tap on it to enable it.
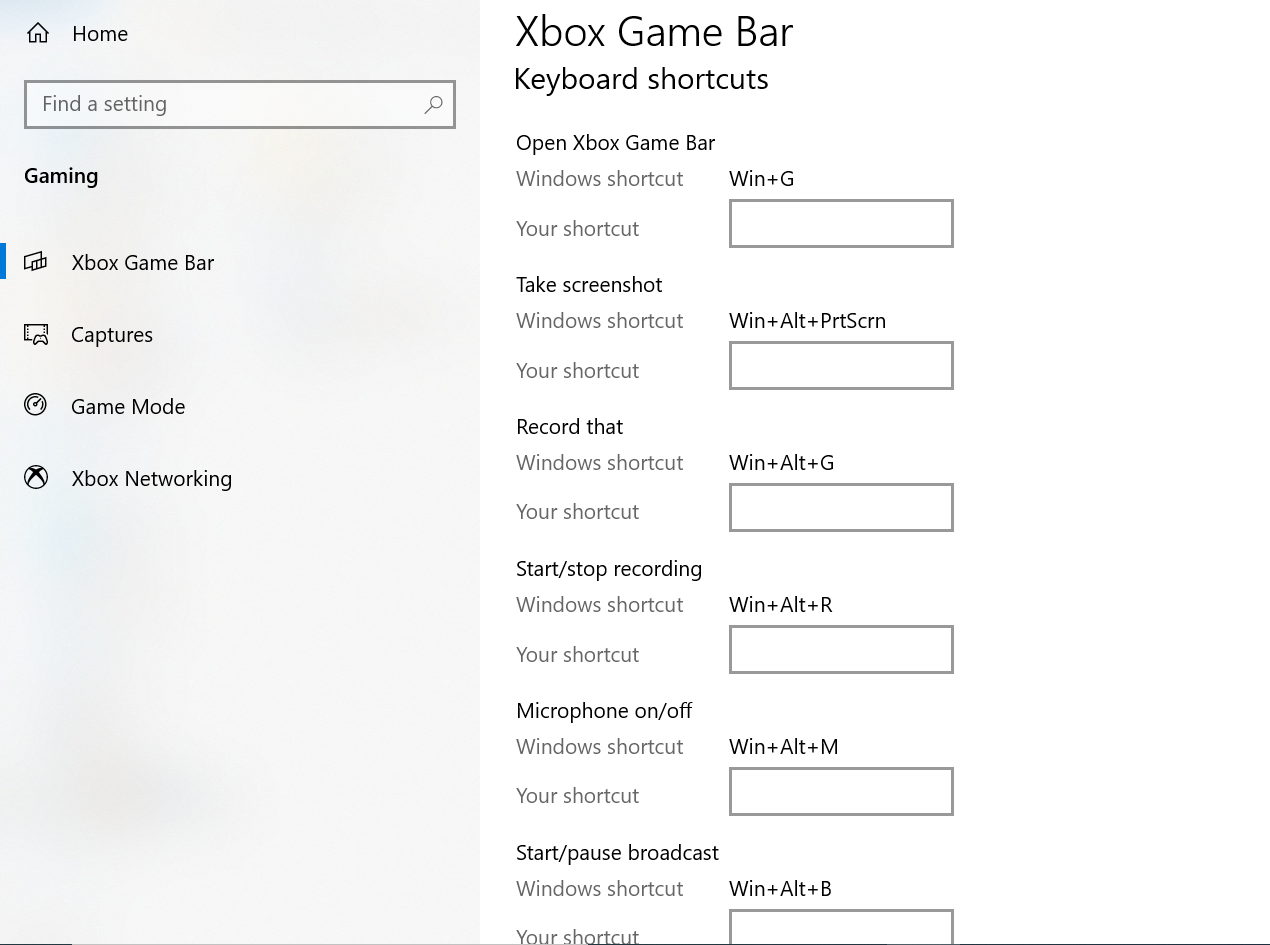
Scroll a little down below within the same “Xbox Game Bar” window. It will show you some keyboard shortcuts to be used to open the Xbox, take screenshots and recording, set the microphone off or on, and many more. You can update those shortcuts by adding the shortcuts of your choice within the textbox listed after each option.
Now, move within the “Captures” window using this option from the left pane. You can see the path to the folder where our recorded videos and snaps must be stored.
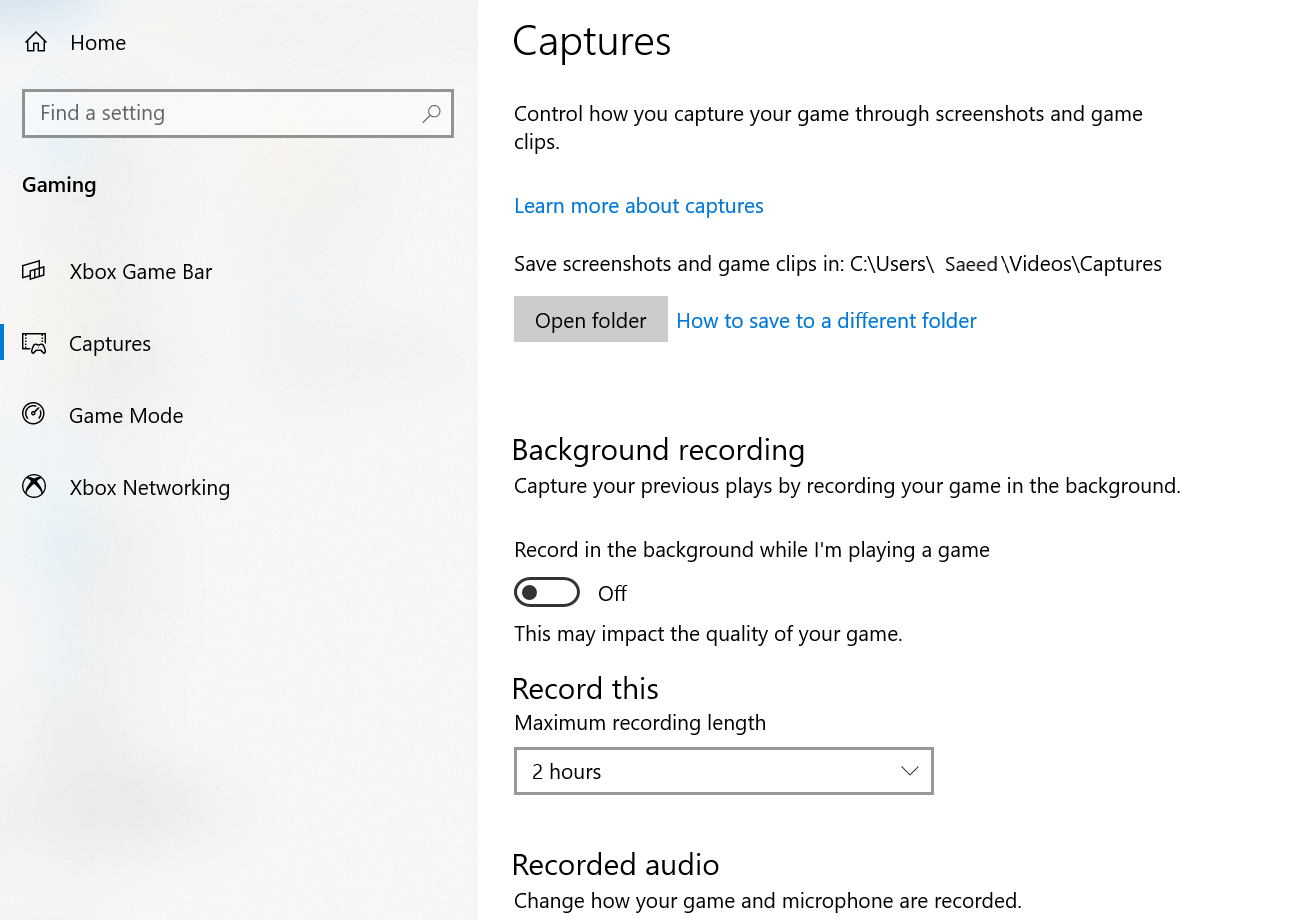
If you want to record your Google Chrome browser screen in the background using the Xbox Game Bar, try enabling the “Background Recording” by turning on the toggle button.
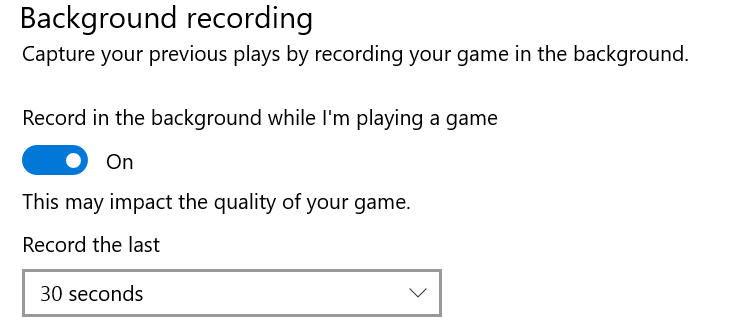
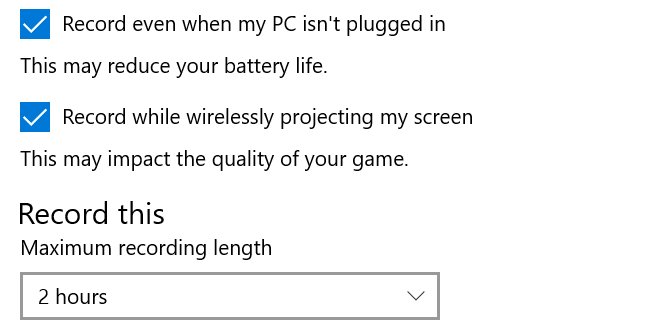
There are other options that are also available to record the Chrome Screen with or without a battery plugged in. You can restrict the length of the recording as well.
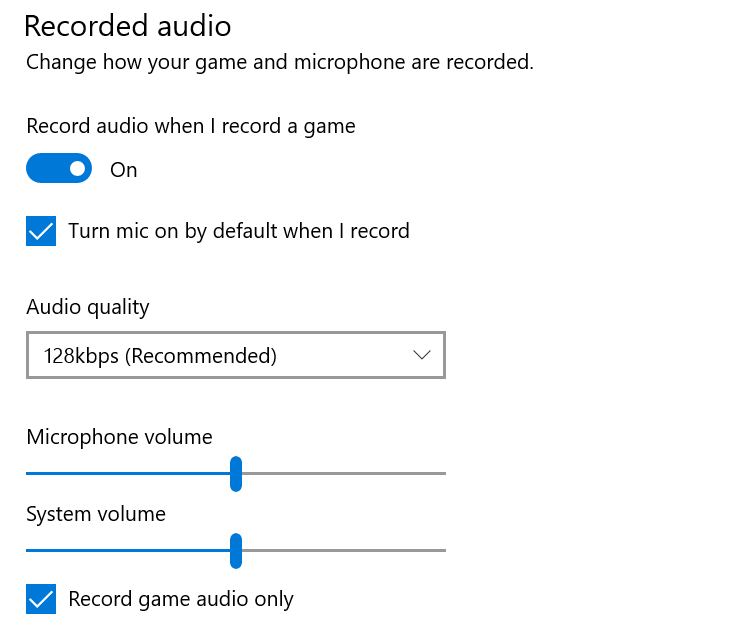
Along with all the given options, you can choose to record the audio along with the screen video recording. For this, turn on the toggle button under the “Recorded audio” option of the Xbox Game Bar. This toggle button specifies that the audio along with the screen will be recorded. For this, you need to mark the check box “Turn the mic on by default when we record” to automatically turn on the microphone of our Windows operating system. Also, you can update the audio quality to be used in the recording along with the level of microphone volume.
If you mark the check box “Record game audio only”, it will not allow you to record other sounds in the video recording except the audio of the Xbox game.
After setting the audio for the recording, it’s time to perform some settings for the video as well. From the recorded video section, you can choose the video frame rate, i.e. 30fps or 60fps. You can choose to update the other options available for recorded video like the video quality, etc.

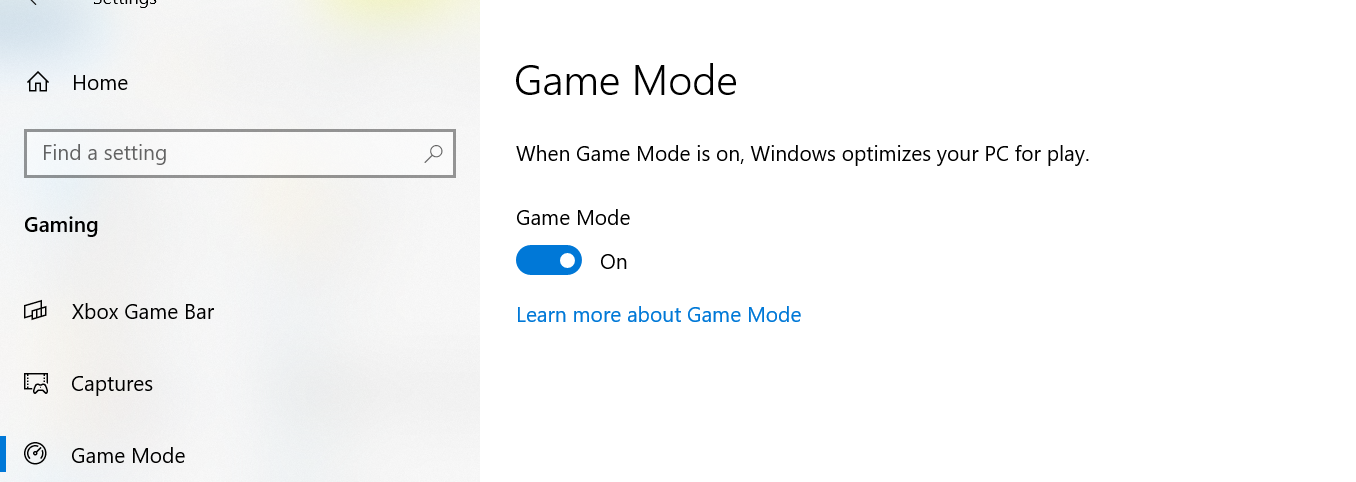
Turn on the “Game Mode”.
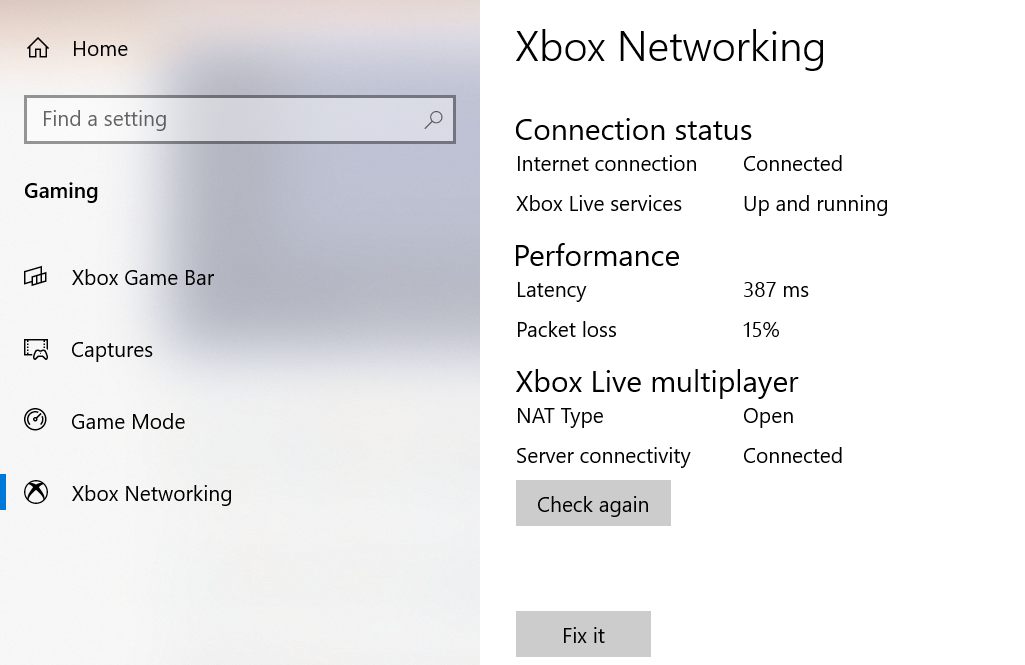
Check the connection status before successfully using the Xbox Game Bar application.
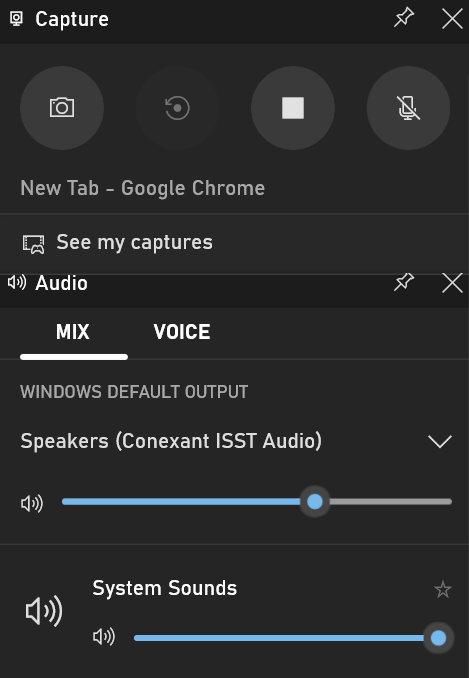
After updating all the settings for the Xbox Game Bar, it’s time to welcome the Xbox user. On its left side, you can see the “Capture” named window that lets you choose the audio and video. Tap on the “Start recording” dot button to start recording the Chrome browser screen along with the other activities.
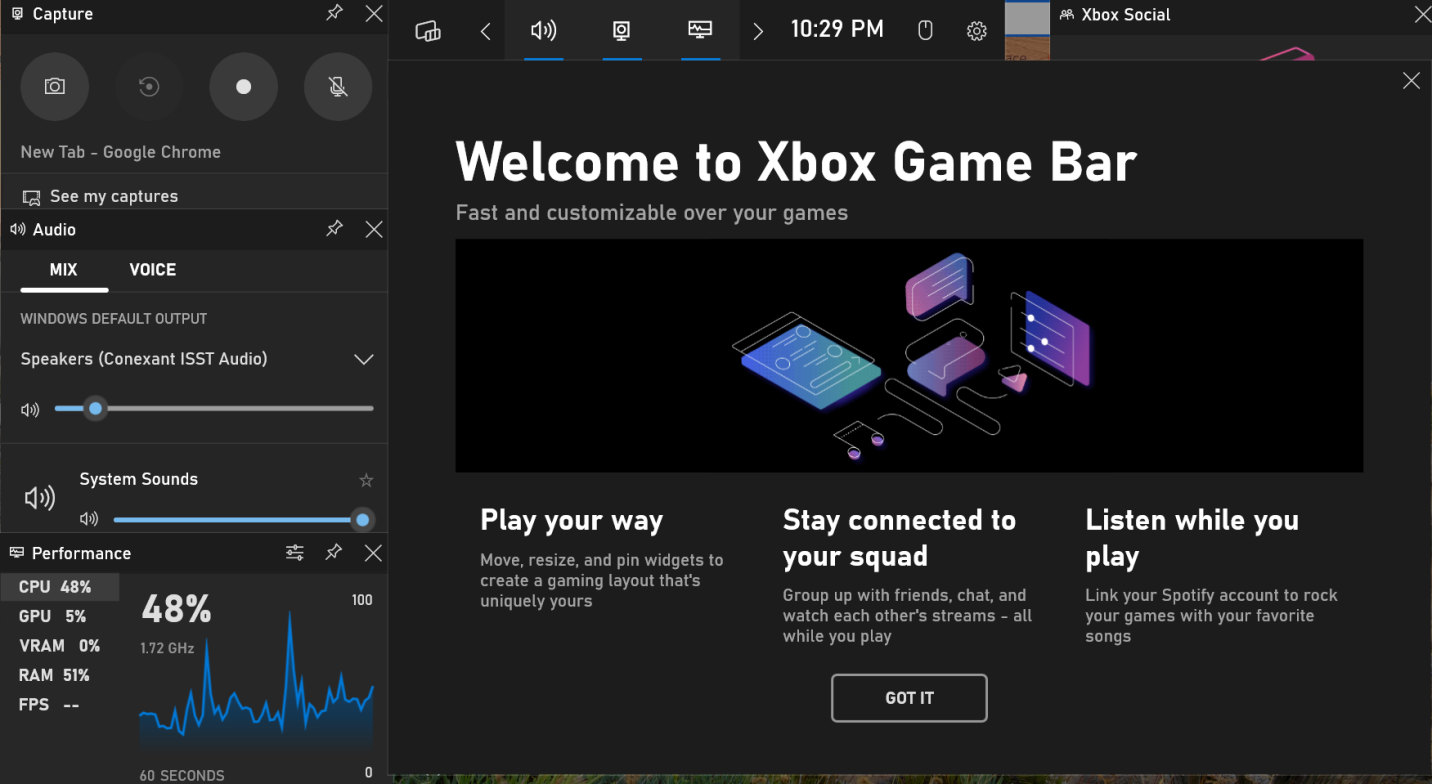
To stop this audio and video, tap on the “square” simple icon.
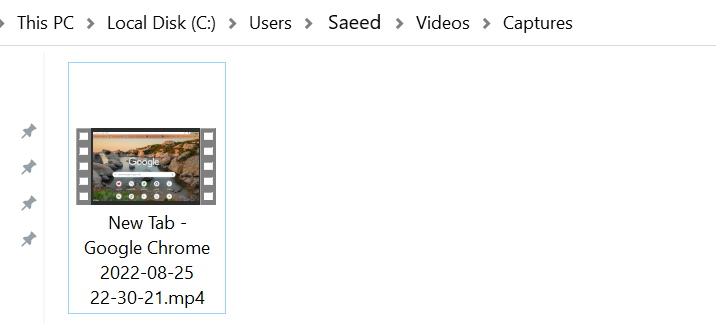
You will find your newly recorded video and audio files within the “Captures” folder as presented in the following:
Screen Recording Extensions
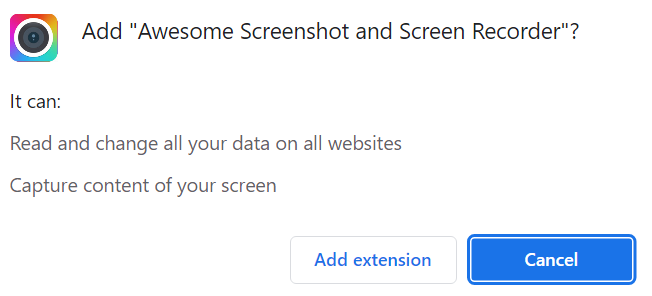
There are several extensions available in the Google Chrome browser that work perfectly fine to record a video of our browser. For instance, the “Awesome Screenshot and Screen Recorder” is very famous among the Chrome users. Search for it on google and tap on open it within the “extensions” windows. Hit the “Add to Chrome” button to continue adding it.

Allow this extension to read, update, and record your screen.
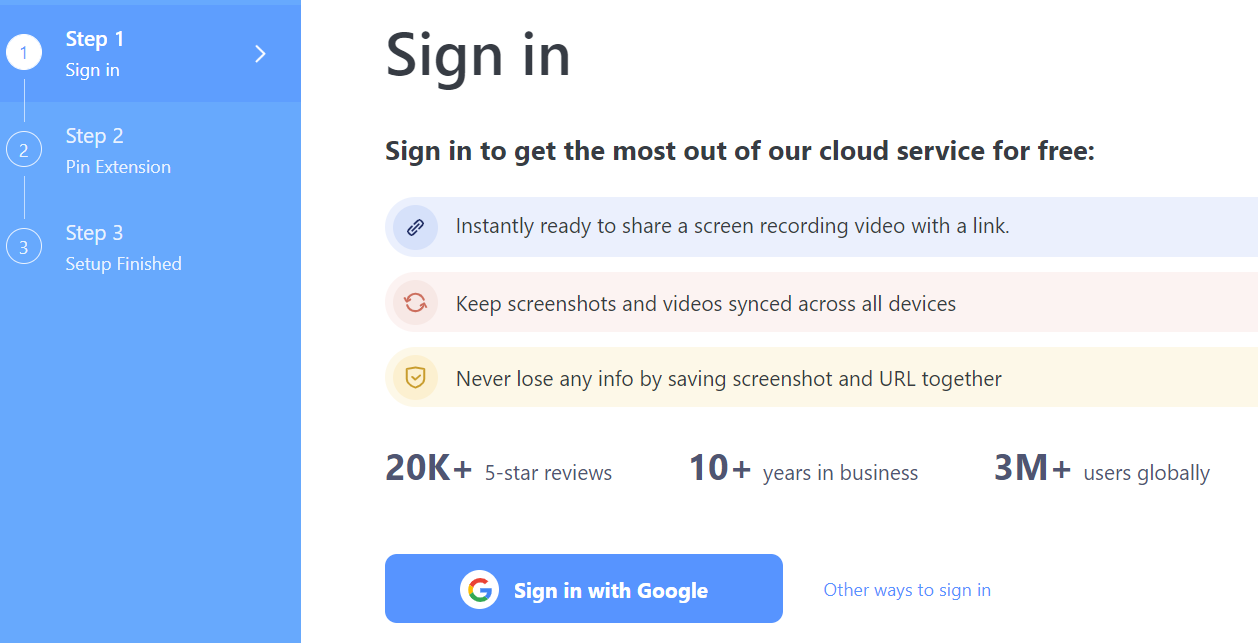
You have to provide the authenticated credentials to sign in.
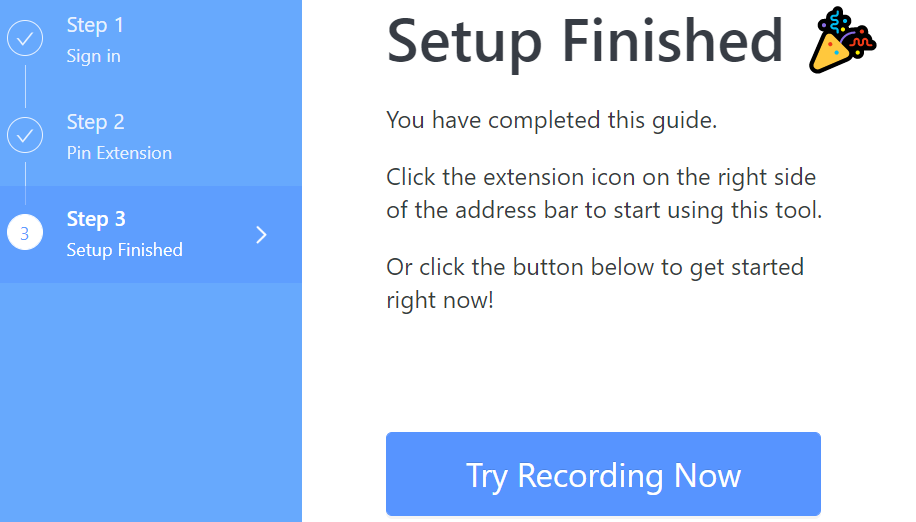
After setting it up completely on the Chrome browser, it will display the following screen having “Try Recording now”. Hit this button to start recording.
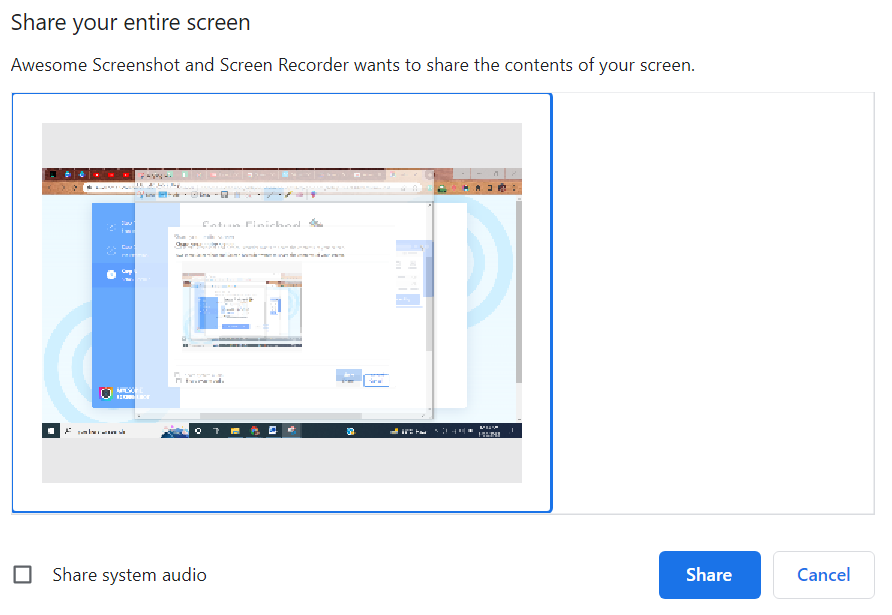
Choose the entire screen from the following window followed by the “Share” button to start it.
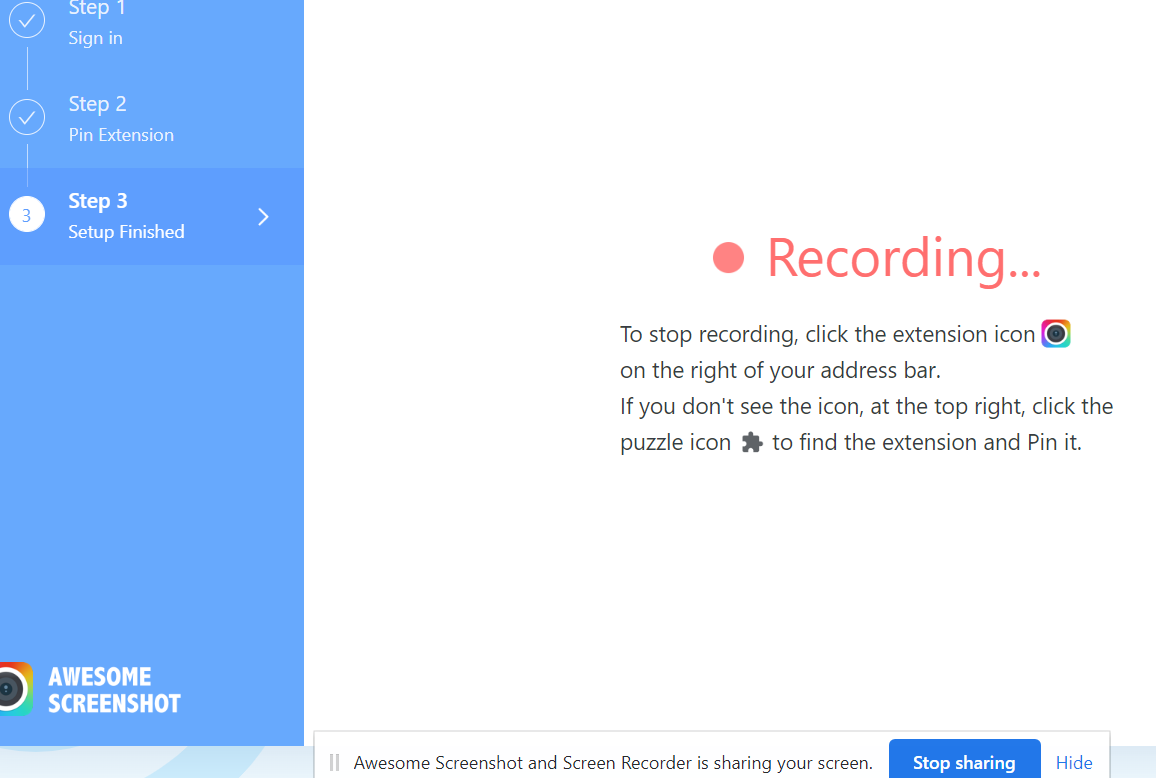
The “Awesome Screenshot and Screen recorder” extension starts to record the screen. Using the “stop sharing” button, you can stop recording the Chrome browser.
The recorded video along with its audio will be presented to you.

Conclusion
These were the simplest ways ever possible to record the Google Chrome browser. In this guide, we discussed the use of the “Xbox Game Bar” tool with all its input and output settings. Some settings got updated while some of them remained untouched. Along with that, we discussed how useful some extensions can be for the recording of Chrome browser like the “Awesome Screenshot and Screen Recording”. We recommend using the Xbox tool for recording as it is in-built and more secure.