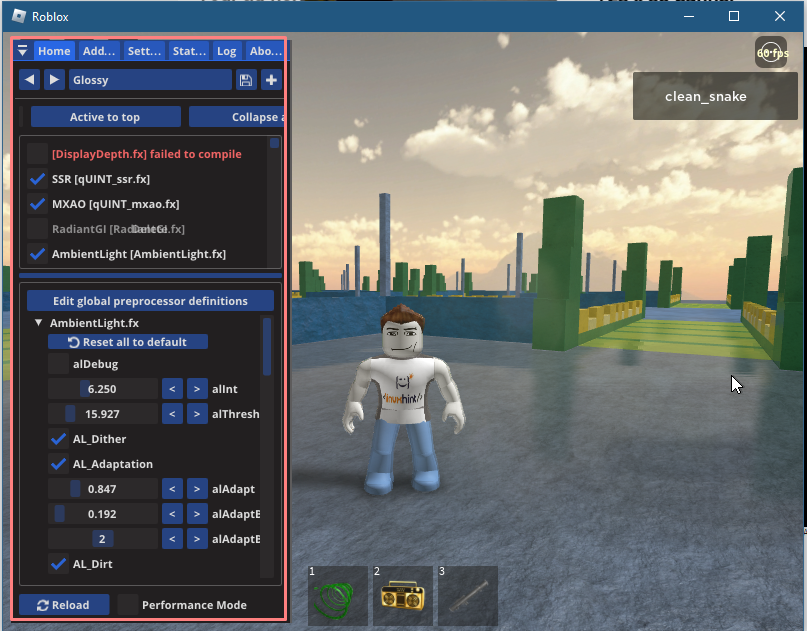
Adding Shaders in Roblox
Before going to the process, it is imperative that you should have a good GPU otherwise you can experience some serious lag while playing games on Roblox. Follow the stepwise process of adding shaders in Roblox games:
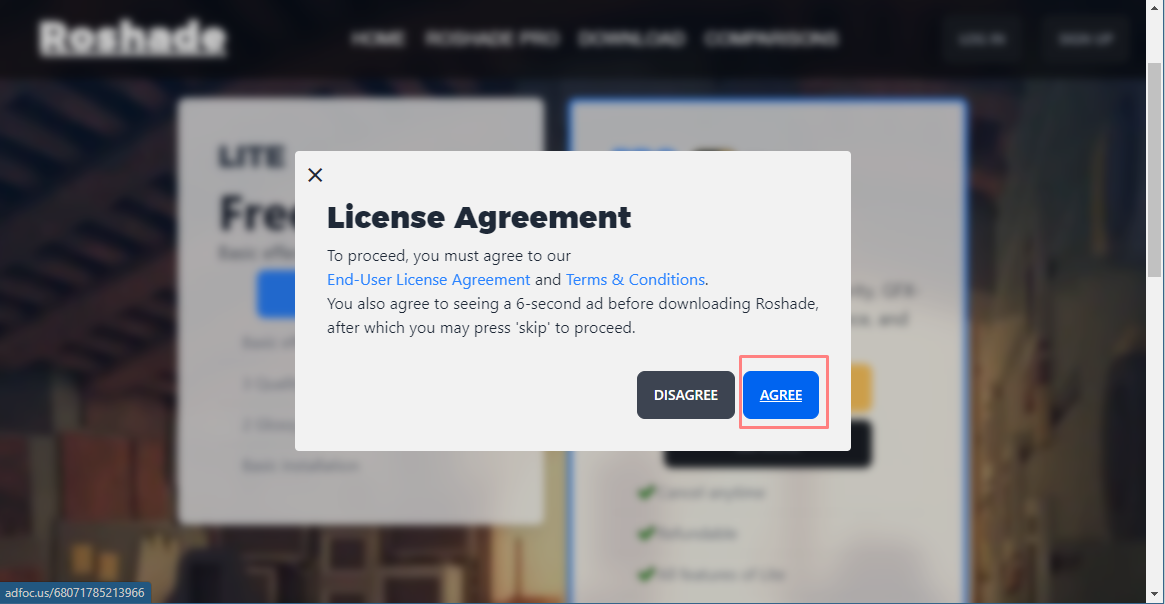
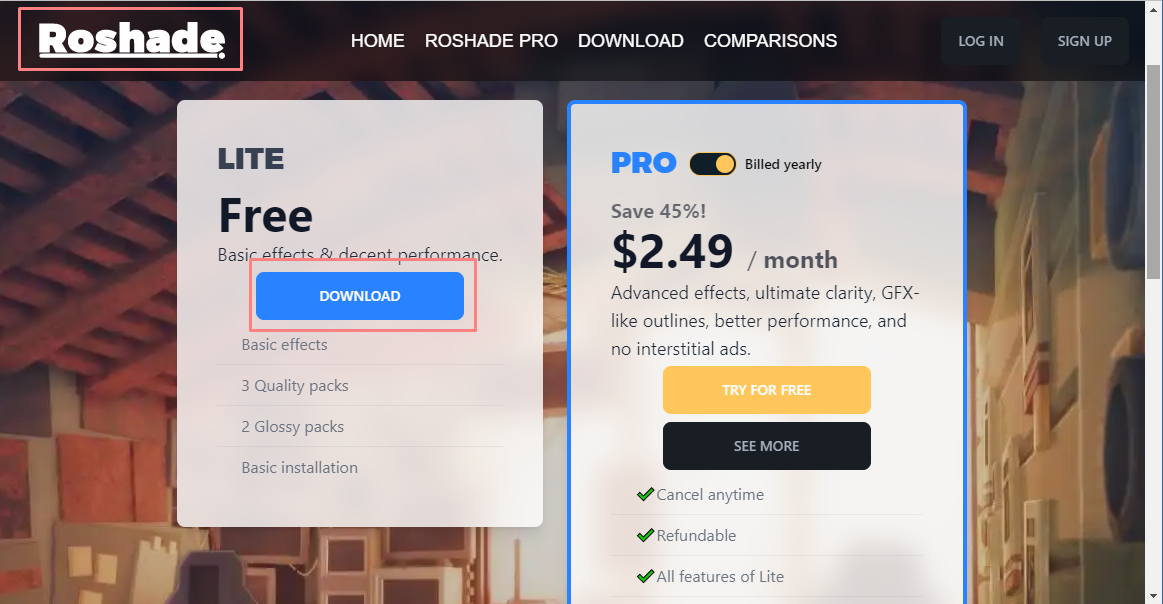
Step 1: Go to the Roshade website and download its free version:
Next click on the “Agree” to accept the terms and conditions:
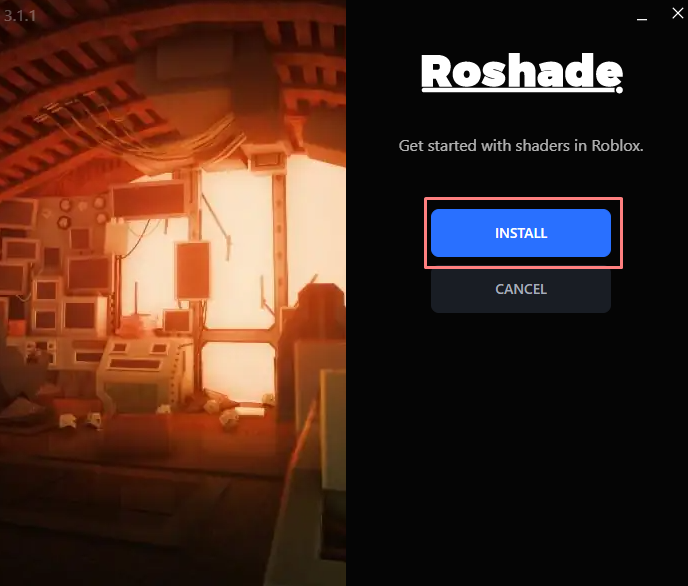
Step 2: Once the file is downloaded click on the install icon to start the installation process:
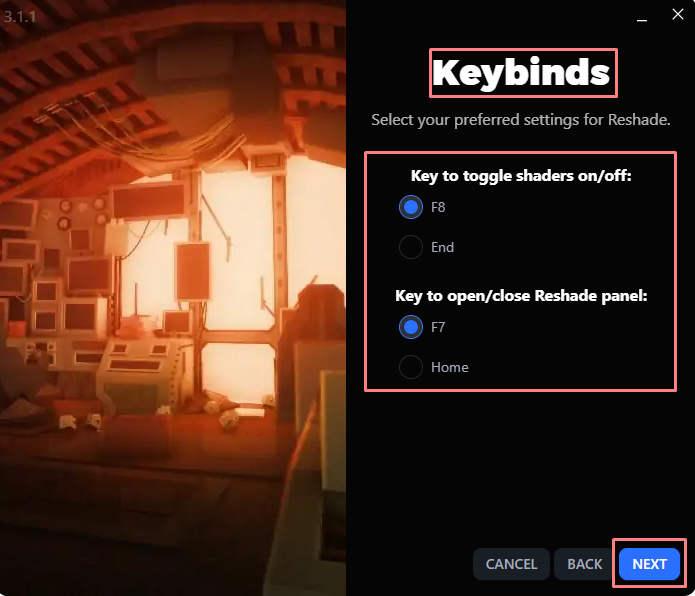
Next see key bindings that you would use to access the “Roshade” application while playing the game and click on “NEXT”:
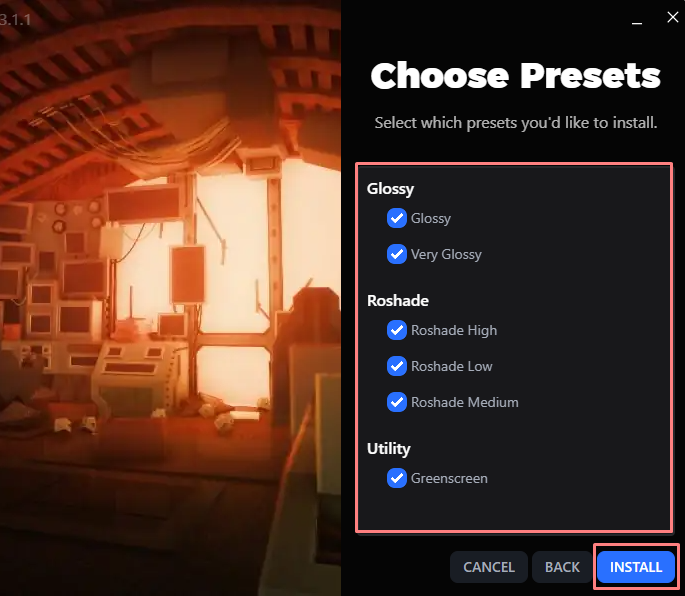
After that select the mods that you want to do in the games and click on the “INSTALL”:
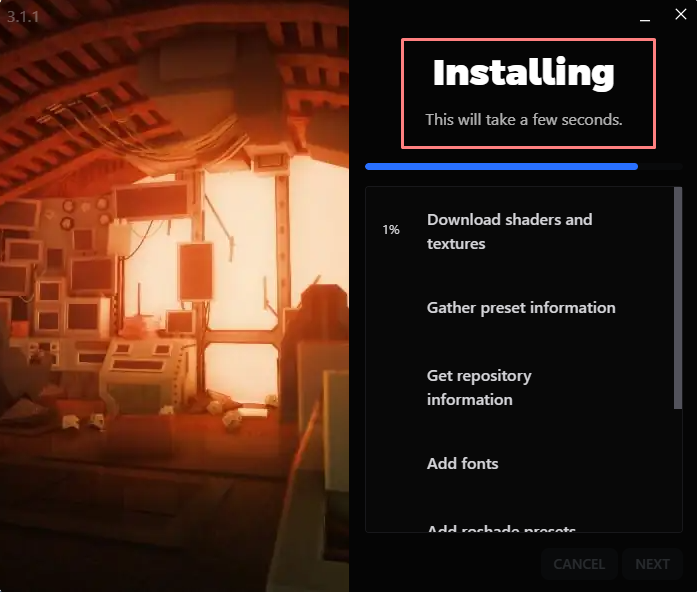
The installation might take some time, so be patient:
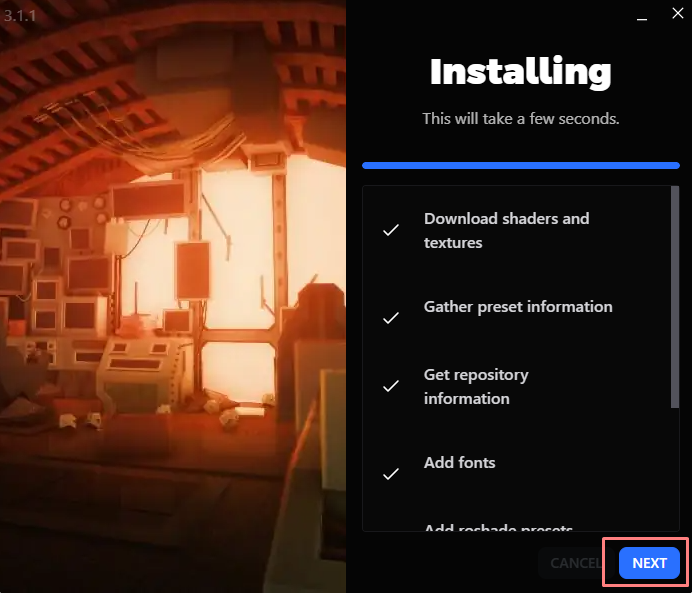
Once everything is installed click on “NEXT” icon and close the application:
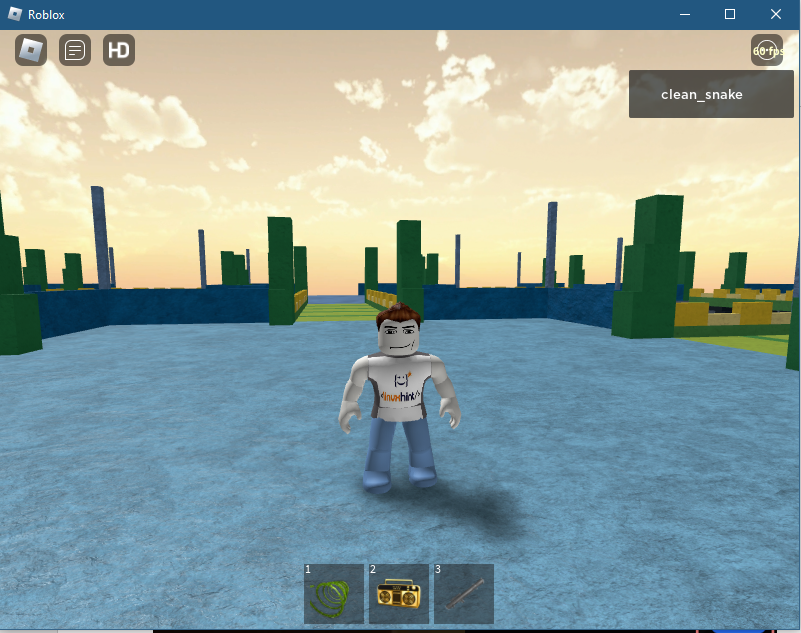
Step 3: Now run any game that you want to play on Roblox for instance, if I want to play “Rocket Arena: Classic”:
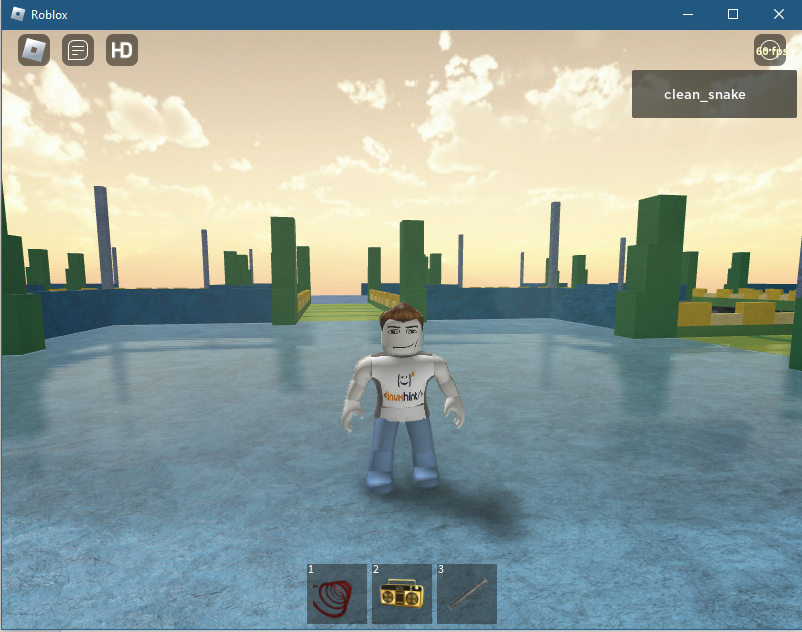
To apply the shaders just press the F8 key you will clearly see a big difference:
You can also made changes to the shader by pressing the “fn+F8” key from your keyboard:
So, this is how you can add shaders to any game in Roblox and enjoy the high-end graphics to make your gaming experience more fun.
Q: Does Adding Shaders Get Your Roblox Account Banned?
No, since adding shaders to Roblox games does not do any harm to the game it is just a graphic mod that works with OpenGL.
Conclusion
Graphics play a key role in making the gameplay look more realistic, most gamers believe that a game should have reasonable graphics, but it all depends on the game developers. Roblox games normally do not come with high-end graphics, so players normally use different shader applications. Roshade is one of the best shader applications for Roblox, just install it and change the graphics by accessing its in-game menu.

