How to install and get started with Laravel on Ubuntu
For PHP developers, one of the most popular open-source frameworks is Laravel. It is a modern MVC based framework which is used for creating any web application efficiently. Web developers need to develop different types of complex web applications now and the development time will be more if the developer uses only raw PHP for the development task. Use of framework makes development tasks easier for them. Every framework has some special features. Some of the important features of Laravel are mentioned here:
- Blade template engine is used in Laravel for creating view files which is easy to apply and understand.
- It supports different types of file systems.
- One of the most necessary parts of any web application are authorization and authentication parts. Web developers need a lot of time for developing these parts of the application. Laravel makes these tasks very easy for the developers. Laravel comes with built-in authorization code. So the coder can directly use the code or customize the code according to the requirements.
- Artisan is the most important Laravel built-in tool which is used to run repetitive commands to make the programming tasks faster.
- Another most important feature of Laravel is database migration. The developer can easily create or change the database structure using the migration system.
- Any application developed by Laravel is more secure because it uses hash algorithm for encrypting the password and it also helps to prevent injection attacks.
You can use Laravel in different operating systems. In this tutorial, you will learn how you can install and use Laravel on Ubuntu.
Installation of Laravel
To start the installation process, you have to install PHP and MySQL/MariaDB database server for working with a database. If you don’t want to use a database in Laravel project now then you can omit the step for installing MariaDB database. Laravel has its own development server, so you don’t need to install Apache or any other web server.
MariaDB Installation (optional)
Run the command to update the system and install MariaDB database server and client. Press ‘y’ when it asks permission for installation.
PHP Installation
Run the command to install latest version of PHP and press ‘y’ when to give the permission for installation.
Check the version of PHP.
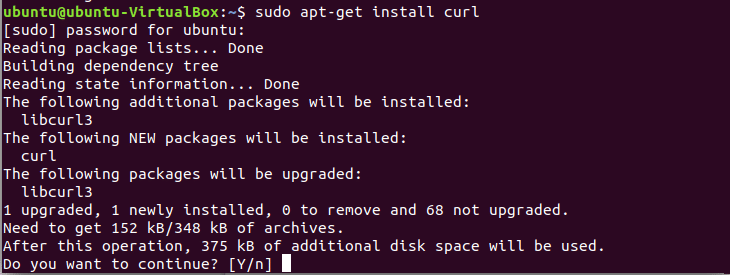
Some PHP extensions are required to install Laravel successfully. These are Zip, mbstring and xml. Without these extensions, curl package is used to install another package manager called composer. Run the commands to install curl and those required extensions.
The most useful dependency manager for PHP is composer. All required libraries and dependency packages can be installed properly from one place by using this package. You have to install this package for installing Laravel on Ubuntu. Run the following command to download and install the composer.
--install-dir=/usr/local/bin --filename=composer
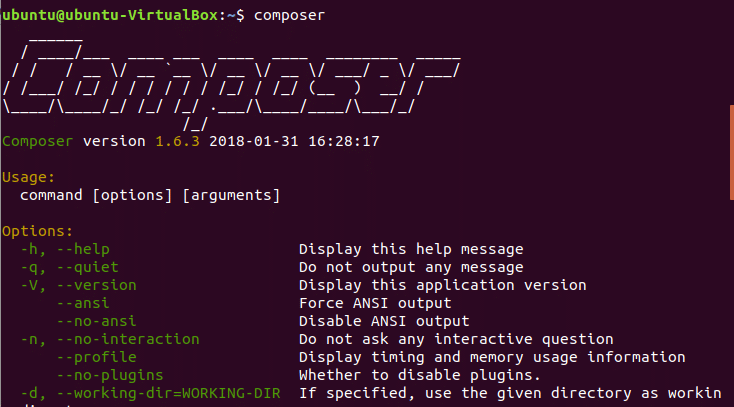
Now type composer in the terminal to check that it is properly installed or not.
You can install Laravel with composer by two ways. One way is to use create-project command and another way is to install Laravel first and run laravel command to create a new Laravel project. The second way is followed in this tutorial. Without owner permission of .composer folder, you will not be able to install laravel using composer. Run the command to set the owner permission of .composer folder for current user.
You have to install git package also before running the command of Laravel installation. Install git package.
To run Laravel installation commands from terminal you have to modify bashrc file. Run the following commands to open bashrc file.
$ source ~/.bashrc
After executing the above command, you have to reopen the terminal again to install Laravel. Open a new terminal and run the command to install Laravel.
The following screen will appear if Laravel installation completes successfully. Now, you can create any Laravel project by running laravel command.
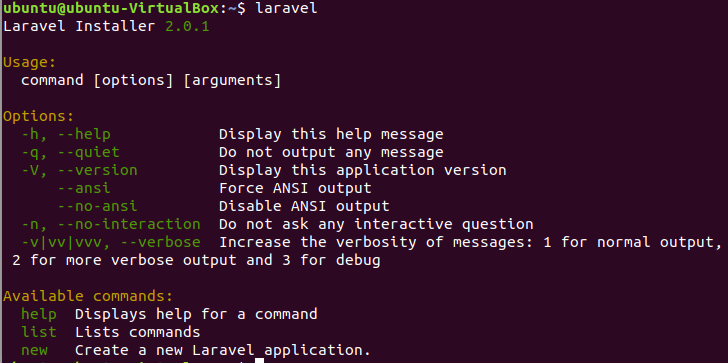
Run the command to check Laravel is installed properly or not. If the following screen appears then Laravel is properly installed succesfully.
Laravel Project Creation
Run Laravel command to create a new project.
Running Laravel Project
Go to the project folder.
Run the command to start Laravel server.
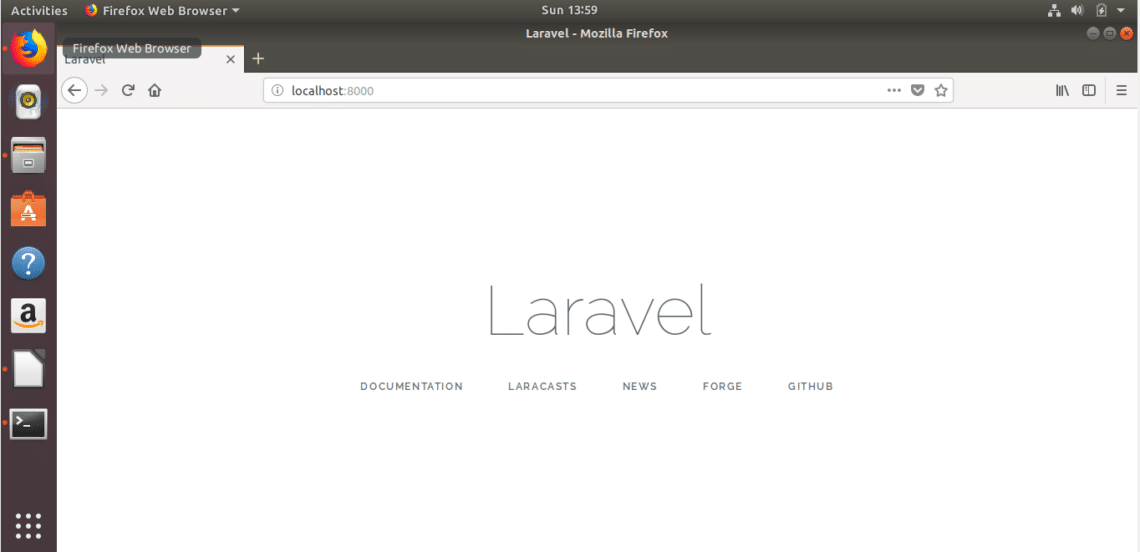
Open a browser and type the following URL to check Laravel is properly installed or not.
If the following page appears then Laravel is installed properly.
Your laravel project is ready to use now. You can create necessary controllers and models by using artisan command to develop your new project.
Creating Controller
One of the major parts of the MVC framework is the controller. The coder implements different types of logical codes in the controller section. All controller files are stored in app/Http/Controllers folder. You can create mainly two types of controllers in Laravel. One is a plain controller and another is a resource controller. Suppose, you want to create a plain controller in the project named Customer. Go to the laravel project folder and run the command to create the controller from the terminal.
If the controller creates successfully then it will appear in app/Http/Controllers folder. So, go to that folder and check if the controller is created or not.
$ ls
If you want to use a database in your Laravel project then you have to create a database on MariaDB server and modify the required database connection file of Laravel, but that is for a future lesson.
I hope you can see from this the simplicity and power of getting started with Laravel. See the video below for more info:


