The CMake-based project contains a CMakeLists.txt file; there is little key information that resides in this text file. CMakeLists.txt file contains the structuring information of the project, the necessary source code files required for compilation, and what CMake will generate from it.
Being cross-platform support, CMake can be obtained on Linux-based distributions and this writeup will provide a demonstration to install CMake on Linux Mint.
How to install CMake on Linux Mint
Linux Mint is a widely used Ubuntu-based distribution of Linux. In this section, we will provide several methods to install CMake on Linux Mint. The following methods are adapted to build this informative guide.
– Using Command-Line support of Linux Mint
– Using the graphical interface of Linux Mint
How to install CMake on Linux Mint using Command Line Interface
To get CMake on Linux Mint; you must perform the steps provided below.
Step 1: Open the terminal(Ctrl+Alt+T) and ensure that your system is up to date. To do so, execute the below-mentioned command in the terminal of Linux Mint.
Step 2 : After ensuring that the packages update, run the following command to install CMake packages.
To verify, check the version of CMake with the help of command provided below
How to install CMake on Linux Mint using the graphical interface
The graphical interface provides a user-friendly interface to install any package or manipulate the system’s settings. Follow the provided below steps to install CMake using the graphical interface of Linux Mint.
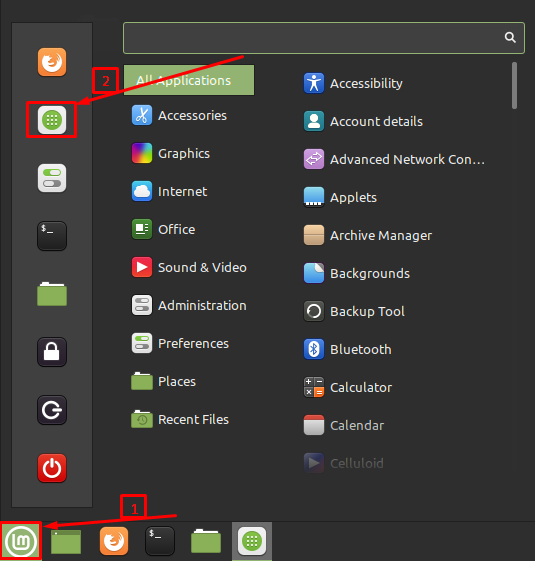
Step 1 : Open the Software Manager by navigating to the start menu and then clicking on the Software Manager’s icon.
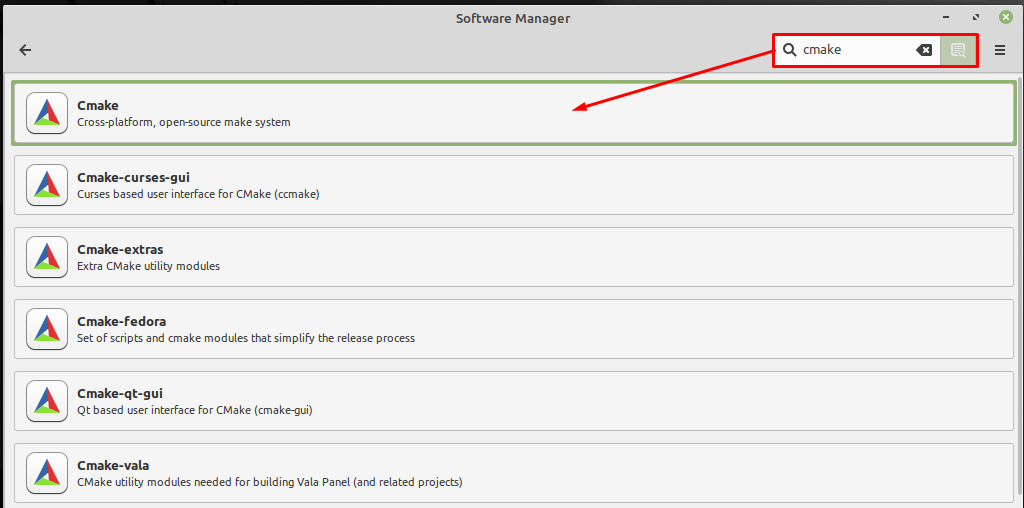
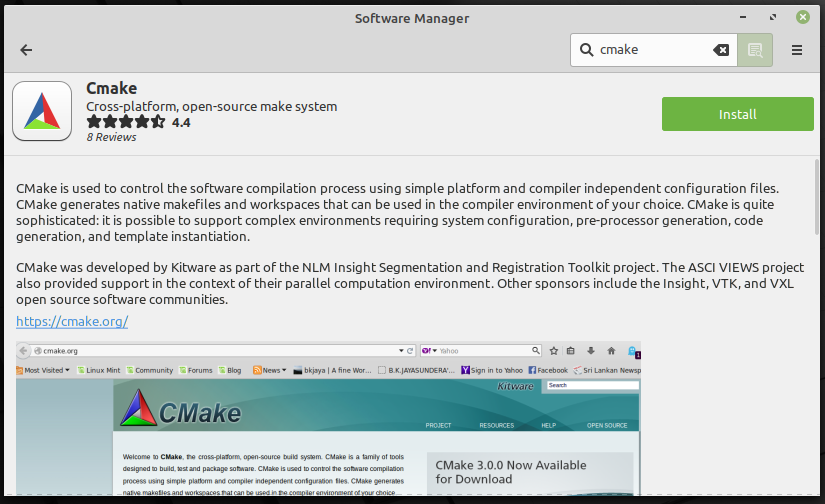
Step 2 : Type cmake in the search bar and hit Enter. You will observe the search result contains multiple CMake named files, so click on the following.
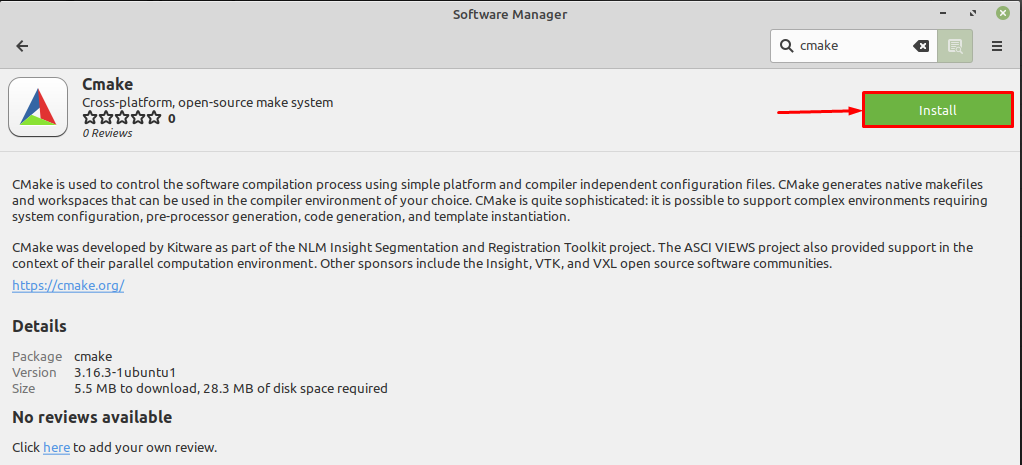
Step 3 : After that, navigate to the Install button:
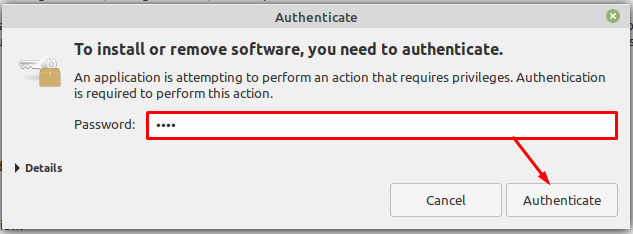
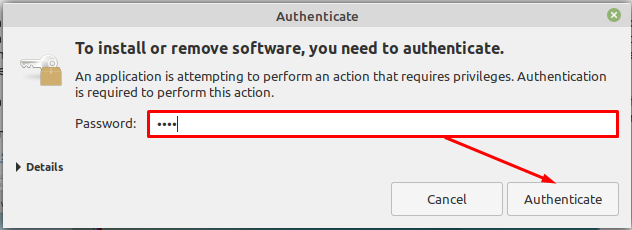
Now, provide your password to proceed with the installation
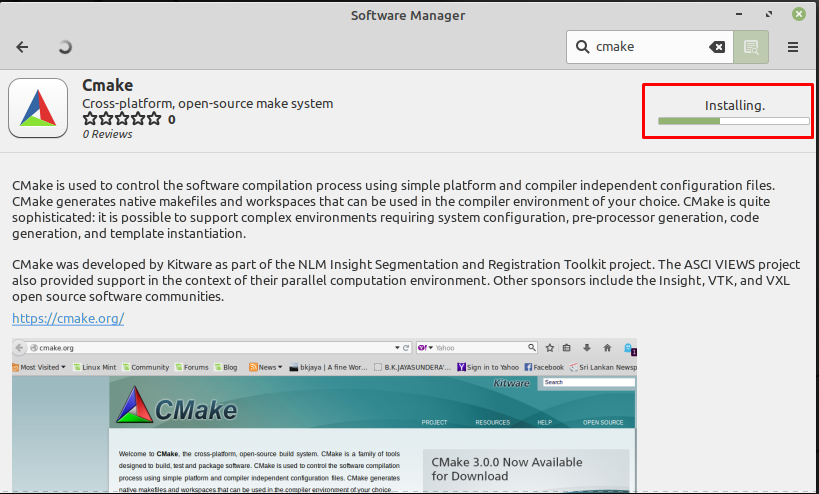
Soon after successful authentication, the installation will start.
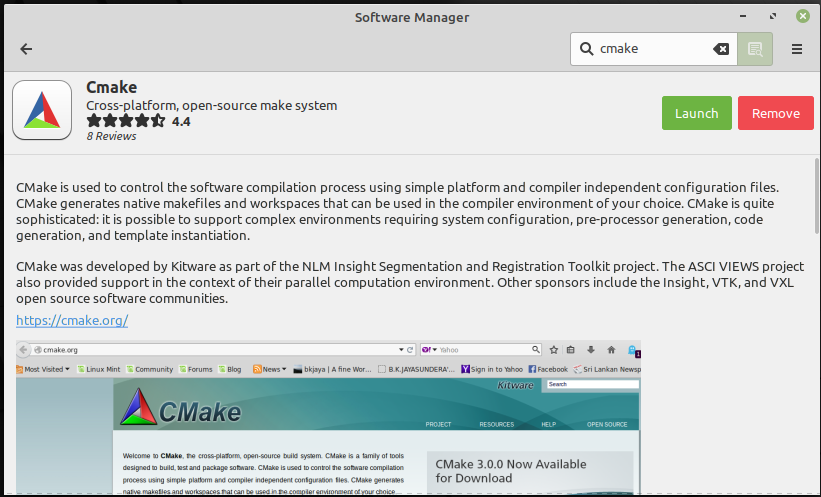
Step 4 : After completion of installation, you will observe the following interface.
Now, you can run CMake by clicking on the Launch button.
How to remove CMake from Linux Mint
The CMake can be removed from the Linux Mint by either using the command line or graphical support of Linux Mint. Let’s get into them one by one,
Remove CMake from Linux Mint using the command line: To perform the action in the terminal, firstly open it up. Now, execute the below-mentioned command to remove CMake from Linux Mint.
To verify the uninstall, you can look for the version with the help of the following command. It is observed from the output that the CMake is not installed.
Remove CMake from Linux Mint using graphical support : This removal method comprises the following steps.
Click on the menu and choose Software Manager.
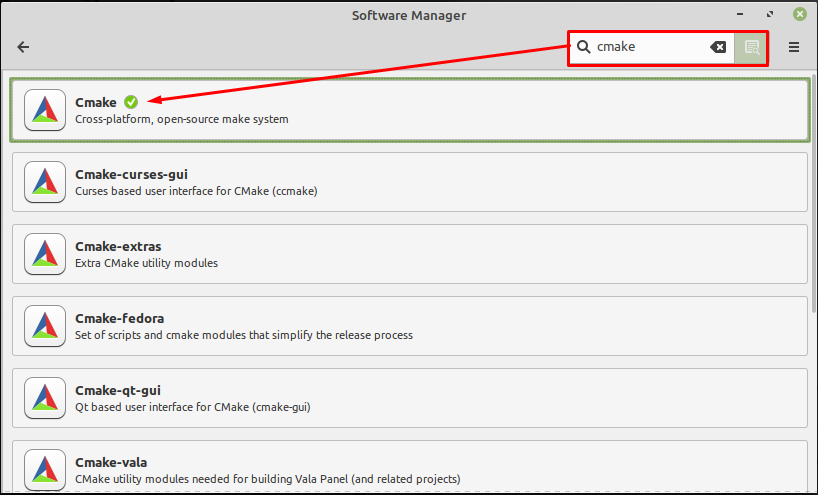
From there, search for cmake, and the following window will appear. Click on that CMake where you find the green tick icon.
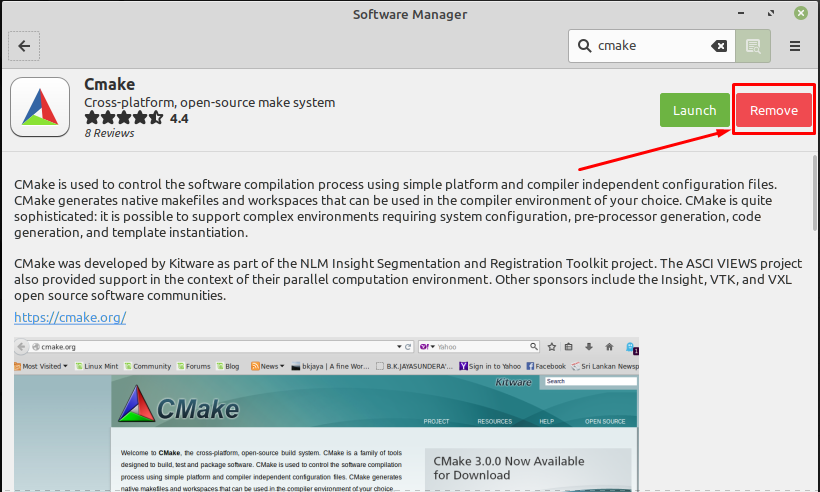
To uninstall, click on the “Remove” button;
An authentication prompt will appear and enter your password to remove the package.
And after successful removal, the following interface will appear, where you will observe that the Install button appears. That means CMake has been removed successfully.
Conclusion
CMake is a program that lets us produce project files for a variety of environments from applications/software code. Because the project files are created independently using CMake, we are no longer bound to a particular IDE. Due to its cross-platform accessibility, it is available for Linux-based distros. This article contains the installation guide of CMake on Linux Mint. The possible methods are graphical interface and command line support of Linux. The users who are curious to use CMake on Linux Mint can adopt either way to install it on Linux Mint.


