A pod is the simplest processing unit in a program, containing a single container or a set of related containers. A pod contains storage resources and container processing options in addition to the app’s container. In this article, you will understand how to use the Nginx image to build a pod in Kubernetes, and finally delete the pod you have generated. We will use the Minikube tool, which allows you to operate a single-node Kubernetes cluster on your desktop computer
Pre-requisites
We must first check the operating system before using kubectl. We are using Ubuntu 20.04 on a pc in our scenario. Other Linux distributions, on the other hand, can be investigated to see whether they fit your requirements. Implementing Kubernetes services on Linux necessitates the use of a Minikube cluster. To make this guide work, you will need to set up a minikube cluster on your machine.
Method to Create, View, and Delete a Pod
Minikube is a command-line utility for executing Kubernetes on your PC. It produces a virtual machine-based single-node cluster (VM). With its range of built-in add-ons, Minikube efficiently facilitates evaluating essential features of a Kubernetes cluster, that can all be conveniently enabled or disabled. Utilize command line terminal to configure a minikube cluster on your Ubuntu 20.04 system. You can open it using one of two different methods. In the Ubuntu 20.04 system’s program search section, look for “Terminal. “Ctrl+Alt+T is a keyboard shortcut that can be used for this purpose.
By utilizing one of the techniques listed above, you can quickly launch the terminal. After you have finished opening the terminal, you will need to perform the following command to launch the minikube cluster:
The whole process will take some of your time. Make sure you are linked to the Kubernetes cluster by running kubectl get nodes in the command prompt to see the cluster’s nodes in the console once you have entered the Kubernetes sandbox environment. After that, you will be ready to generate and execute a pod if that works. To display node status, execute the appended below command in Ubuntu 20.04 terminal.
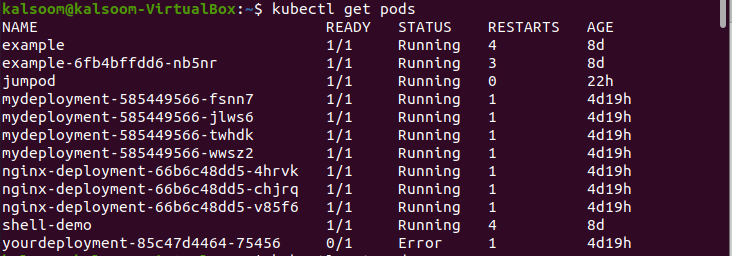
The status is “Ready”. To view the current status of pods present in your system, execute the cited below command:
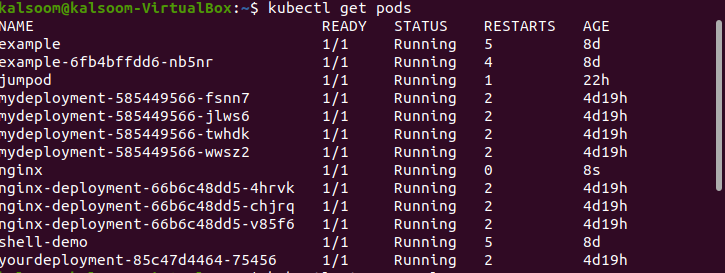
Now, we are going to create a pod by executing the cited below command:
The pod will add as you can see in the below image upon the execution of the following command in the shell.
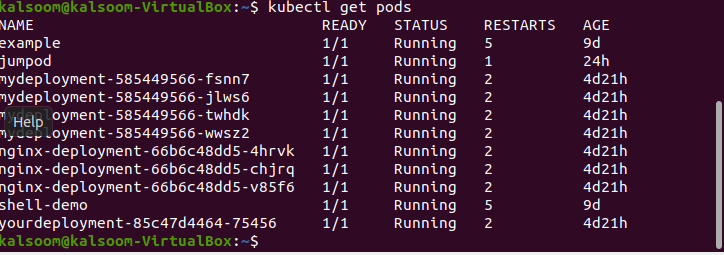
The procedure for deleting the pod is straightforward. Simply run “kubectl delete pod Nginx” to remove the pod you have made. The pod will be deleted as you can see in the below image upon the execution of the following command in the shell.
If you have successfully destroyed the pod, the command “pod Nginx deleted” will be shown in the console.
You can check that the pod has been deleted successfully upon the execution of the following command in the shell.
Conclusion
Pods are a very essential part of the Kubernetes system because they reflect the processes of an application, they are an important unit for grasping the Kubernetes object model. Throughout most cases, pods are used to control containers in Kubernetes in an indirect manner. In more complicated use cases, pods may include numerous containers that must share resources and serve as the container management hub. This article has covered the basic steps to create, delete and view pods.


