This article will look at how to install and set up the Ruby on Rails Framework on Linux.
NOTE: In this guide, we tested the installation process and instructions on Debian 10 system.
Install Dependencies
The first step is to update the system and set up the required dependencies.
sudo apt—get install curl git gnupg gawk bison libffi-dev libgdbm-dev libncurses5-dev libsqlite3-dev libyaml-dev pkg-config sqlite3 zlib1g-dev libgmp-dev libreadline-dev libssl-dev
Once you have the required dependencies, we can proceed to install Ruby and Ruby on Rails.
Install Ruby Version Manager
In this guide, we shall use the Ruby Version Manager to install and manage Ruby installations on our system.
RVM is easy to install and use, especially when working with multiple Ruby versions.
Start by importing and installing the GPG keys to verify the installation package.
Ensure you have the GnuPG package installed before running the command above.
In some instances, you may get an error when importing the RVM keys. To resolve this, you can import the keys with curl and verify them manually.
Use the commands:
Once installed, curl the installer from Github and run it to bash using the command as:
If you want to install the development version of RVM, use the command:
Once RVM installed, use the source command to add it to your path.
You can verify that RVM is installed and available in your path using the which command:
/home/debian/.rvm/bin/rvm
Install Ruby with RVM
In this step, we need to install the stable release of the Ruby language and make it the default Ruby Version.
To install the latest Ruby version, use the command:
As of writing this tutorial, the latest stable version of Ruby is version 3.0.2. Before executing the command, verify to ensure there are no newer versions.
Once the installation is successful, set the installed Ruby version as default by running the command:
To verify the applied changes, run the command:
Running this command should display the latest Ruby version:
Setting Up NodeJS
RoR requires JavaScript runtime for processing JavaScript code in web applications. Hence, we need to install NodeJS.
In this case, we can use the LTS version of NodeJS and run the command:
apt-get install -y nodejs
Install Yarn
In the next step, import yarn. Start by importing the gpg keys using the command:
Finally, add the Yarn Debian Repository as:
Finally, update and install Yarn using the commands:
sudo apt-get Yarn
Once the above installations are complete, verify by checking the versions:
yarn --version
Install Bundler and Ruby on Rails
In this step, we need to install Bundler and Ruby on Rails. Although we do not need to install gem, it is very useful for tracking Ruby projects.
Use the commands as:
Once installed, use the command below to install the latest version of Ruby on Rails.
To install another version of Ruby on Rails, change the 6.1.4 with the targeted version.
Finally, verify the Rails version using the command:
output
Rails 6.1.4
Creating Test Application
We can now test that RoR is installed and working as expected by creating a sample application. In this example, we will use the default database system for Rails, SQLite.
If you wish to learn how to use other database systems, check out the following tutorials.
https://linuxhint.com/install-mysql-on-centos-8/
https://linuxhint.com/how-to-install-mysql-on-ubuntu/
https://linuxhint.com/install-mysql-fedora/
To create a new rails project, start by creating a directory where the app will reside.
cd ~/Desktop/RoR
Next, initiate a new project with the command:
The above command will create a new application with the name ‘app.’ Feel free to change the name to your desired application name.
Finally, start to navigate into the project and start the puma web server:
rails server
This will launch the puma server on http://localhost:300
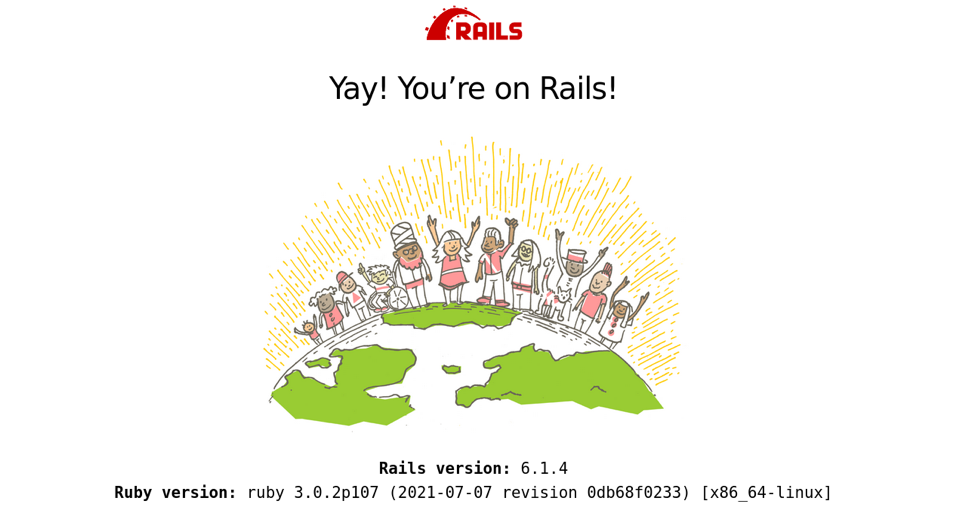
Open the browser and navigate the above address. It should display the default Rails webpage.
Conclusion
That’s it for this tutorial. You have now successfully installed Ruby on Rails on Linux.

