Yarn is a very popular javascript package manager for NodeJS based projects, and it is used for managing project dependencies like installing a new package, updating a package, and efficiently removing a package. It is fully compatible with the NPM and manages packages comparatively better and faster than the older NPM package manager, leading it to be the next first choice package manager for NodeJS applications instead of NPM.
Its parallel processing enhances the installation speed and reduces the chances of getting errors due to network connection problems. This post’s purpose is to help you in installing Yarn on the CentOS 8 Operating System.
Prerequisite
The only requirement is that you should have Node installed on your CentOS 8 system.
But if you have not installed it on your system, first, ensure that the EPEL repository is enabled on your system using the command given below because the Node Js is available through the EPEL repository:
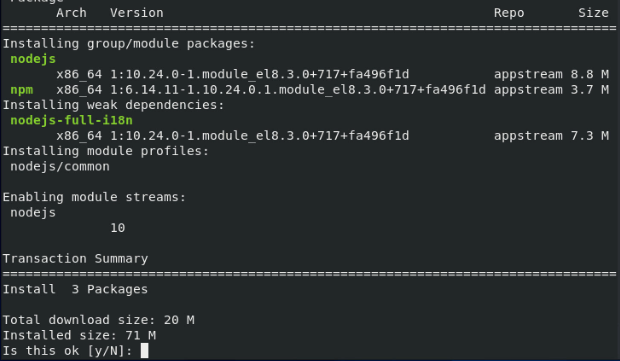
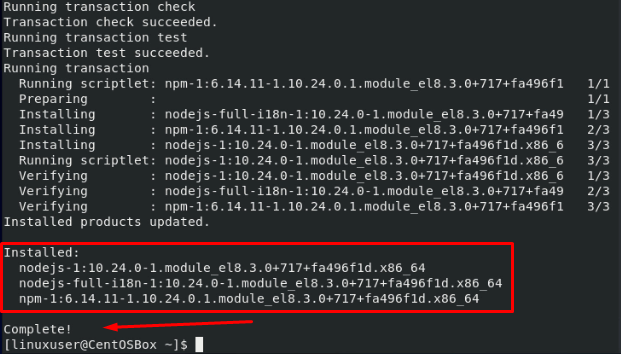
Now install Node using the command given below:
After installing Node and fulfilling the only prerequisite, the first step is to add the Yarn repository to the CentOS 8 system.
After adding, Import the GPG keys of the Yarn repository as well using the command:
By adding the yarn repository, you will have the latest and up-to-date version of Yarn.
Install Yarn
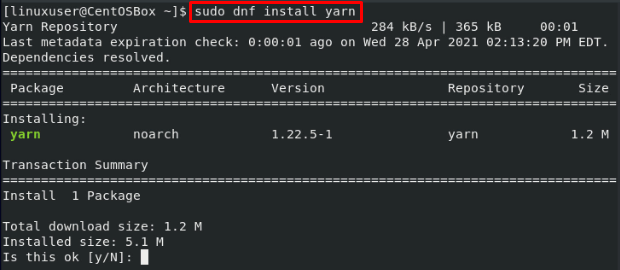
To install Yarn on CentOS 8 after adding and importing the GPG keys, type the command given below to begin the installation:
After the successful installation of yarn on the system, verify the installation using the command typed below:
It is witnessed that version 1.22.8 of Yarn is successfully installed and can manage the project dependencies.
Usage of Yarn
Let’s learn some basic yarn usage and see how it can be used to help in a development project.
Create a new project using Yarn
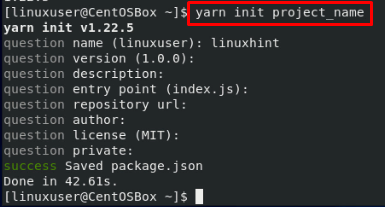
To create a new project using the Yarn command, the command given below can be used:
The above command will ask a couple of questions, so answer each question accordingly, and all the provided information will be saved in a package.json file to which you can edit anytime later.
Add a new package using Yarn
To add a new package or a dependency of your project, you can type the command given below:
Remove a package using yarn
To remove a package or dependency, type the command:
Upgrade a package or packages using Yarn
To upgrade all the package or dependencies of the project, type the command given below:
If you want to upgrade a single package or dependency, then you can append the package name to the ‘yarn upgrade’ command as shown in the command below:
Install all packages or dependencies of the project using Yarn
When you migrate the application to another place, you don’t need to move all the node modules along with that, you can just get your project files along with the package.json file, and you are all ready to take the project to any place.
After migrating your project to any other place like a directory or some other system, you just need to run the command given below, and it will install all the project dependencies written in the package.json file.
All the dependencies will be downloaded and installed in a couple of minutes, depending upon the size of packages and internet speed.
Conclusion
This is how you can install and start using Yarn, the CentOS 8 Operating system. This post provides a brief and profound knowledge of installing and using yarn to install, remove, upgrade, and install all packages or project dependencies using Yarn on the CentOS 8 Operating system.


