One of the most renowned features of ZSH is the customizability and extensibility of features using the external frameworks, plugins, themes, and more.
The most fundamental way of customizing and configuring ZSH is using the ZSH configuration file which is typically located in the home directory under the “.zshrc” name.
Therefore, learning the fundamental features of the ZSH profile can be very crucial in learning how to configure your ZSH terminal. Whether you are using an external framework such as Oh My ZSH, Antigen, etc., you need to know how to edit and configure your ZSH config file.
In this tutorial, we will walk you through the ZSH profile. This will help you with the configuration syntax, supported features, and also provide you with some tips and tricks on how to enhance your terminal experience.
Installing ZSH
Like every package and tool in the Unix ecosystem, we need to ensure that we have it installed on our system.
On Linux systems, you can install ZSH using your default package manager such as APT for Debian systems, DNF and Yum for Fedora, Pacman for Arch, and more.
If you are on macOS, ZSH is the default shell (depending on the version) and is readily available. However, if you do not have it installed for some reason, you can use Homebrew to install it as follows:
Once completed, we can configure ZSH to be the default shell interpreter upon launch. You can do this by running the following command:
This should change the default shell to ZSH.
Understanding the ZSH Profile
As we mentioned, the way to configure ZSH is using the “.zshrc” file. Let us dive into more details as to what this is and how it works.
What Is .Zshrc?
The “.zshrc” is short for Z-shell run control. It’s a hidden file (denoted by the leading) located in the home directory (~/.zshrc).
ZSH reads and executes every command that is defined in this file every time you start a new shell session. This includes opening a new terminal window, a new tab, or running a script within ZSH.
The following are some main uses of the “.zshrc” file:
- Configuring PATH, defining the environment variables, and other settings
- Creating shortcuts for commands and defining the functions for complex or repetitive tasks
- Modifying the appearance of the shell prompt
- Setting the shell options and configuring the command completion behavior
The syntax for the “.zshrc” file is essentially the ZSH scripting language. ZSH is very similar to Bash with a few enhancements and syntax changes. You can check out our tutorial on switching from Bash to ZSH to learn more.
Customizing the ZSH Profile
The first and most common task when working with your shell profile is customizing the shell prompt. We can do this using the escape sequences and special variables.
Take a look at the following example code:
In this case, the PS1 variable handles the customization of your prompt. The following denotes what each special variable represents.
- %n – Username
- %m – Hostname
- %~ – Current directory
- %(!.#.$) – Different prompt characters for root (#) and non-root ($) users
Setting the Variables
To set a variable in ZSH, we use the variable name, an equal sign, and the value of the variable. The syntax is as follows:
We can then reference the previously defined variable in the entirety of the script.
Exporting the Variables
We can also export the variables to make them available to sub-processes either in the current session or whenever the shell loads.
An example is as follows:
Aliases
Another very useful feature of ZSH is aliases. Aliases are basically shortcuts for long commands that you use most often.
In ZSH, we can define an alias as shown in the following syntax:
For example, suppose we wish to create a shorter command for the “ls –lah” command. We can create an alias as follows:
Functions
The next thing that we need to know about is functions. Functions allow us to define the reusable code blocks that we can call as single entity.
The syntax to define a function in ZSH is as follows:
# logic
}
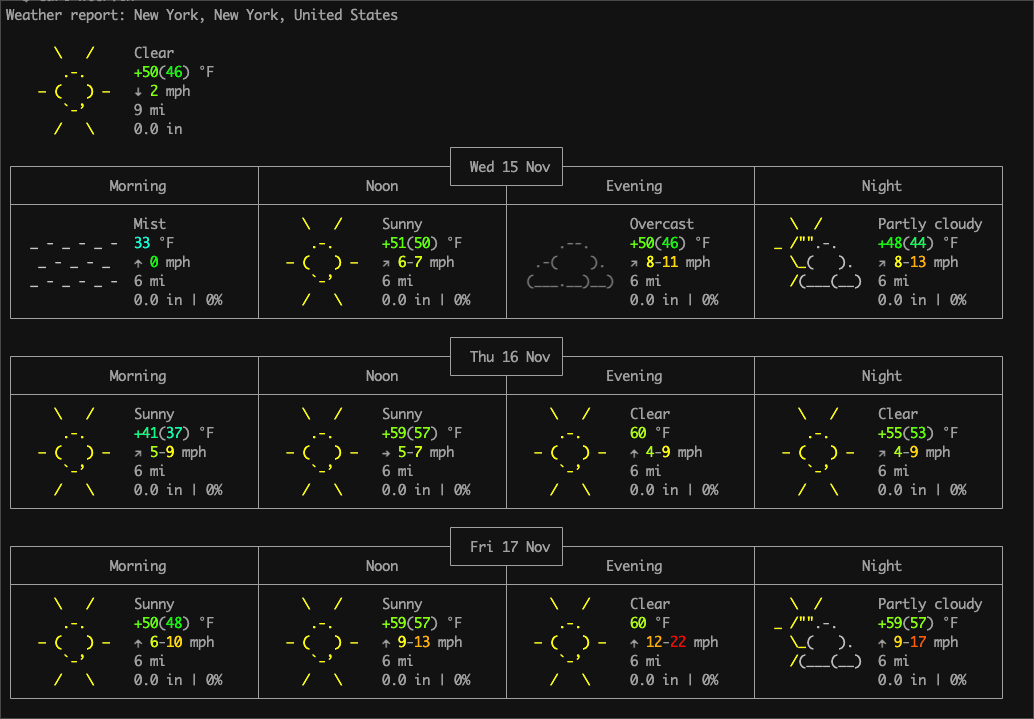
For example, suppose we want to have a function that fetches the weather information by making a curl request. Instead of typing out the whole command, we can define a simple function that does that as follows:
curl wttr.in
}
Now, when we need to retrieve the weather information, we can just call that function and it does all the work for us.
Key Bindings
Key bindings allows us to define a set of key sequences that are mapped to a given operation. For example, we can create a key shortcut that allows us to search the command history.
In ZSH, we define the key binding using the “bindkey” command. Take the following example:
This example binds the “CTRL + R” key sequence to the command history search functionality.
You can reference our tutorial on ZSH key bindings to discover more customization.
Auto-Completion
ZSH offers a powerful auto-completion. You can enable it by adding the following entries to the configuration:
compinit
Tips and Tricks
The following are some useful tips and tricks that you need to know when working in ZSH:
Command History
Navigate the command history with keyboard shortcuts.
- Ctrl-R – Search backward
- Ctrl-S – Search forward
- Up Arrow – Previous command
- Down Arrow – Next command
Recursive Globing
To enable the recursive globing, use **. For example:
Command Substitution
Use $(command) to insert the output of a command into another command.
Debugging
To debug the issues on ZSH startup, use “zsh –xv” to debug the “.zshrc” file.
You can also profile the startup time for your ZSH configuration using the “zprof” command.
Conclusion
In this tutorial, we discussed everything you need to know when you are dealing with ZSH profile. We also provided you with some tips and tricks that can help improve your ZSH experience.

