With the help of modern utilities, it’s easy to determine the Wi-Fi signal from the access point to the room. One among many of these utilities is LinSSID. It is an open-source Wifi-Analyzer tool that is written in C++ using Linux wireless tools and Qt4, Qt5, Qwt 6.1, etc. It has a graphical interface that shows nearby wireless routers and ad-hoc connections. LinSSID interface is similar in appearance and functionality to the Windows Wi-Fi network analyzer (Insider).
By default, the Ubuntu network-manager identifies all wireless networks and allows you to connect with one manually. However, with the help of this utility, you can check the nearest networks along with the number of radio channels used by them. Moreover, this app does not only inform you about the strength of your Wi-Fi network but also the strength and frequency of other Wi-Fi signals. This information allows you to choose the less congested radio channel and the strength of radio signals in different places of your home.
Features:
- Display details of locally receivable attach points in a tabular form.
- Speed can be altered according to the needs, with real-time updates.
- Provide details with columns regarding many different options.
- Graphically demonstrates signal strength by channel and overtime.
- Displayed columns can be customized and are portable.
- Displays AP bandwidth.
- User-friendly.
Installation:
There are various ways for LinSSID installation. You can either install LinSSID from the source packages available on the LinSSID page, or you can use PPA for DEB-based systems like Ubuntu and LinuxMint, etc. In this tutorial, we will use PPA for LinSSID installation.
For this purpose, you will need to add LinSSID PPA by typing
Now update ubuntu and install LinSSID.
ubuntu$ubuntu:~$ sudo apt install linssid -y
LinSSID uses wireless tools that require root privileges. You can either run it as a root or access it as an ordinary user by using the gksudo program to launch LinSSID.
In order to run as an ordinary user, you must set the SUDO system using visudo and then call the gksudo program.
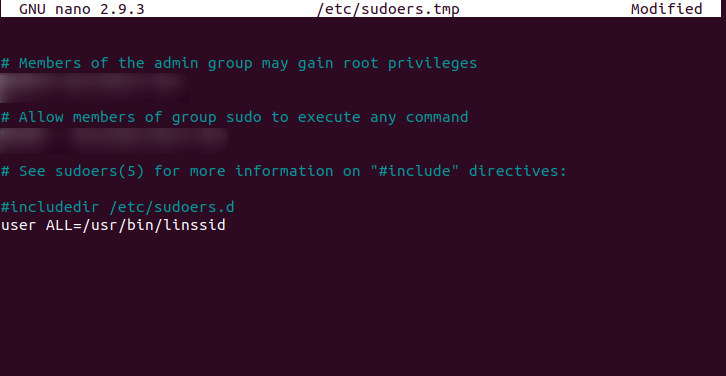
We will use visudo as root to configure the file /etc/sudoers. Now add the “user ALL=/usr/bin/linssid” line at the end of the file to grant root access to LinSSID.
Now start LinSSID using command “gksudo linssid”.
It’s suggested to not edit the file directly as visudo performs syntax check before configuration.
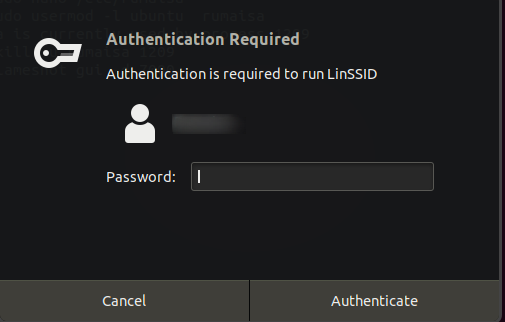
You can also launch the program from the menu. Once run, It will prompt for the password.
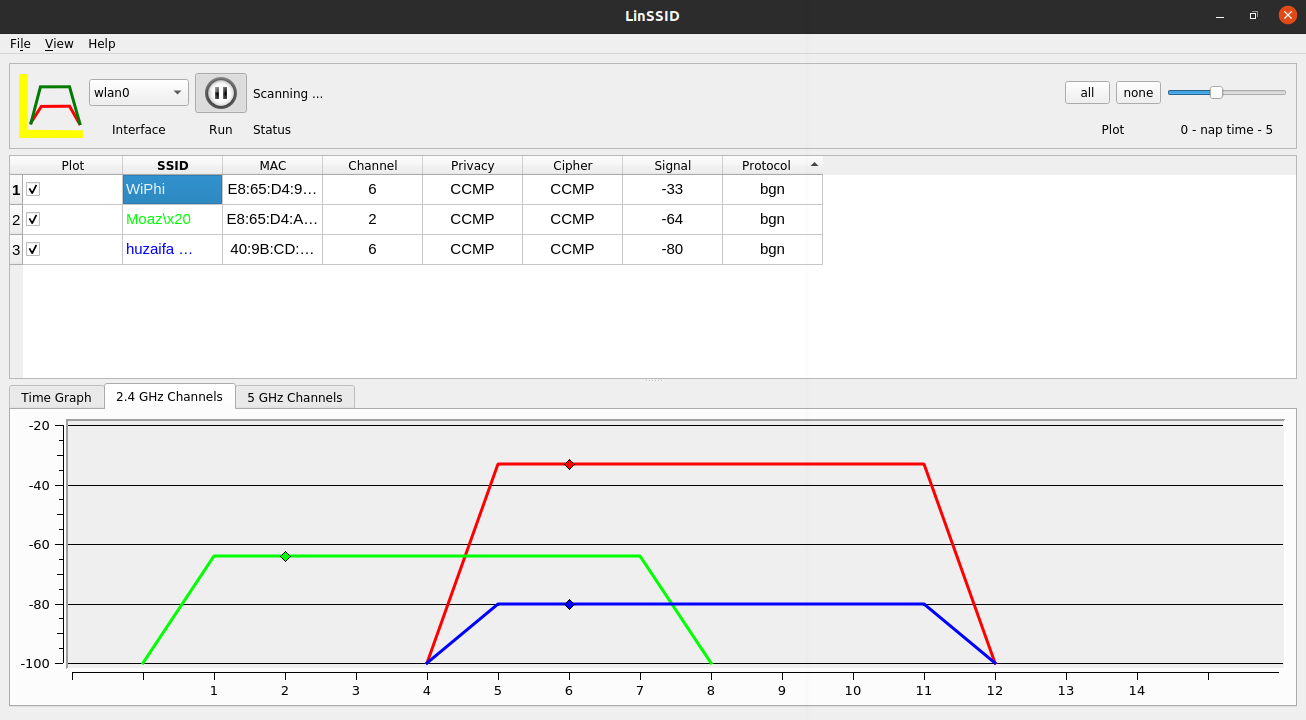
Once it’s launched, choose the interface with which you connect to your wireless network.
Now click the Play button to search all the available Wi-Fi networks in your computer range. The graphical interface displays a wide range of information, including:
- SSID
- MAC Address
- Channel
- Signal Strength
- Protocol
- Speed
- Noise
- Security (if it is encrypted)
- Frequency, etc
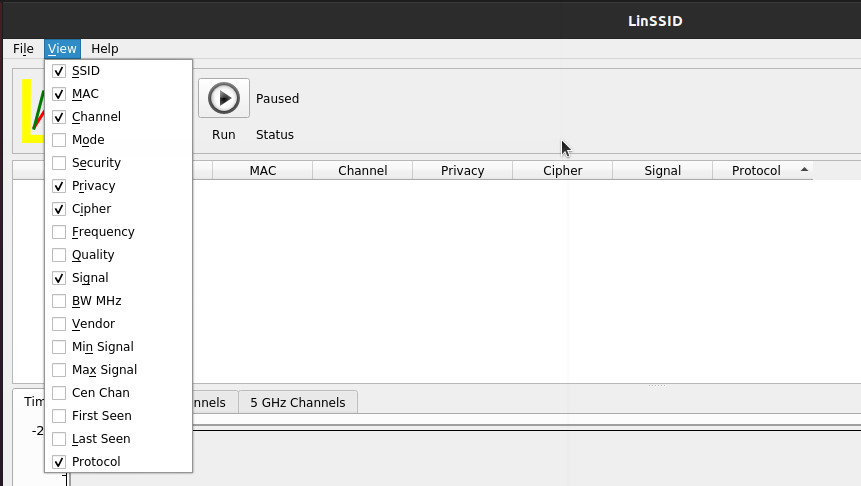
It’s important to note that not all the above information is available by default. Go to the main menu and click View to enable/disable fields as per your requirement. In addition, it also allows switching between Wi-Fi devices and altering automatic scanning intervals.
Now use the tool to check the signal levels at various locations of your home. You can check the signal level of neighborhood LANs. Now choose the channel that has the maximum strength and is connected with the least number of routers. The main functionality of this application is that it locates and measures the strength of each wireless network from your device. Hence, it gives you a lot of control and choice over which network to connect to.
Another advantage it provides is its compatibility with most of the GPS cards. Thus it shows the location of all available wireless networks, which combined with signal power analysis allows network managers to locate any network errors. However, you need to have GPS and Wi-Fi cards to utilize the GPS features and use this application.
Conclusion:
In this article, we have covered the basic working and understanding of wifi analyzing utility for unix systems, LinSSID. The provision of the user-friendly tool in Linux offers wireless scanning and Wifi performance analysis. The shared details in this article display user convenience, as its interface is ordinary and functional, as all the essential choices are apparent at a glance. It’s the best-suited utility for selecting appropriate wireless network channels and can be of a lot of help for network managers to locate any signal problems. In the meantime, as per its developers, it’s developed only for Ubuntu 12.04 plus and supports 64-bit versions. However, you can also have a look at some open-source alternatives for comparison.


