This post will demonstrate:
- Why use “git rm” to remove files instead of “rm”?
- How to remove a File using “git rm” Command?
- How to remove a File using “rm” Command?
Why Use “git rm” to Remove Files Instead of “rm”?
The “git rm” and “rm” are used to remove files from the Git repository. The main difference between this command is that the git rm is utilized to remove files from the Git repository tracking index only, not from the working repository. However, the “rm” command removes files completely from the tracking index and the working repository. Therefore, Git users are required to use git rm for removing files from the tracking index and keep it in the Git working repository.
How to Remove a File Using “git rm” Command?
Use the “git rm” to remove the file from the Git tracking index and keep it in the working repository. To remove files using the “git rm” command, look at the given instructions.
Step 1: Open Git Terminal
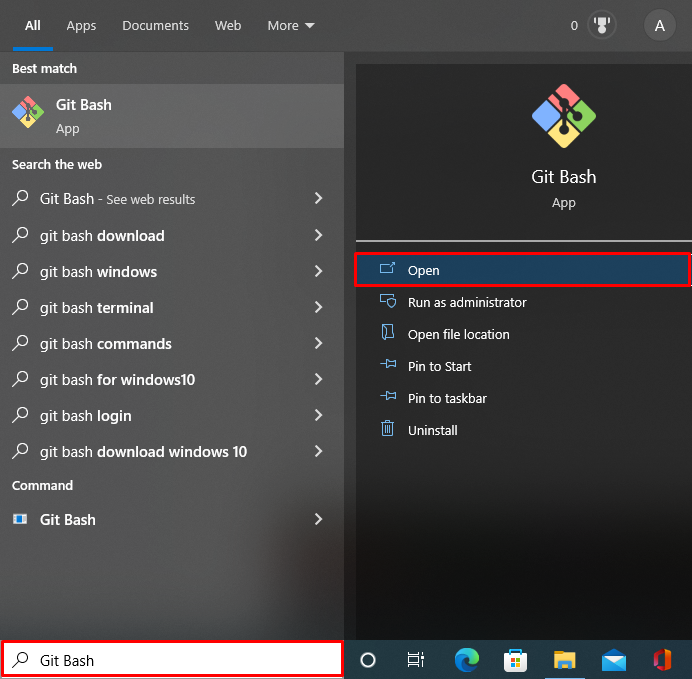
First, open the Git terminal from the “Startup” menu:
Step 2: Move to Git Repository
Go to the Git repository using the “cd” command:
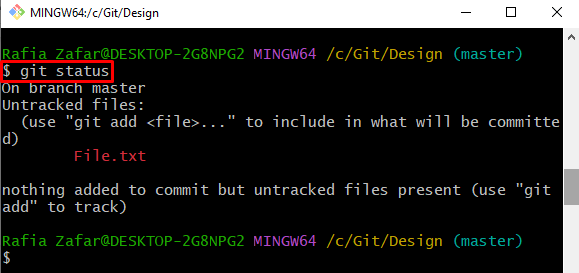
Step 3: Check Git Repository State
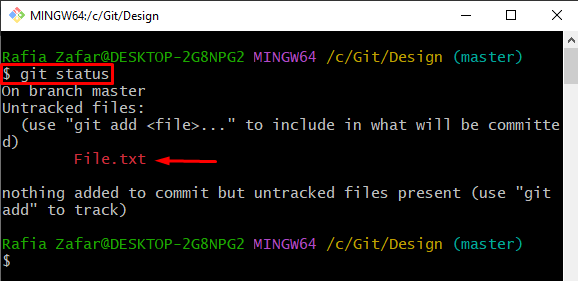
Check the repository state to check untracked and tracked changes:
Step 4: Move File to Tracking Index
Add the untracked file to the staging index by utilizing the Git “add” command:
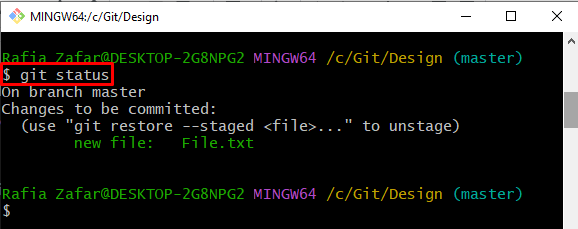
Again, check the repository state to verify whether the untracked changes are committed or not:
Here, you can see the untracked file “File.txt” is successfully added to the staging index:
Step 5: Remove File Using “git rm” Command
Now, utilize the “git rm” command to remove the file from the tracking index (staging area) but keep it in Git working repository (unstaging area):
Check the Git repository status to check if the file is removed from the tracking index or not:
The below output indicates that the file is removed from the tracking index but still exists in the working repository:
Alternatively, utilize the “ls” command to check whether the file is removed or not from the working repository:
The output shows that the file is only removed from the tracking area, not from the working repository:
How to Remove a File Using “rm” Command?
To remove files completely from the repository, Git users can simply utilize the “rm” command. For this purpose, go through the given instructions.
Step 1: Check Repository State
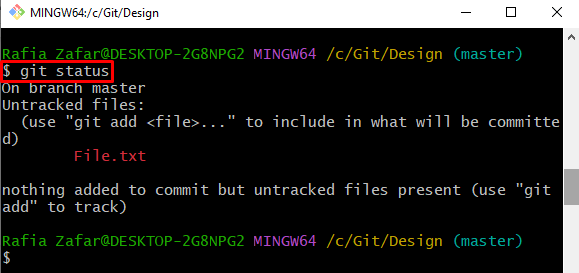
Firstly, check the Git repository state using the “git status” command:
Here, you can see the “File.txt” file is present in the working repository and has not been added yet to the tracking index:
Step 2: Remove File Using “rm” Command
To remove the file completely from the Git repository, utilize the “rm” command:
Again, check the status to verify if the file is removed or not:
Here, you can see the file is successfully removed from the Git repository:
Step 3: View All Files
View all the files to check if the file is removed from Git working repository or not using the “ls” command:
The output shows that the file is completely removed from the Git tracking index as well as the working repository:
You have learned the difference between the “git rm” and “rm” commands and how to use them.
Conclusion
The “git rm” and simple “rm” commands are both utilized to remove files. The main difference between these two commands is that git rm removes the file for the Git tracking index, not from the Git working repository. Whereas the rm command removes files permanently from the tracking index and from the working repository. In this post, we have demonstrated why we use git rm to remove files instead of rm.

