If you have not installed fail2ban yet, check for fail2ban installation instructions for Debian based Linux distributions.
Or for fail2ban installation instructions from sources for all other Linux distributions.
Whitelisting an IP address on fail2ban:
The fail2ban configuration file is jail.conf. You must not edit this file; instead, copy the jail.conf file into a new one, like <customisation>.local.
The command below will create a copy of the jail.conf file, into the jail.local file, and will open it for us to edit it whitelisting IP addresses.

Scroll down the jail.the local configuration file and find the following line.
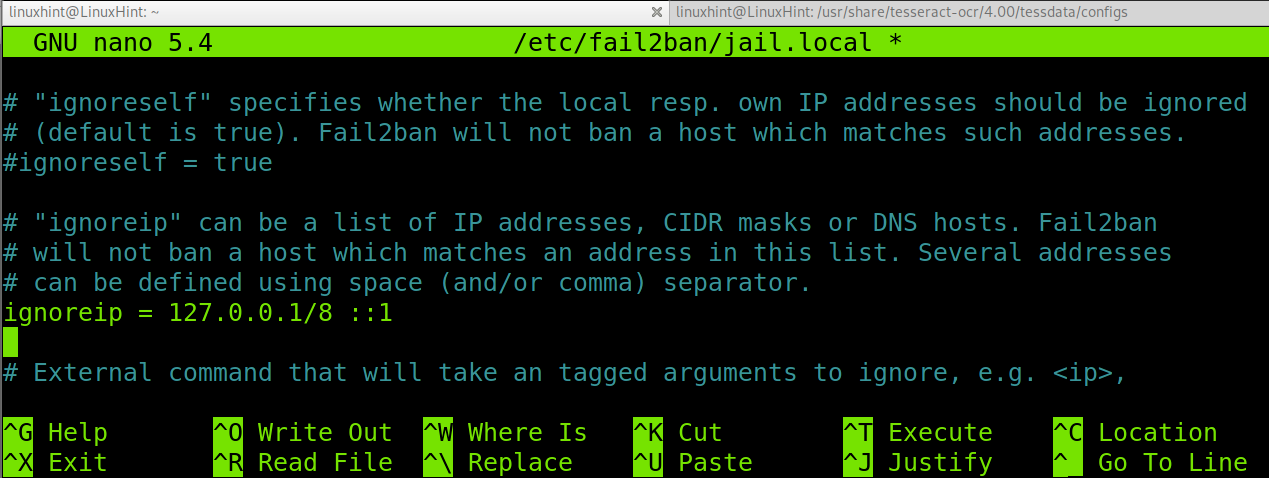
You can whitelist any IP address, subnet, DNS, etc.
You can save and exit nano by pressing Ctrl+X and Y.
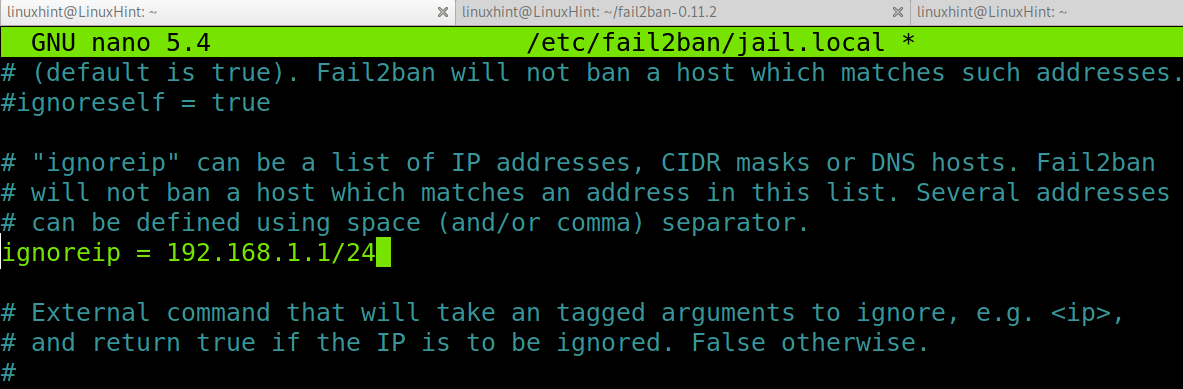
To add multiple whitelist IP addresses, just place one after the other, as shown below.

Always after making changes in the fail2ban configuration, restart the service by executing the following command.

Now the IP address you defined is whitelisted on fail2ban.
Ban and unban IP addresses using fail2ban:
To ban an IP address using fail2ban, run the command below:
To unban an IP address, run:
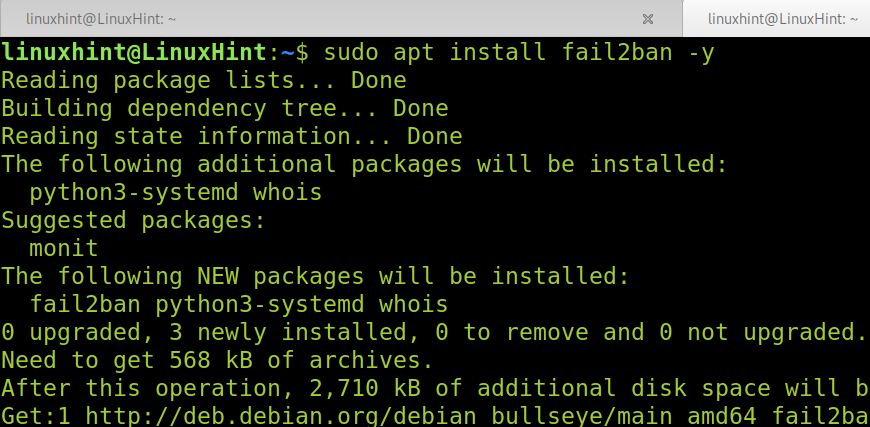
Installing Fail2Ban on Debian based Linux distributions:
If you have not installed fail2ban yet, on Debian based Linux distributions, you can install it using apt as shown below.
Once fail2ban is installed, you can proceed with the steps explained in the first section of this tutorial to whitelist IP addresses.
Installing Fail2Ban from sources (All Linux distributions):
If you are using another Linux distribution without the apt packages manager, you can download fail2ban sources from this link https://github.com/fail2ban/fail2ban/releases.
Select the current zip or tar.gz file and download it. In my case, I got the .tar.gz file, which I extracted using tar followed by -xvzf as shown below.

Once extracted, move into the extracted directory named “fail2ban-<version>” where <version> must be replaced by the fail2ban version you have downloaded.

Once inside the directory, install fail2ban by running the following command.

Once fail2ban is installed, you are ready to proceed with the steps explained in the first section of this article to whitelist an IP address.
Conclusion:
As you can see, installing and whitelisting an IP address on fail2ban is pretty easy. Fail2ban is a great tool to improve security against attacks targeting authentication methods. As shown in this tutorial, any Linux-level user can easily implement fail2ban in a few steps. Of course, this tool must be combined with planned firewall rules, strong authentication, and two-factor methods, etc.
Fail2ban can be easily managed from firewalls like Iptables. Some rules can be combined to afford known attack attempts.
Thank you for reading this tutorial explaining how to whitelist an IP address on fail2ban. Keep following us for additional Linux tips and tutorials.