This guide will explain how to find access logs of the EC2 instance in AWS.
How to Find Access Logs of the EC2 Instance in AWS?
Here are the steps you need to follow for finding the access logs of the EC2 instance in AWS.
Step 1: Prerequisites
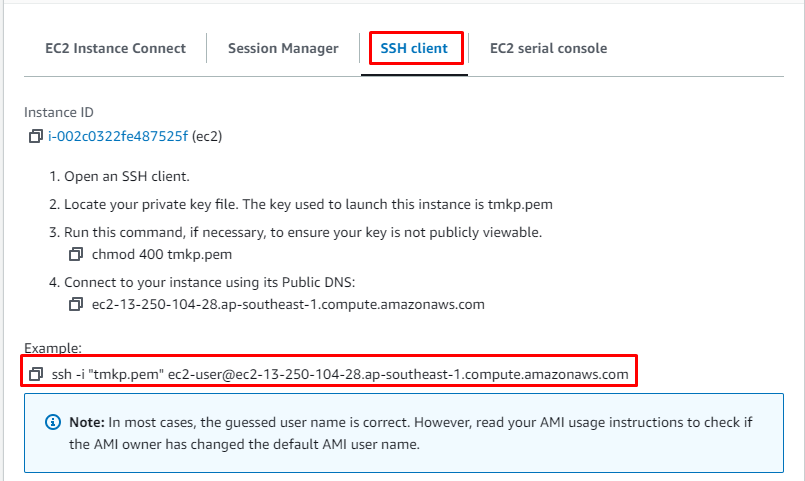
To find access logs of EC2 instances in AWS, it is required to create an EC2 instance and then select it to click on the “Connect” button:
Copy the command provided by the platform:
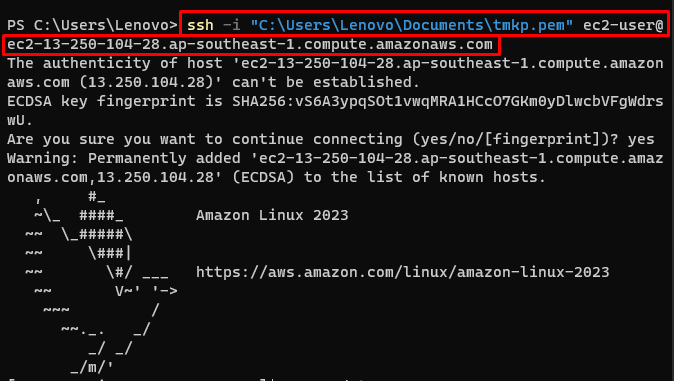
Paste the command on the terminal and change the path of the private key pair file:
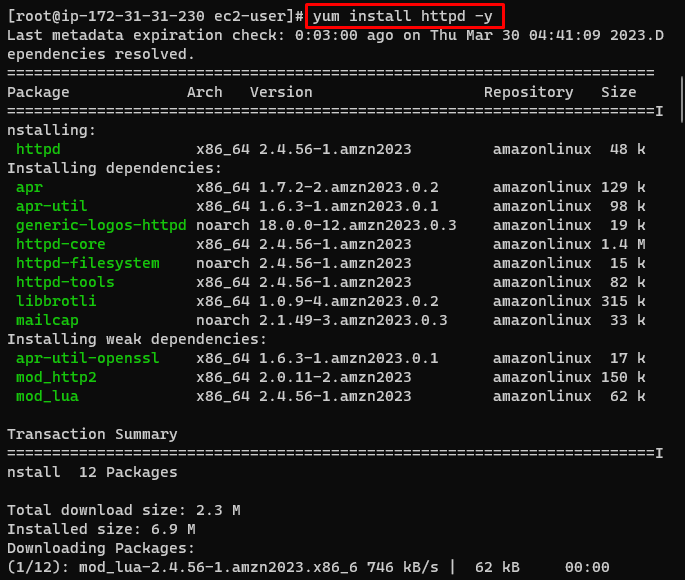
Use the following command to install the HTTP server:
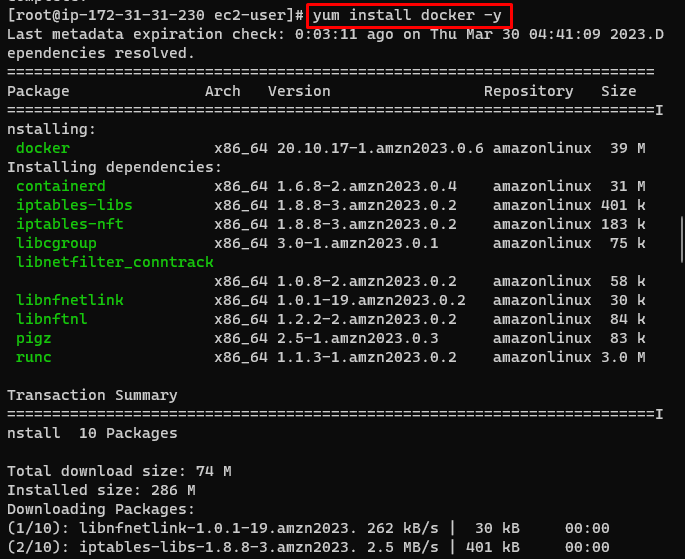
Install Docker on the instance:
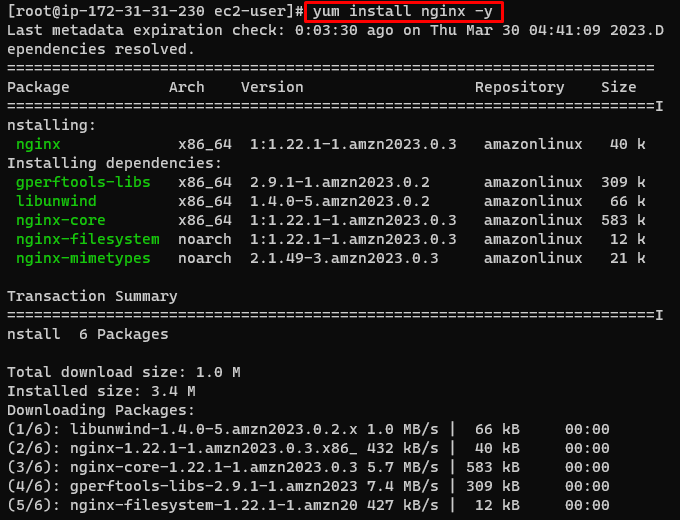
Install the Nginx server by using the following command:
Start the HTTP services:
Start the Docker services:
Start the Nginx services:
Step 2: Access Logs of EC2 Instance Using Commands
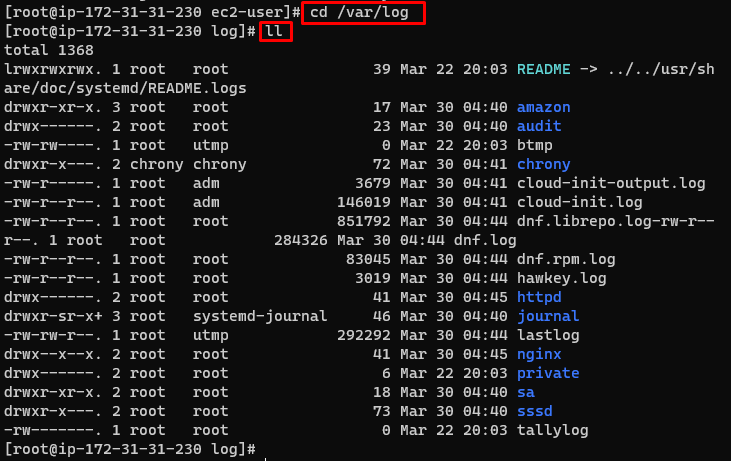
Head into the log directory:
Find the list of files inside the log directory:
Running the above command will display the list of all the files inside the log directory:
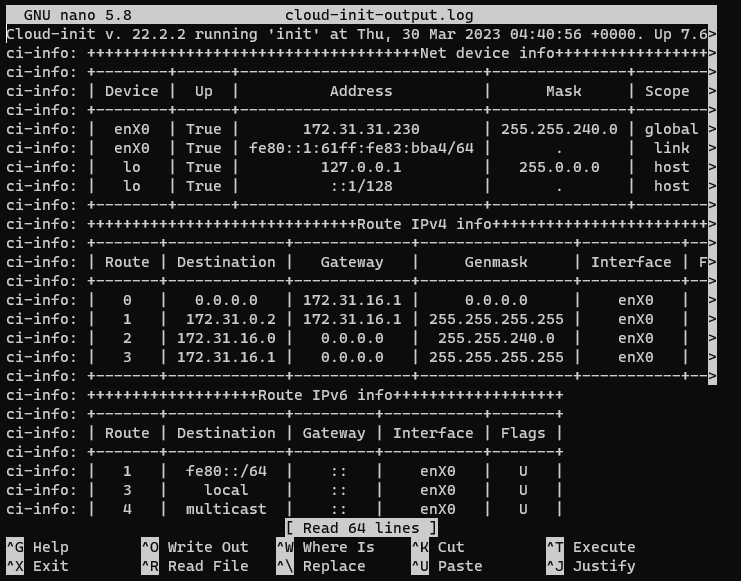
Check the logs of the instance head inside the “cloud-init-output.log” file:
The log file of the EC2 instance has been accessed:
Step 3: Access Logs of EC2 Instance Using Dashboard
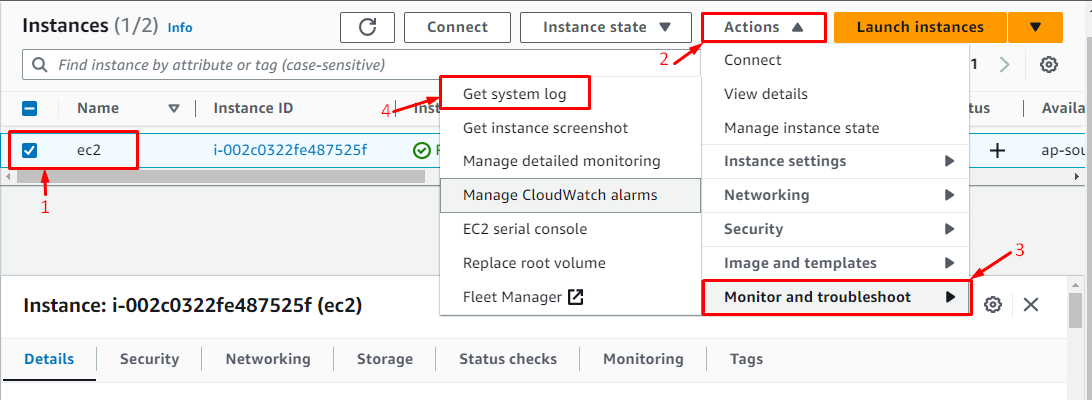
Visit the instances page from the EC2 dashboard to perform the following tasks:
- Select the instance.
- Expand the “Actions” menu.
- Expand the “Monitor and troubleshoot” menu from the “Actions” tab.
- Click on the “Get system log” button:
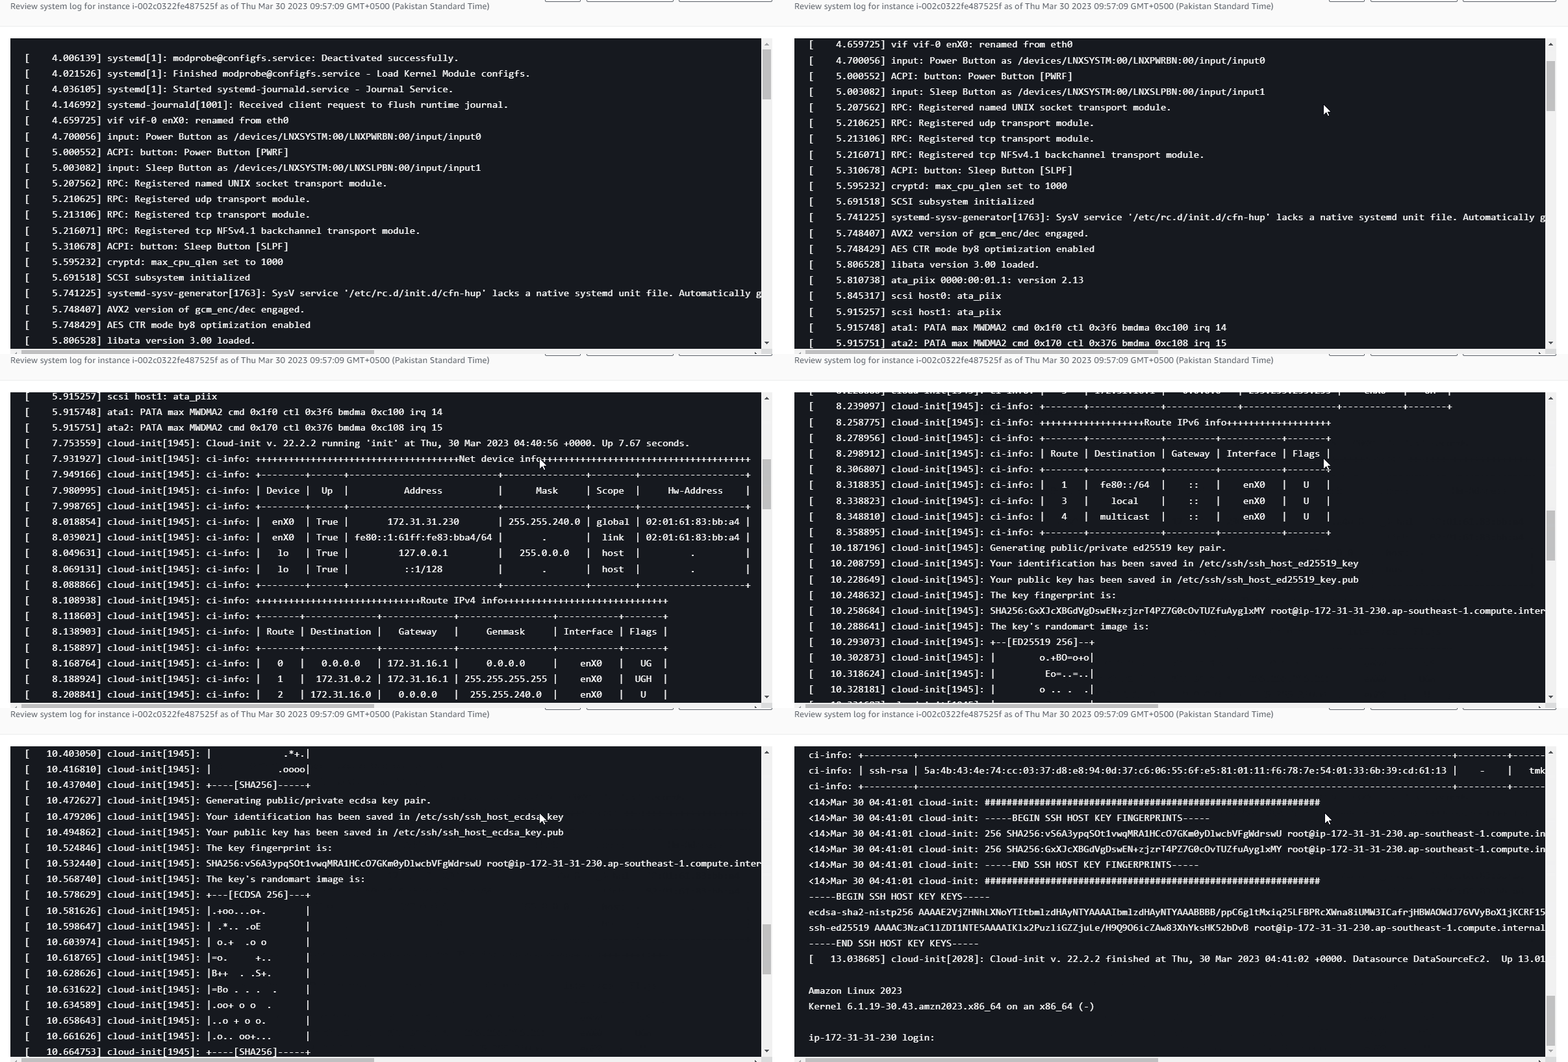
Here comes the logs of the instance in AWS:
That’s all about how to find access logs of EC2 instances in AWS.
Conclusion
To get the logs of the EC2 instance in AWS, visit the EC2 dashboard and launch an instance from there. Connect to the instance using the command provided by the platform from the SSH section. Head into the log directory and open the “cloud-init-output.log” file to find the access logs of the instance. Log files can also be located from the EC2 dashboard and this guide has explained both the methods of finding access logs of EC2 instances.


