Elasticsearch is a search engine and a big data solution so there are multiple processes and use cases involved in its working. The user can store data in the database, manage it, and extract it using queries to get useful information from it. The platform creates a log file for each process running in the background or happening on the screen from the start to the end of the connection.
This guide will explain the path where the log file is stored in Elasticsearch.
Where is the Elasticsearch Log File in Elasticsearch?
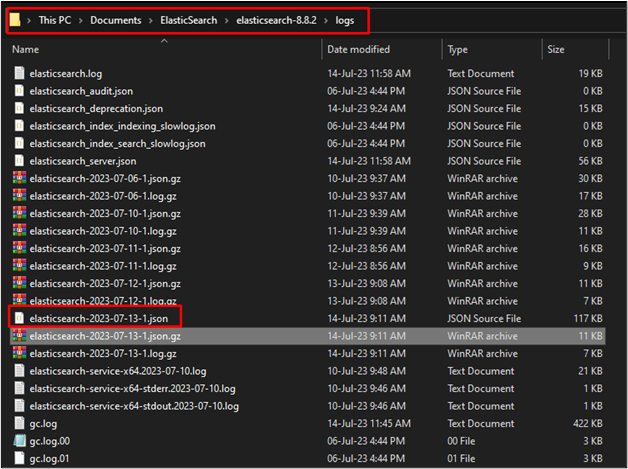
The log file is stored in the “logs” directory of the “Elasticsearch” folder. It contains multiple files as the process of log file creation is happening all the time. The log file is created for each activity a user is performing in Elasticsearch. The log file is created for the process of connecting to the server and it keeps updating these logs until the user is logged out of the service.
Step 1: Access the Elasticsearch logs Folder
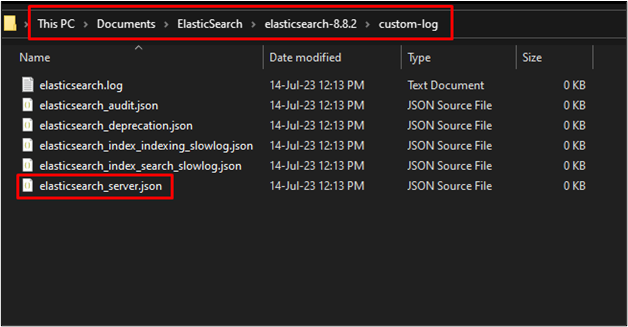
Simply head inside the “logs” folder and open the file that is recently created as the following screenshot is highlighting a file to open in the system:
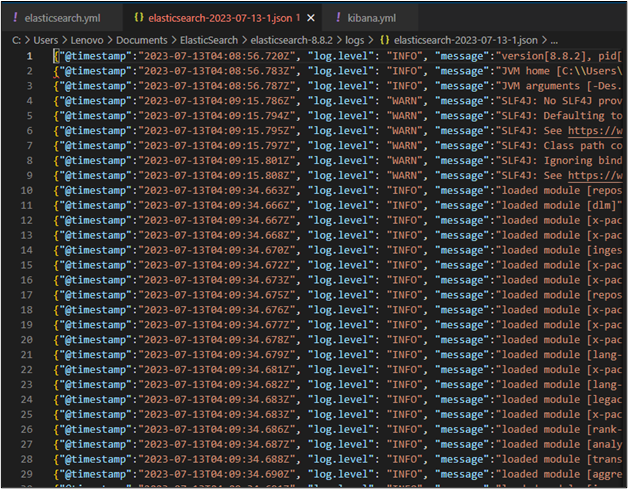
Step 2: View the Logs
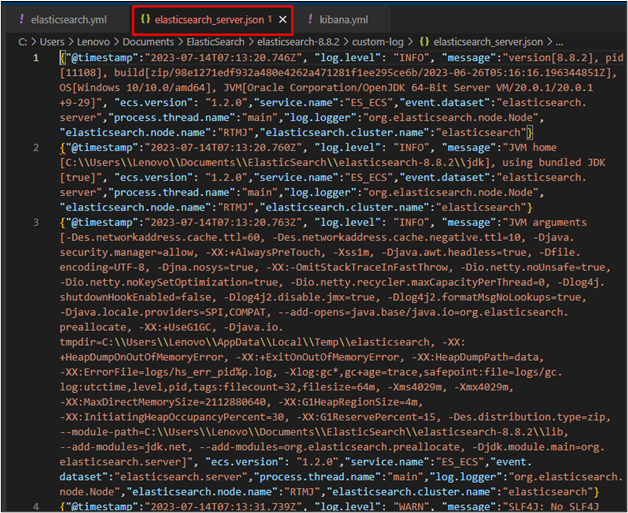
The content of the log file is stored in the log’s directory. It explains each activity with its timestamp and the message explains the process that happened at that time. It also contains the section on whether the activity was successful or not and the error log file is also stored in the log’s directory of Elasticsearch:
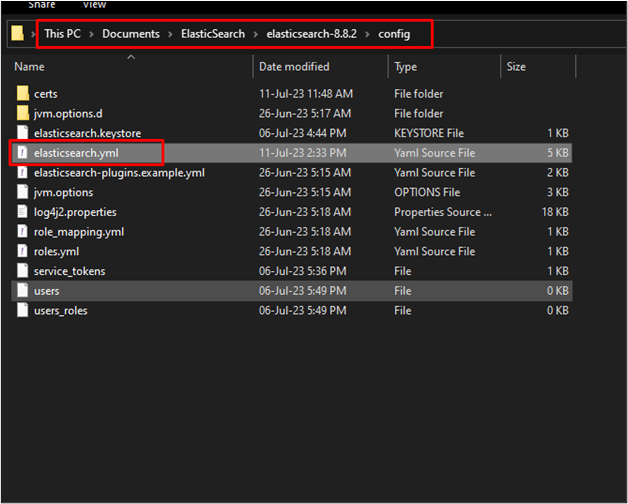
How to Change the Path of a Log File in Elasticsearch?
The user can also change the path of the log files and the future logs will be generated in the updated directory. To change the path of the log file, simply open the “elasticsearch.yml” file from the “config” directory inside the Elasticsearch folder:
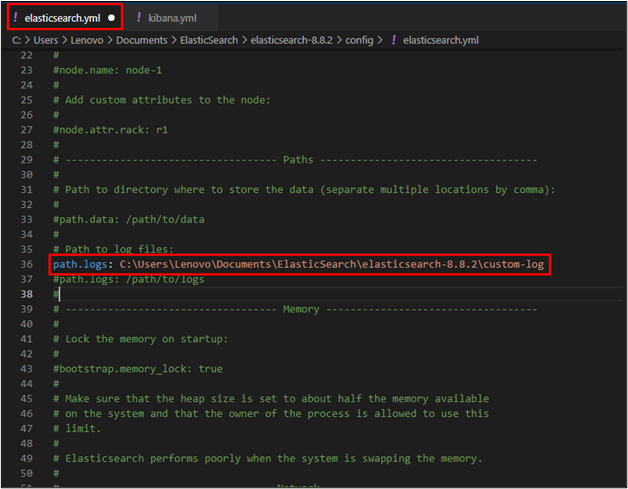
Change the Path
Locate the path section from the file and add the line with the following syntax:
Uncomment the command by removing the “#” sign before it and change the path of the directory from your system:
Start the Elasticsearch Service
After that, simply connect to the Elasticsearch engine by typing the following command in the Windows terminal inside the bin directory of the Elasticsearch:
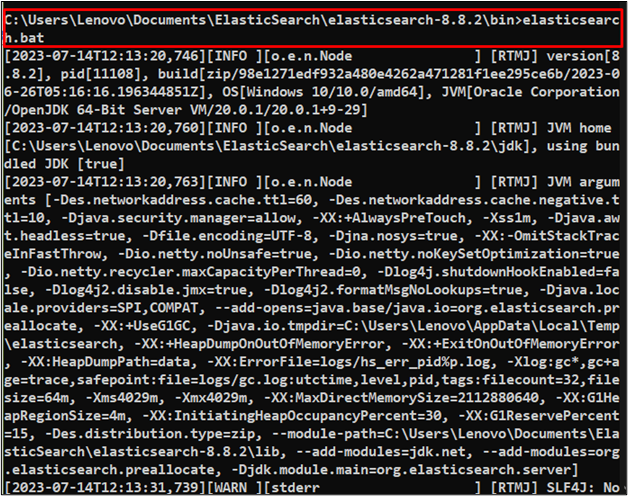
Connect to Elasticsearch Service
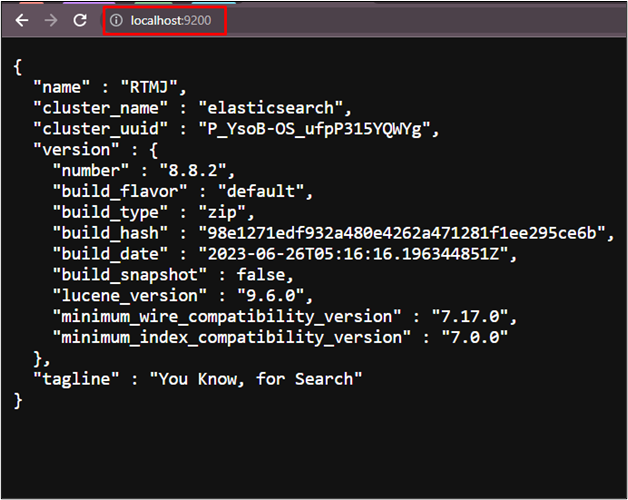
Sign in to Elasticsearch by running it in the “localhost” using the “9200” port number on the web browser in the following format:
Check the Log File From Updated Directory
After that, head inside the updated directory of the logs and there will be some new log files created for the connection process that happened in the previous step, simply open one of them:
The following screenshot contains the content of the log file created for the connection process:
That is all about the path where the Elasticsearch log files are stored.
Conclusion
The Elasticsearch log files are located by default inside the “logs” sub-directory under the “Elasticsearch” directory. It keeps on updating the file for each process. The logs are written for each activity that happened on Elasticsearch from the time of its connection until the user terminated it. The user can also change the path to store the log files to view the logs generated for some specific activity. This guide has explained the process of viewing the path of the log file in Elasticsearch and how to change it.