
Why bash is useful and who it is useful for?
If you want more control over your OS and want to perform different OS related tasks then bash is your way to go. By bash, we don’t only refer to the scripting language but also to the tools that come with Linux operating system. Every single tool on Linux has its work and each performs a different task individually. Bash is really useful whenever you need to combine all those tools and chain them together in such a way that they all work in harmony to accomplish a task which is really difficult to do otherwise. For example, anything that has something to do with the Linux OS can also be done in other programming languages such as Python or Perl but it’s very hard to accomplish different OS-related tasks. A simple, black & white and easiest way to do anything concerning Linux OS is by using bash. For anyone who wants to perform tasks that include the Linux OS tools (such as ls, cd, cat, touch, grep, etc.), it is really useful for him/her to learn bash instead of any other programming language.
How Bash compares to other programming languages?
If we talk about bash then we know that bash is not a general-purpose programming language but a command-line interpreter. Bash is really useful to perform tasks around different tools and processes with the ability to combine different processes together and make all of them work towards a single goal. Bash is really handy when it comes to dealing and manipulating the inputs and outputs which is a really difficult thing to do in other general-purpose programming languages such as python, C, etc. However, when it comes to data structures and complex tasks such as manipulating complex data, bash cannot handle such tasks and we have to look towards programming languages such as Python, Perl, C, etc. In programming languages, you can build software or a tool but you cannot build either of them in bash. However, you can use bash to run the tools or merge those tools together to run efficiently. It’s like building a rocket, if we consider this metaphor, programming languages will help you build the rocket while bash will help you drive the rocket and help you set its direction and help you land it to the moon or mars.
How to Create and Run Bash Scripts?
To create a bash script, you have to create a text file first with the extension of .sh at the end of the file name. You can create the bash scripting file using the terminal.
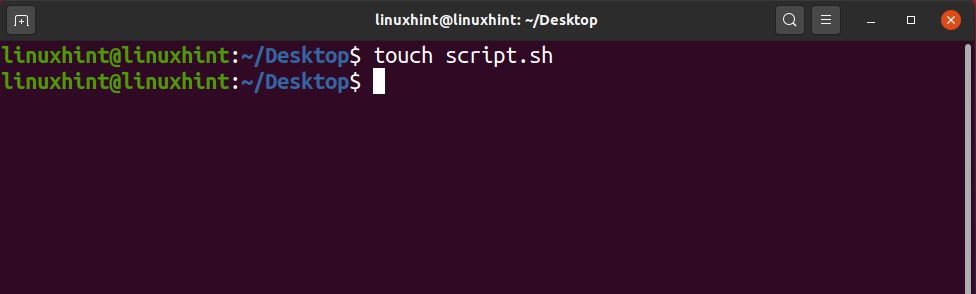
After typing in the above command, hit the enter key and you’d have a bash scripting file created in your current working directory. But that’s not it, we have created the scripting file but we have to perform certain actions to complete the script and run it. First of all, open the scripting file in a nano editor or gedit and on the very first line type in:
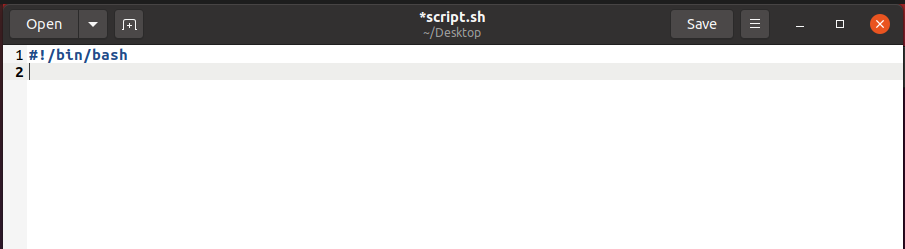
This is a standard first-line for every bash scripting file which helps it to be recognized as a bash script. Any script not having #!/bin/bash in the first line would not be considered as a bash script, so be sure to add this line to the top of every script. Once you have this line added, now you can start writing into the script. For example, I’d write here a simple echo command:
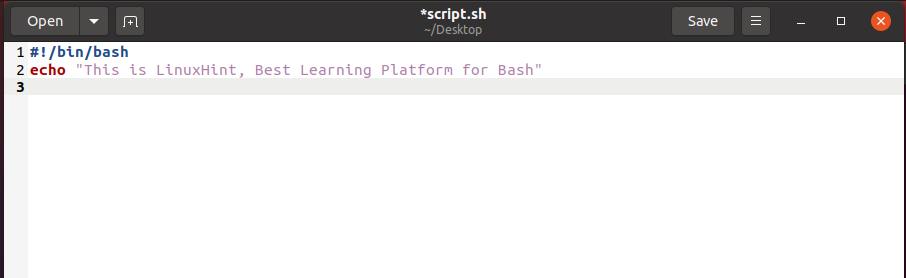
Once you have written this command, now you can go ahead save it, and go back to your terminal. Write in your terminal:

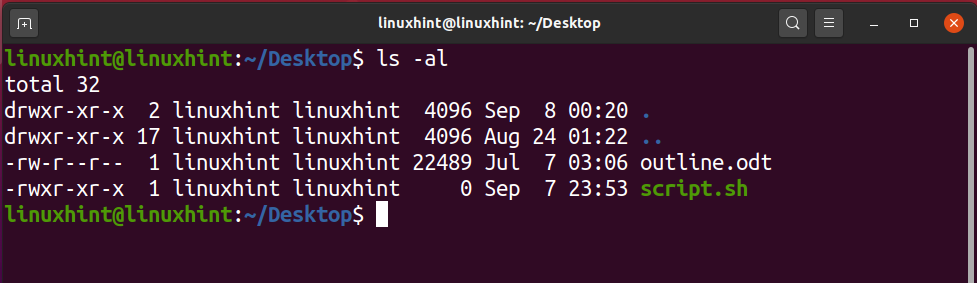
You can see ‘script.sh’ written in white color which is a sign that the script is a non-executable file as executable files are usually in green color. Further, take a look at the left side where we could see a pattern like “-rw-r–r–” which reflects that the file is only readable and writeable.
The first part containing ‘rw’ is the permissions for the owner likely the current user.

2nd part containing ‘r’ is the permission for the group in which we have multiple users.

While the 3rd part containing ‘r’ is permission for the public which means anyone can have these permissions for the mentioned file.
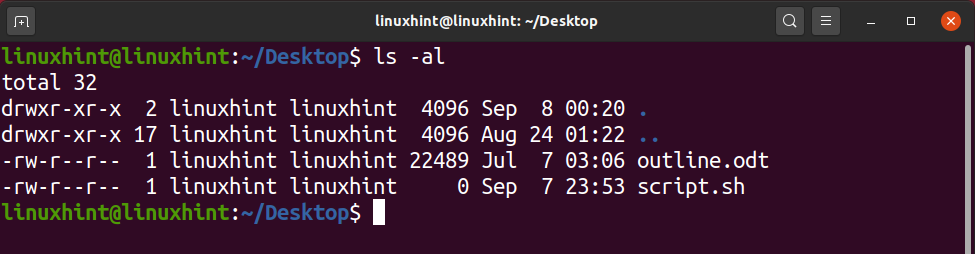
‘r’ stands for read permissions, ‘w’ stands for write permissions, ‘x’ stands for executable permissions. Clearly, we don’t see x against ‘script.sh’. To add executable permissions, there are two ways to do it.
Method 1
In this method, you could write a simple chmod command with ‘+x’ and it would add the executable permissions.

However, this is not the most efficient way to give executable permissions as it gives executable permissions not only to the owner but to the group and public as well which we certainly don’t want for security reasons. Take a look:
Method 2
In this method, you can use numbers to dictate the permissions of a file. Before we jump into that, I would like to give you a brief idea of what those numbers mean and how you can use them to manipulate permissions.
read = 4
write = 2
execute = 1
Permission numbers would be in three digits after the chmod command and each digit represents the permissions of the owner, group, and others(public). For example, to give read, write, and execution permissions to the owner and read permissions to the group and others would be something like this:

If you could notice, then you would come to a realization that we have added read, write and execute numbers for the owner in the first digit as 4+2+1=7, and for the group and others we use the digit of read i.e. 4.

Run a Bash Script
Now finally we have reached a mark where we can run the bash script. To run your bash script, you need to make sure that you are in the present working directory where your script resides. It’s not mandatory but that way it’s easy as you don’t have to write the whole path. Once you have done it, now go ahead and write in your terminal “./nameofscript.sh”. In our case, the name of the script is ‘script.sh’, so we would write:

3 Simple Examples of Bash Script
Hello LinuxHint
First of all, we would create a bash file in the present working directory:

Inside the file you need to write the following:
echo "Hello LinuxHint"
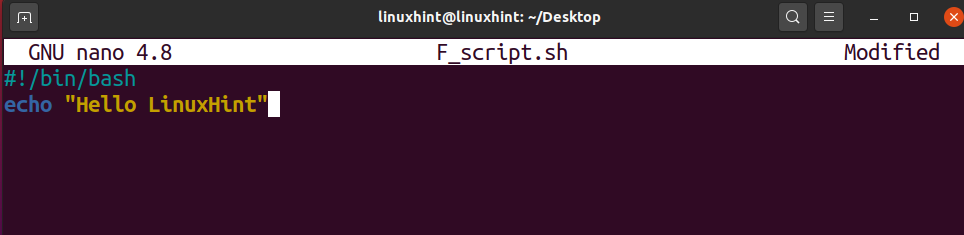
Once you have written it, now try to press Ctrl+O to write file changes then if you want to keep the name the same hit enter, otherwise edit the name, and then hit enter. Now press Ctrl+X to exit the nano editor. Now you would see a file named F_script.sh in your present directory.
To run this file you can change its permissions to make it executable or you can write:

Echo Command
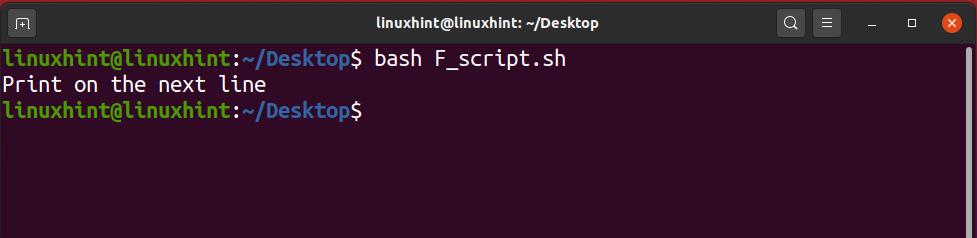
When we talk about the echo command, it is simply used to print out pretty much everything that you want to print out as long as it is written inside the quotes. Normally when you run an echo command without any flag it leaves a line then prints out the output. For example, if we have a script:
echo "Print on the next line"
After it is saved, if we run it:
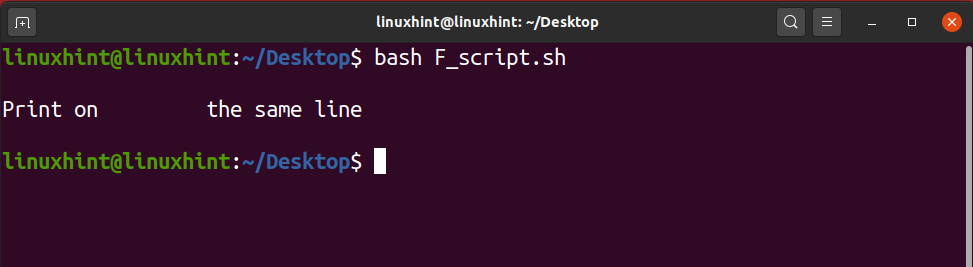
If we use the ‘-n’ flag with echo then it prints on the same line.
echo -n "Print on the same line"
After it is saved, if we run it:

Similarly, if we use ‘\n’ or ‘\t’ within the double quotes, it would print as it is.
echo "\nPrint on \t the same line\n"

However, if we use the flag ‘-e’, then it all not only goes away but it also applies the \n and \t and you could see the changes in the output below:
echo -e "\nPrint on \t the same line\n"

Comments in BASH
A comment is a line that doesn’t matter for the computer. Whatever you write as a comment is nullified or ignored by the computer and has no impact at all on the written code. Comments are usually considered more of a useful way for a programmer to understand the logic of code so that when he goes back to rework on the pieces of code, those comments could remind of him the logic and reasons why he has written code in a specific way. Comments can also be used by other programmers who might want to make changes to the code. If you have written a piece of code and you don’t want to remove it but you want to see the output without that specific piece of code then you can comment on that specific piece of code and go ahead and execute. Your program will run just fine, would get you good results while that extra code is still present in your script but it’s non-effective due to comments. Whenever you want to use that piece of code again, go ahead and uncomment those lines and you are good to go.
There are two ways you can write comments in bash; one way is to write single line comments while the other way is used to write multi-line comments.
Single Line Comments
In single-line comments, we use a ‘#’ sign that helps comment on the entire line. Anything written on the line followed by ‘#’ would be considered as a comment and would have no real value when we are executing the script. This single line comment can be used to communicate the logic and understanding of the code to someone who has access to the code.
echo -e "\nPrint on \t the same line\n"
#This script helps us apply the / combination of /n and /t


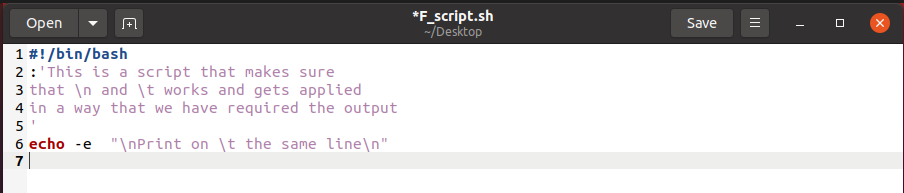
Multi Line Comments
Let’s say you want to comment a hundred lines in your script. In that case, it’d be difficult for you to use single-line comments. You don’t want to waste your time putting # on every line. We can use ‘:’ and then ‘whatever comments’. It would help you comment on multiple lines by just typing in 3 symbols which are handy and useful.
: ‘ This is script that makes sure
that \n and \t works and gets applied
in a way that we have the required output’
echo -e "\nPrint on \t the same line\n"
Take a look at 30 Examples of Bash scripts on Linuxhint.com:
6 Most Important lessons in Bash Scripting
1. Conditional Statement
The conditional statement is a very useful tool in decision making. It is widely used in programming languages. More often, we need to make decisions based on certain conditions. The conditional statement evaluates the given condition and takes the decision. In bash, we also use the conditional statement like any other programming language. The syntax of using the conditional statement in bash is a little bit different from the other programming languages. The if condition is the most commonly used conditional statement in bash and other general-purpose programming languages. The if condition evaluates the given condition and makes the decision. The given condition is also called a test expression. There are numerous ways to use the if condition in bash. The if condition is used with else block. In case, if the given condition is true, then the statements inside the if block is executed, otherwise the else block is executed. There are multiple ways of using the if condition statement in Bash which are the following:
- The if statement
- The if else statement
- The nested if statement
- The if elif statement
The if statement
The if statement only evaluates the given condition, if the given condition is true, then the statements or commands inside the if block is executed, otherwise the program is terminated. In bash, if the condition starts with the if keyword and ends with the fi keyword. The then keyword is used to define the block of statements or commands which execute when a certain condition is true. Let’s declare a variable and use the if condition to evaluate the value of the variable whether it is greater than 10 or not. The -gt is used to evaluate the greater than condition whereas, the -lt is used to evaluate the less than condition.
VAR=100
#declaring the if condition
if [ $VAR -gt 10 ]
then
echo "The $VAR is greater than 10"
#ending the if condition
fi

The if else statement
The if else statement is also used as a conditional statement. The statements or commands after the if condition is executed if the given condition is true. Otherwise, the else block is executed if the given condition is not true. The else block is followed by the if block and starts with the else keyword.
VAR=7
#declaring the if condition
if [ $VAR -gt 10 ]
then
echo "The $VAR is greater than 10"
#declaring else block
else
echo "The $VAR is less than 10"
#ending the if condition
fi

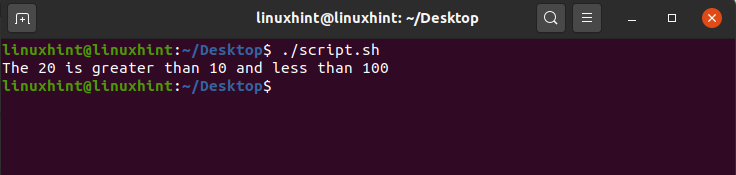
Multiple conditions can be evaluated by using the if condition. We can use the and operator (&) and or operator (II) to evaluate the multiple conditions inside a single if statement.
VAR=20
#declaring the if condition
if [[ $VAR -gt 10 && $VAR -lt 100 ]]
then
echo "The $VAR is greater than 10 and less than 100"
#declaring else block
else
echo "The condition does not satisfy"
#ending the if condition
fi
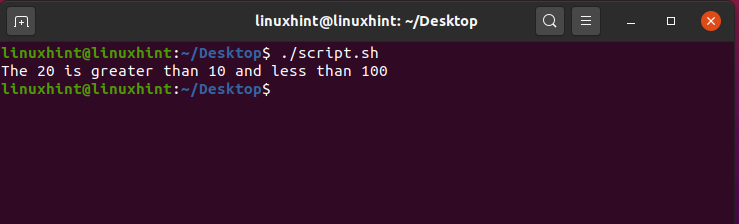
The nested if statement
In nested if statement, we have an if statement inside an if statement. The first if statement is evaluated, if it is true then the other if statement is evaluated.
VAR=20
#declaring the if condition
if [[ $VAR -gt 10 ]]
then
#if condition inside another if consition
if [ $VAR -lt 100 ]
then
echo "The $VAR is greater than 10 and less than 100"
#declaring else block
else
echo "The condition does not satisfy"
#ending the if condition
fi
else
echo "The $VAR is less than 10"
fi
The if elif statement
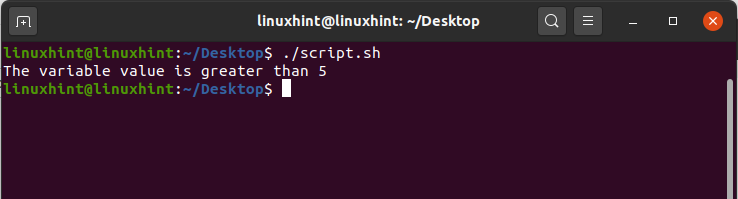
The if elif statement is used to evaluate multiple conditions. The first condition starts with the if block and the other conditions are followed by the elif keyword. Let’s consider the previous variable number example and implement the if elif statement in our bash script. The eq is used as an equal operator.
VAR=20
#declaring the if condition
if [[ $VAR -eq 1 ]]
then
echo "The variable value is equal to 1 "
elif [[ $VAR -eq 2 ]]
then
echo "The variable value is equal to 2 "
elif [[ $VAR -eq 3 ]]
then
echo "The variable value is equal to 2 "
elif [[ $VAR -gt 5 ]]
then
echo "The variable value is greater than 5 "
fi
2. Looping
Loops are the essential and fundamental part of any programming language. Unlike, the other programming languages, the loops are also used in Bash to perform a task repeatedly until the given condition is true. The loops are iterative, they are a great tool for automation of similar types of tasks. The for loop, while loop, and until loop is used in Bash.
Let’s discuss these loops one by one.
The while loop
The while loop executes the same statements or commands repeatedly. It evaluates the condition, and run the statements or commands until the condition is true.
This is the basic syntax of using a while loop in Bash.
While [ condition or test expression ]
do
statements
done
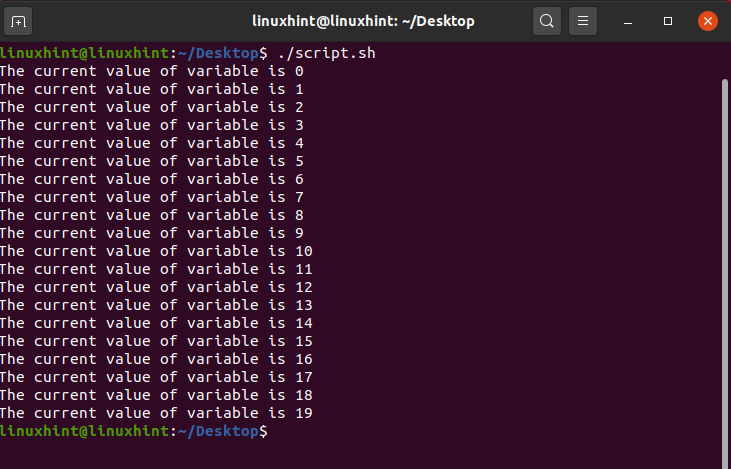
Let’s implement the while loop in our script.sh file. We have a variable VAR whose value is equal to zero. In the while loop, we have put a condition, that the loop should run until the value of the VAR is less than 20. The variable value is incremented by 1 after each iteration. So, in this case, the loop will start executing until the variable value is less than 20.
VAR=0
while [ $VAR -lt 20 ]
do
echo "The current value of variable is $VAR"
#incrementing the value by 1 in VAR
VAR=$((VAR+1))
done
The for loop
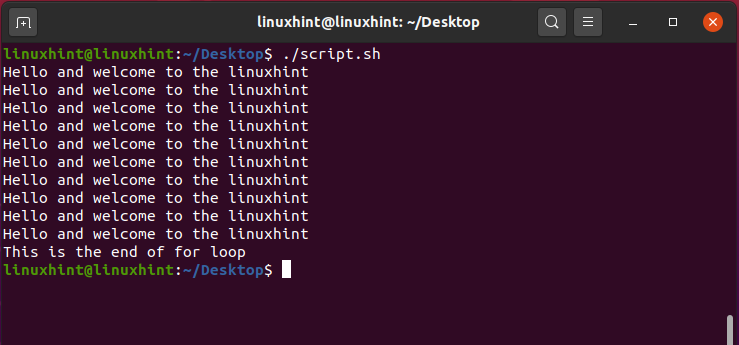
The for loop is the most commonly used loop in every programming language. It is used to execute the iterative task. It is the best way to perform repetitive tasks. Let’s declare the for loop in our script.sh file and use it for performing a repetitive task.
VAR=0
for (( i==0; i<20; i++ ))
do
echo "Hello and welcome to the linuxhint"
#incrementing the variable i
i=$((i+1))
done
echo "This is the end of for loop"
The until loop
The other type of loop that is used in Bash is until loop. It also performs or executes the same set of repeatedly. The until loop evaluates the condition and start executing until the given condition is false. The until loop terminates when the given condition is true. The syntax of the until loop is as follows:
until [ condition ]
do
statements
commands
done
Let’s implement the until loop in our script.sh file. The until loop will run unless the condition is false (The value of the variable is less than 20)
VAR=0
until [ $VAR -gt 20 ]
do
echo "Hello and welcome to the linuxhint"
#incrementing the variable i
VAR=$((VAR+1))
done
echo "This is the end of until loop"

3. Reading from the user and writing it on screen
The Bash gives the liberty to the user to enter some string value or data on the terminal. The user entered string or data can be read from the terminal, it can be stored in the file, and can be printed on the terminal. In the Bash file, the input from the user can be read using the read keyword and we store it in a variable. The variable content can be displayed on the terminal by using the echo command.
echo "Write something on the terminal"
#storing the entered value in VAR
read VAR
echo "You Entered: $VAR"

Multiple options can be used with the read command. The most commonly used options are -p and -s. The -p displays the prompt and the input can be taken in the same line. The –s takes the input in the silent mode. The characters of the input are displayed on the terminal. It is useful to enter some sensitive information i.e. passwords.
read -p "Enter email:" email
echo "Enter password"
read -s password

4. Reading and writing text files
Text files are the essential components to read and write the data. The data is stored in the text files temporarily and it can be read from the text file easily. First, let’s discuss writing the data into the text file and after that, we will discuss reading the data from the text files.
Writing the text files
The data can be written into a file in various ways:
- By using the Right Angle Bracket or greater-than sign (>)
- By using the double Right Angle Bracket (>>)
- By using the tee command
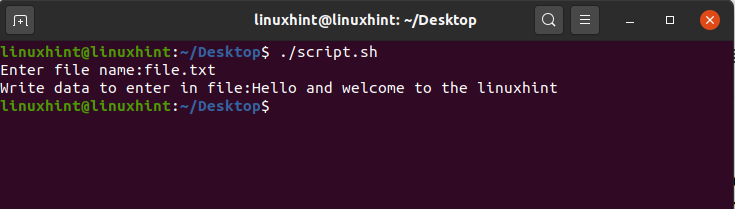
Right Angel Bracket Sign (>) to write data
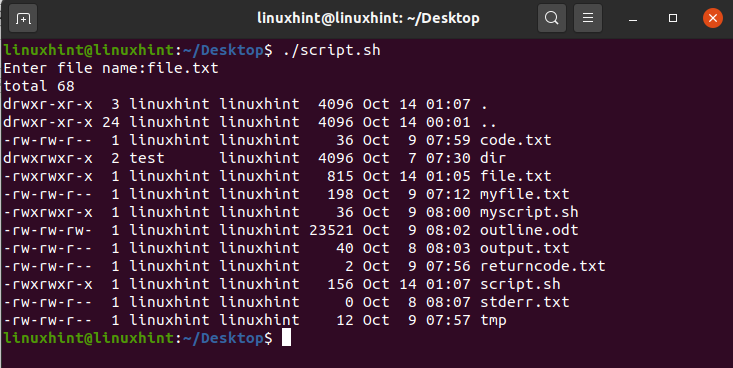
it is the most commonly used way to write the data into the text file. We write the data and then put the > sign. The > sign points to the text file where we have to store the data. However, it does not append the file and previous data of the file is completely replaced by the new data.
#user enters the text file name
read -p "Enter file name:" FILE
#user enters the data to store in the text file
read -p "Write data to enter in file:" DATA
#storing data in the text file
# > points to the file name.
echo $DATA > $FILE
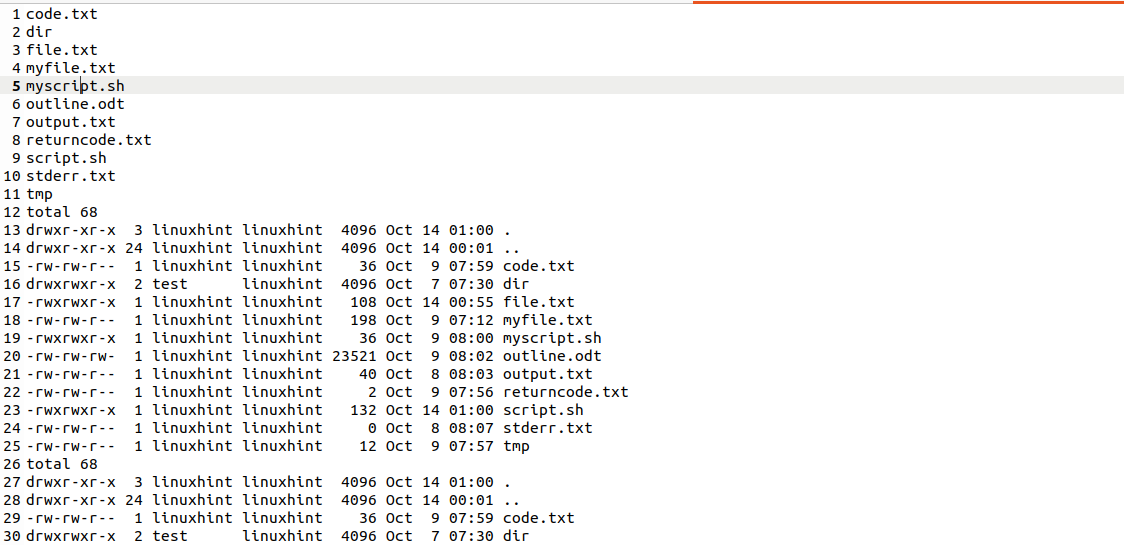
Right Angel Bracket Sign (>>) to write data
The >> is used to store the output of any command in the file. For example, the ls -al command shows the content and permissions of a file in a particular directory. The >> will store the output into the file.
#user enters the text file name
read -p "Enter file name:" FILE
#storing the command output in the file
ls -al >> $FILE
Using tee command to write data in the text file
The tee command in Bash is used to write the output of the command into a text file. It prints the output of the command on the terminal and as well as store it into the text file.
#user enters the text file name
read -p "Enter file name:" FILE
#storing the command output in the file using the tee command
ls -al | tee $FILE
The tee command overwrites the existing data of the file by default. However, -a option with the tee command can be used to append the file.
#user enters the text file name
read -p "Enter file name:" FILE
#storing the command output in the file using the tee command
ls -al | tee -a $FILE

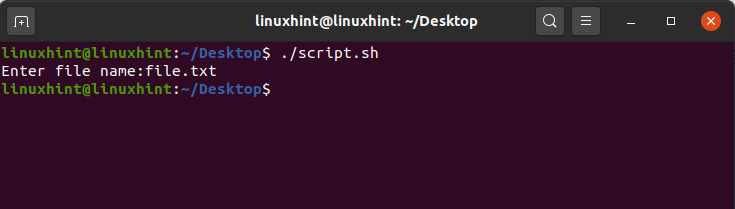
Reading the text files
The cat command is used to read data from the file. It is the most commonly used for this purpose. It simply prints out the content of the text file on the terminal. Let’s print the content or data of the file on the terminal using the cat command.
#user enters the text file name
read -p "Enter file name:" FILE
#reading the data from the text file
cat $FILE

5. Running other programs from bash
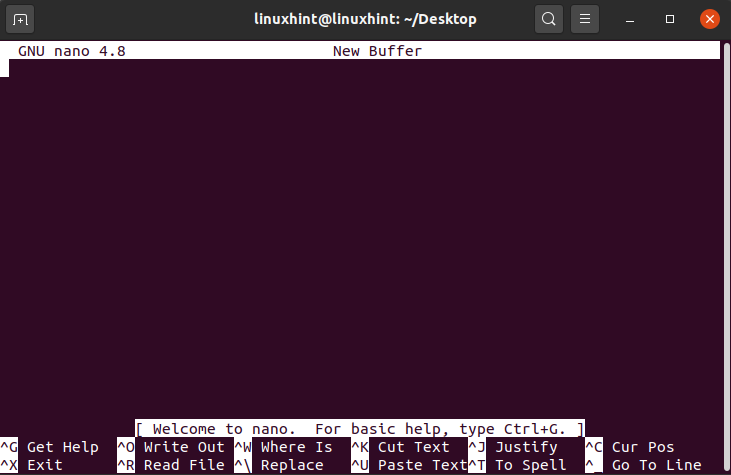
The Bash gives the authority to run other programs from the Bash script. We use the exec command to run the other programs from Bash. The exec command replaces the previous process with the current process and launches the current program. For example, we can open the nano, gedit, or vim editor from the bash script.
#running nano editor from Bash
exec nano
#running gedit from Bash
exec gedit
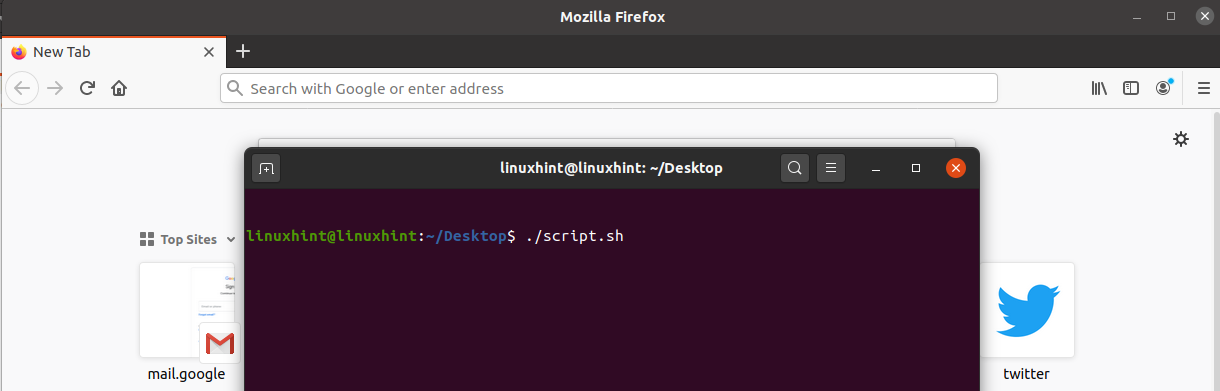
Similarly, we can run the browser application from the Bash as well. Let’s run the Mozilla Firefox browser.
#running firefox
exec firefox
Moreover, we can run any program from Bash using the exec command.
6. Command-line processing
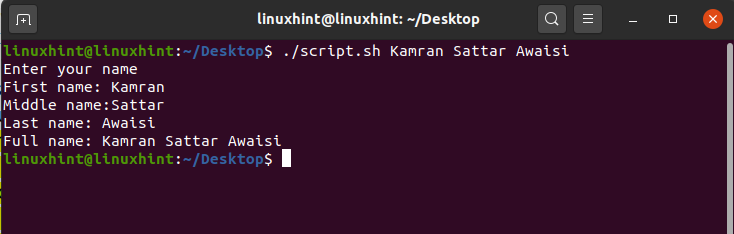
The command-line processing refers to the processing of the data entered on the terminal. The command-line data is processed for many purposes i.e. reading user input, understating the commands, and reading the arguments. Previously, we have discussed the read command. The read command is also used for command-line processing. In this section, we will discuss the processing of command-line arguments. In Bash, we can process the arguments that are passed or written on the terminal. The arguments are processed in the same way as they are passed. Therefore, it is called positional parameters. In contrast with other programming languages, the indexing of the arguments in Bash starts with 1. The Dollar sign ($) is used to read the arguments. For example, the $1 reads the first argument, the $2 reads the second argument, and so on. The arguments can be parsed for various reasons like for taking input from the user.
echo "Enter your name"
#processing the first argument
echo "First name:" $1
#processing the second argument
echo "Middle name:"$2
#processing the third argument
echo "Last name:" $3
echo "Full name:" $1 $2 $3
Reading the data from the terminal using read, and parsing the arguments are the most suitable examples of command-line processing.
History of Bash and Comparison with Other Shells
The Bash is now the essential component of UNIX and Linux based systems. The Bourne Shell was initially developed by Stephen Bourne. The intended purpose of the Stephen Bourne shell was to overcome the limitations of the already existing shells at that time. Before the Bourne Shell, the UNIX introduced the Thompson Shell. However, the Thompson shell was very limited in processing script. The users were not able to run a sufficient amount of the script. To overcome all these limitations of the Thompson shell, the Bourne Shell was introduced. It was developed at the Bells Lab. In 1989, the Brian Fox revolutionized the Bourne shell by adding numerous other features and named it as Bourne Again Shell (BASH).
| Name of shell | Year | Platform | Description | Comparison with BASH |
| Thompson Shell | 1971 | UNIX | The automation of the script was limited. The user can only do a small amount of scripting. | The BASH overcomes the limitations of the Thompson shell and the user can write the large scripts. |
| Bourne Shell | 1977 | UNIX | It allows us to write and run a massive amount of scripts. The Bourne Shell does not provide the command editor and a greater number of shortcut facilities. | The BASH provides improvements in the design along with the command editor. |
| POSIX Shell | 1992 | POSIX | The POSIX Shell is portable. It provides many shortcuts and job control. | The BASH is popular for performing those tasks which do not require portability. |
| Z Shell | 1990 | UNIX | The Z Shell is feature-rich. It is a very powerful shell and provides features like command auto-completion, spelling correction, and autofill. | The BASH lacks some of the features that are provided by the Z Shell. |
Conclusion
BASH is a very powerful tool that allows us to run commands and scripts. A BASH script allows us to automate the daily tasks and commands. A BASH script is a combination of multiple commands. The BASH file ends with the .sh extension. Before running the BASH script, we need to update the file permissions and we need to provide the executable permission to the .sh file. This article explains the BASH and BASH scripting with the help of simple examples and important lessons. Moreover, it describes the history of BASH and compares its features with various other powerful shells.