Setting up Free VPN on Debian 10 Buster
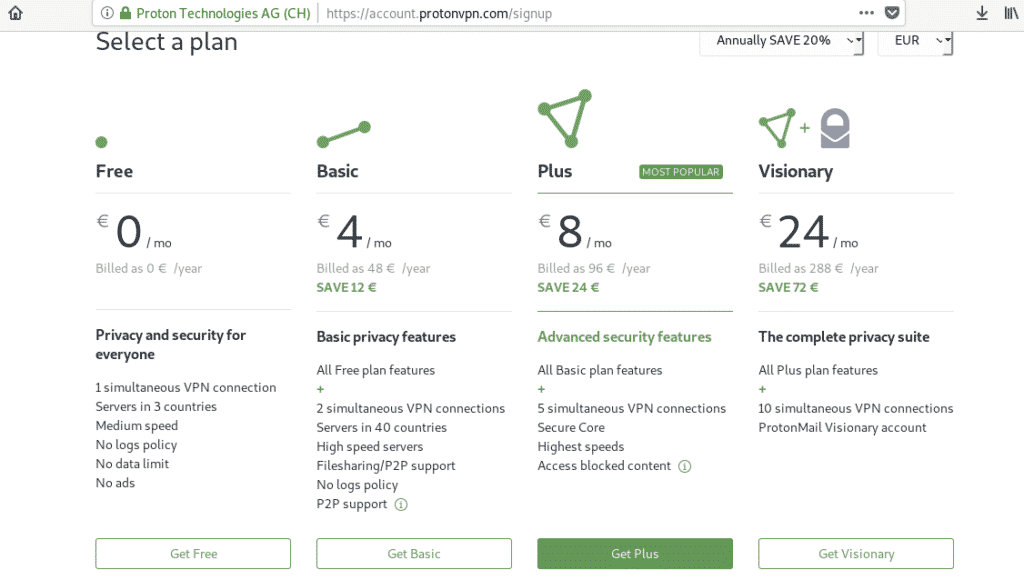
To begin visit the website https://protonvpn.com and click on the central button GET PROTONVPN NOW.
For this tutorial we are using the free plan, click on the Get Free button to continue.
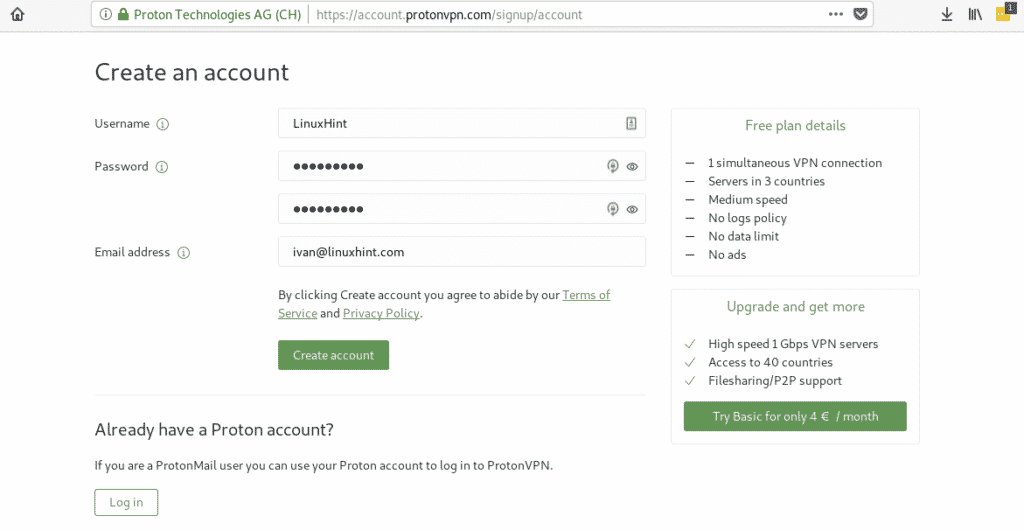
On the next screen fill the fields with your username, password and email and click on the Create Account button to continue.
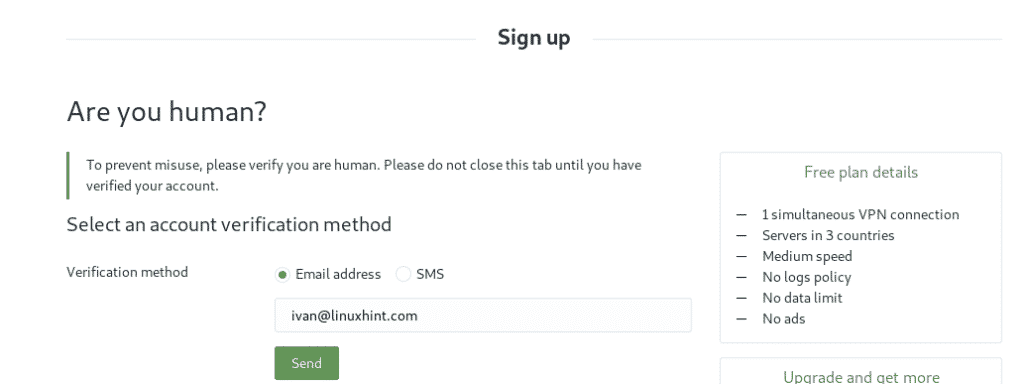
At this step you can choose to confirm your account through e-mail address or SMS. Fill any of them and click on the Send button to continue.
Check your e-mail inbox for the verification code ProtonMail just sent and copy it.
Go back to the ProtonVPN browser tab and paste the code you just received, then click on the Verify button to confirm.
You will be redirected to your ProtonVPN dashboard, on the initial screen you’ll see all OS (Operating Systems) available for ProtonVPN. Ignore it, do not click on any option, instead you need to install OpenVPN, dialog, Python and wget, to do it open your console and run:
Now download the ProtonVPN command line interface by running:
https://raw.githubusercontent.com/ProtonVPN/protonvpn-cli/master/protonvpn-cli.sh
Edit the script permissions to execute it by running:
Run the script:
Go back to the ProtonVPN website, to your dashboard and on the left menu click on Account to see your OpenVPN username and password. It is important not to confuse your ProtonVPN credentials with your VPN credentials. Your ProtonVPN credentials are used to protect your ProtonVPN account, log in to your dashboard while VPN credentials are the ones we need to provide the ProtonVPN-cli (command line interface) to connect. Once in the Account section within your dashboard copy the username and password or edit them for credentials you remember.
Launch the ProtonVPN command line interface by running:
It will request your credentials, fill your OpenVPN (not your ProtonVPN) username and password. Then it will ask for the plan you subscribed, type 1 and press ENTER.
Then it will ask if you want to use DNS servers defined by you and if you want to decrease OpenVPN privileges, at least in my case since I executed it as root. Press enter twice to leave the default options and continue.
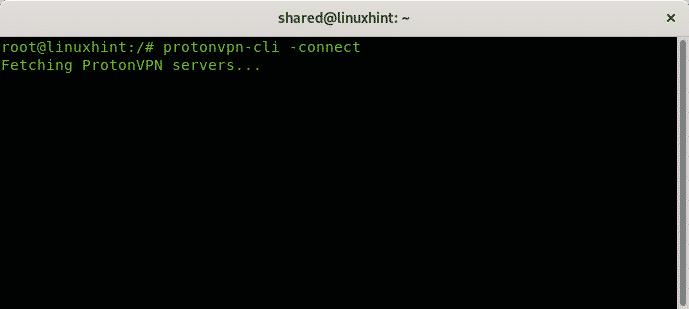
Now ProtonVPN is configured and ready to be launched. To launch ProtonVPN and connect through it run:
ProtonVPN free plan only allows 3 countries, but it is still great, select your best option, and press ENTER to continue.
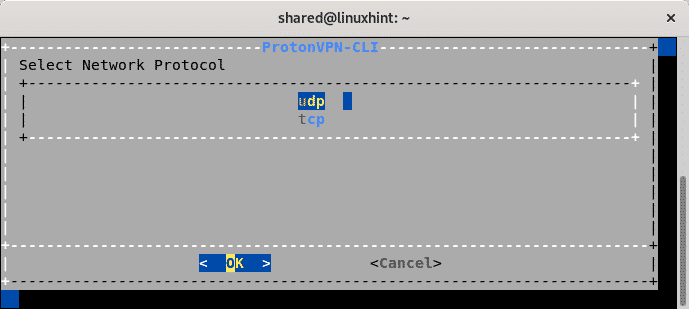
And the last step is to define the protocol, for VPN connections the UDP protocol is preferred over the TCP protocol to increase speed.
Press ENTER to choose UDP.
Finally ProtonVPN informs you are properly protected,otherwise it may throw some error specifying the problem:
You can confirm your new IP address by googling it:
And as you can see your connection is protected through VPN with a good connection speed for a free service.
About ProtonVPN
ProtonVPN is extremely attractive for users who don’t want to pay for a VPN service and don’t need to forge specific locations but only worry about privacy and protection from their ISP (Internet Service Providers).
Features:
ProtonVPN covers almost 40 countries with around 500 servers worldwide. It works both through UDP and TCP protocols as shown in the instructions above, and it is available for Linux, Windows, Macintosh, Android and iOS.
The encryption protocol is IKEv2 with AES-256 encryption. It can also be accessed through Tor and disable the connection if the VPN tunneling is lost guaranteeing protection even before failures.
It also supports two-factor authentication and offers a Secure Core feature improving security if a VPN server security is compromised.
Additionally to the VPN service, the company, or its partner ProtonMail offers a very friendly, complete and secure mail service you can access through https://protonmail.com. ProtonMail offers encryption to protect your information and it can be used through browsers, Android and iOS.
On the project:
ProtonVPN is formally a partner company of ProtonMail but functionally they are the same company providing security services. ProtonMail was developed at CERN (European Organization for Nuclear Research) by Andy Yen, Jason Stockman, and Wei Sun.
ProtonVPN owns its data centers outside the United States and the European Union jurisdictions. If some entity request ProtonVPN surveillance access to its users the request must pass a Swiss court, the user is notified and can fill an appeal to court, it is important to highlight ProtonVPN has a no log history policy.
I hope you found this tutorial useful, keep following LinuxHint for additional tips and updates on Linux and networking.


