Allowing VNC Port Through Firewall:
First, you have to allow the VNC port 5900 (default) through the CentOS 8 firewall. To do that, run the following command:

Now, reload firewalld for the changes to take effect with the following command:

Finding the IP Address:
In order to remotely connect to the CentOS 8 desktop remotely over the VNC protocol, you need to know the IP address of your CentOS 8 machine.
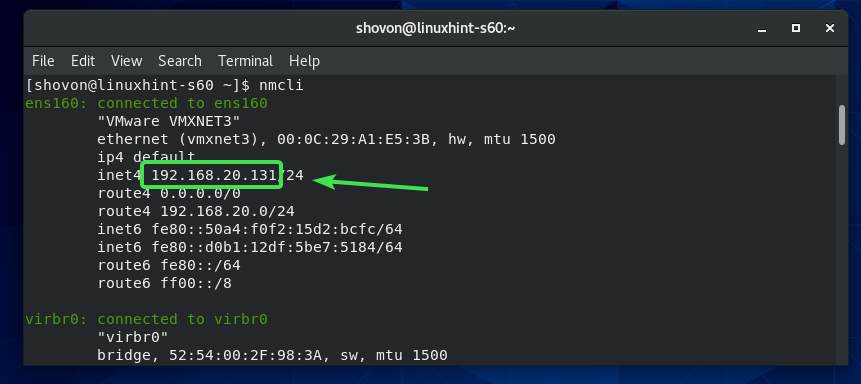
To find the IP address of your CentOS 8 machine, run the following command:
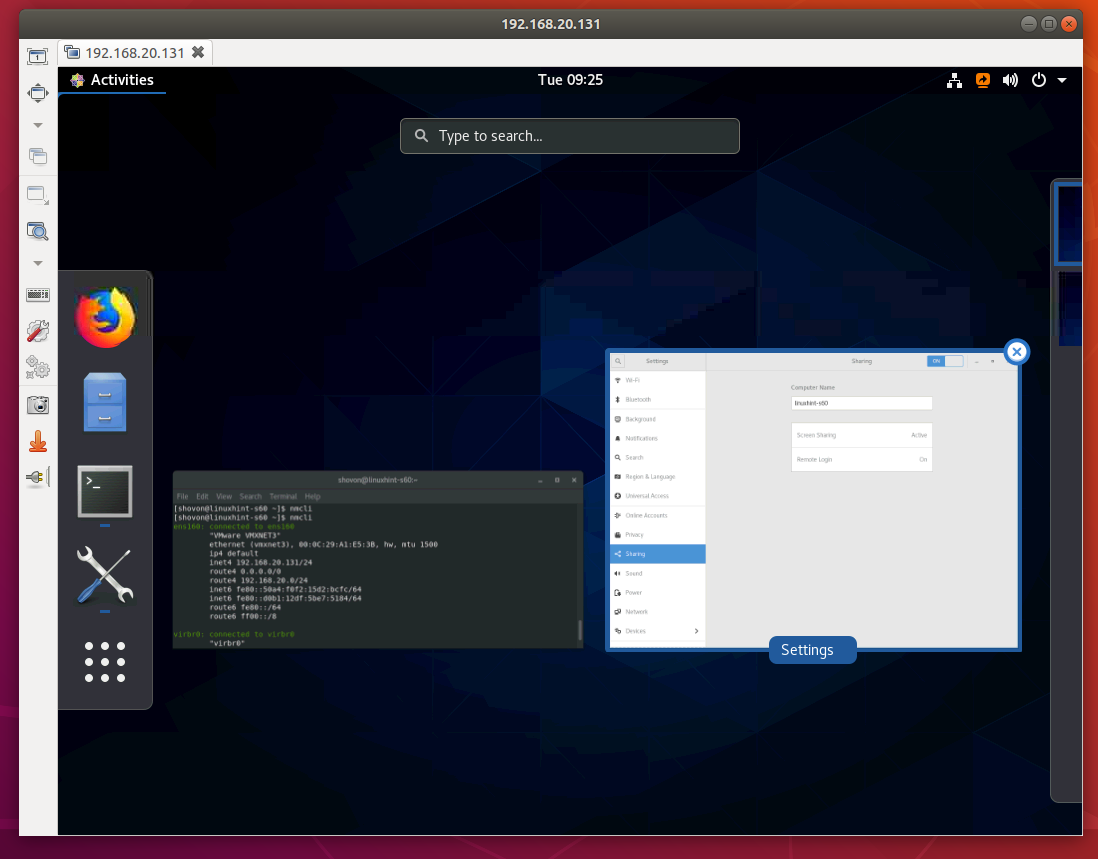
The IP address of your CentOS 8 machine should be printed. In my case, it’s 192.168.20.131.
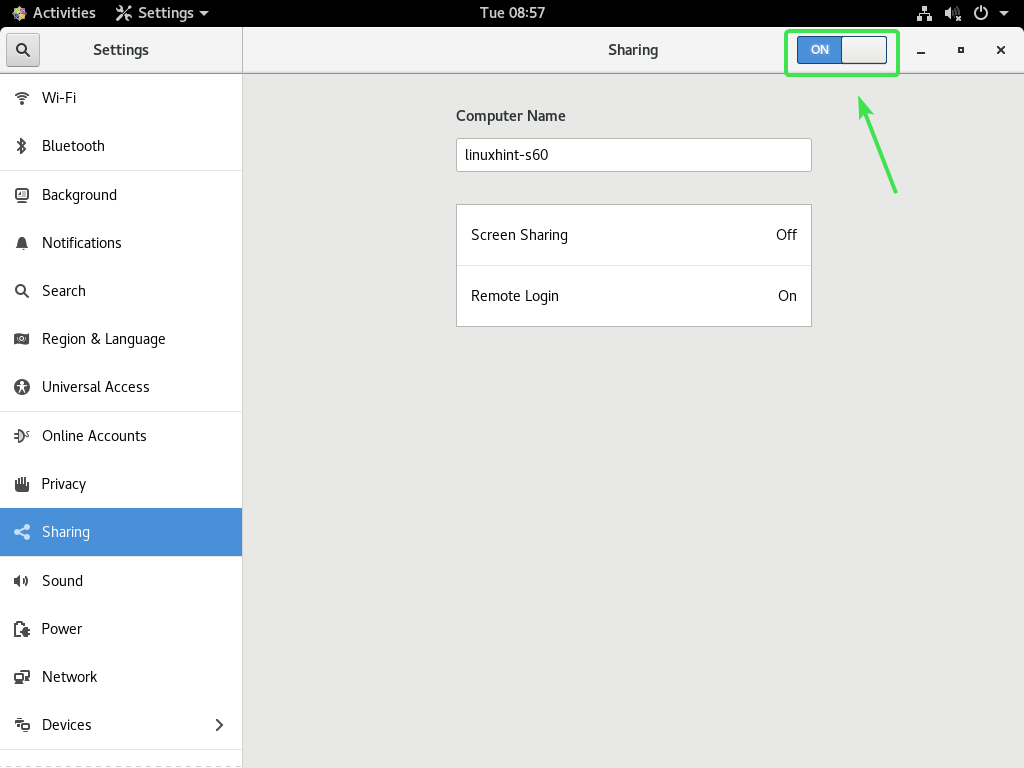
Enable Screen Sharing:
You can use the Screen Sharing feature of the GNOME desktop environment of CentOS 8 to easily share your CentOS 8 desktop with other people. So, they can see what you’re doing. But they won’t be able to remotely control your CentOS 8 machine. This is great when you want to show something to someone but you don’t want them to interfere on your work.
To enable Screen Sharing, open the Settings app.

Now, navigate to the Sharing section. Make sure Sharing is turned ON.
Now, click on Screen Sharing.
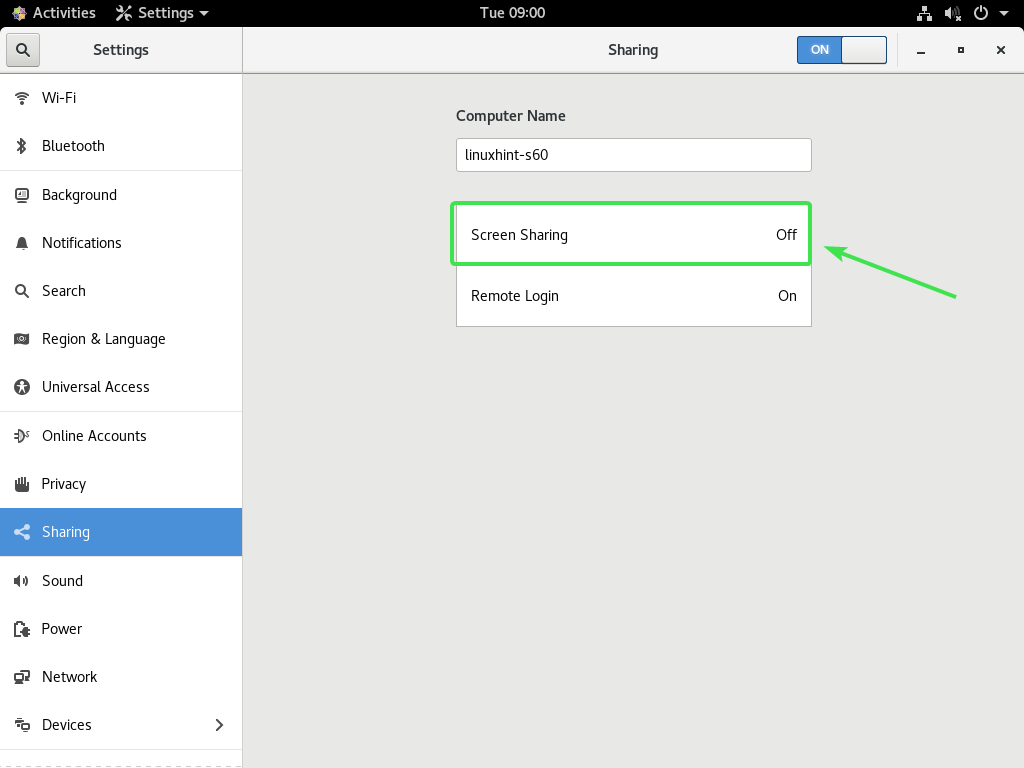
Toggle ON Screen Sharing.
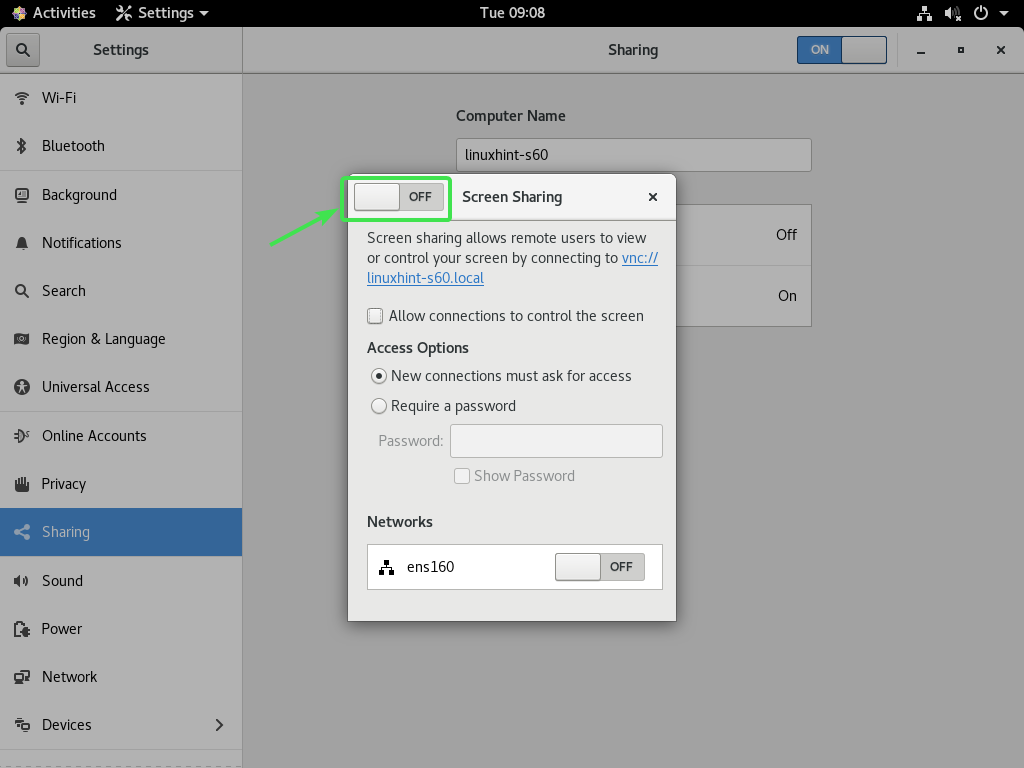
Screen Sharing should be ON.

Now, from any VNC client, try to connect to your CentOS 8 machine.

Once someone tries to connect to your CentOS 8 machine, you should see a notification as shown in the screenshot below.

Click on the notification and click on Accept to accept the remote connection.

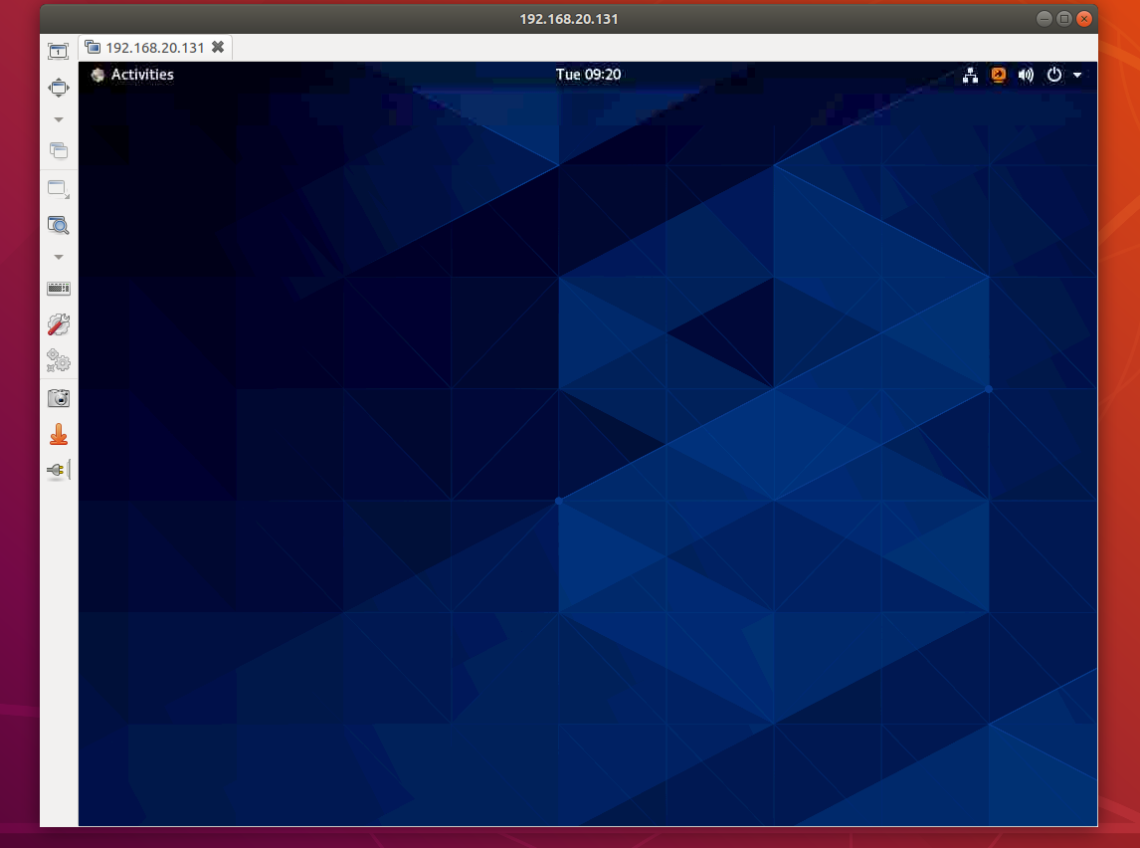
You should be connected to your CentOS 8 machine.
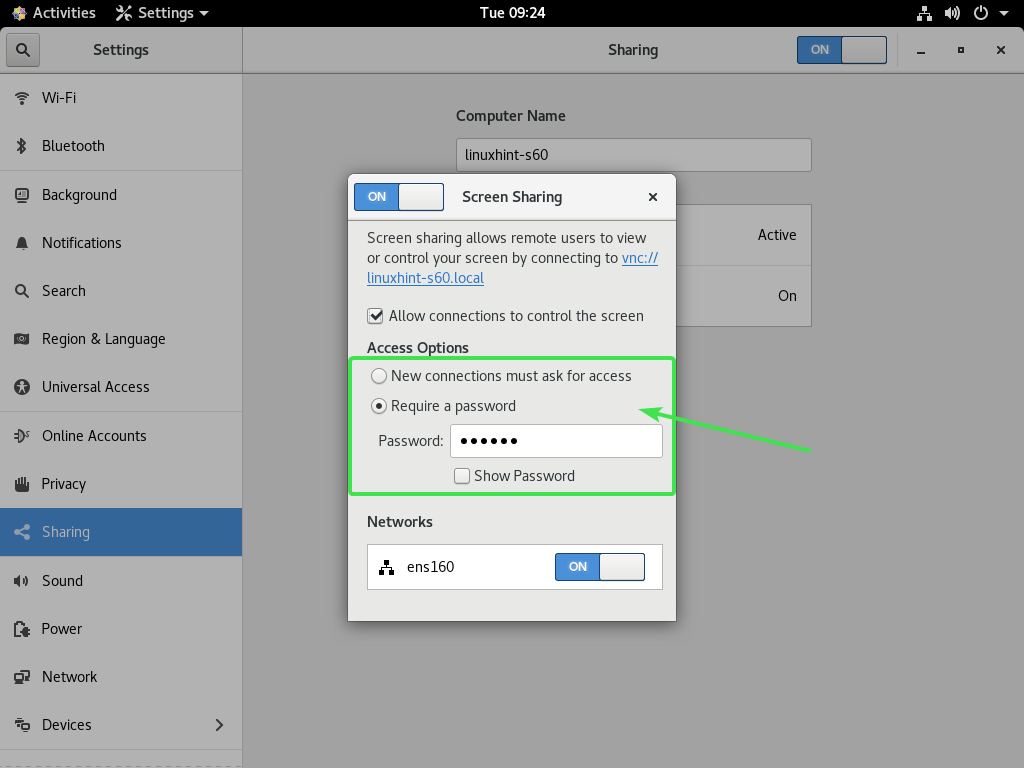
You can also set a password for VNC access. This way, you can access your CentOS 8 machine unattended (no one has to accept the remote connection anymore).
To do that, select Require a password from the Access Options section and type in your desired password.

Now, if you try to connect to your CentOS 8 machine over the VNC protocol, you will be prompted for a password.
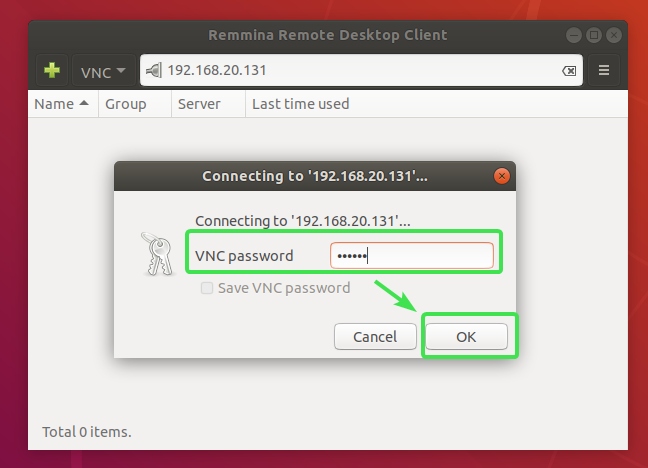
If you provide the correct password, you will be able to access your CentOS 8 machine remotely.

Enable Remote Access:
If you want to remotely control your CentOS 8 machine over the VNC protocol, then this section is for you.
To remotely control your CentOS 8 machine, check Allow connections to control the screen from the Screen Sharing window.

You can set a VNC password for unattended access the same way. You also have the option to prompt you for approval for every remote connection.
Now, you can connect to your CentOS 8 machine remotely over the VNC protocol the same way. Once connected, you can remotely control your CentOS 8 machine.
Connect to CentOS 8 Desktop Remotely on Windows 10:
I have used Remmina remote desktop client in the earlier sections of this article for remotely connecting to the CentOS 8 machine over the VNC protocol. Remmina is available on Linux.
If you’re on Mac or Windows, you may probably use RealVNC’s VNC Viewer.
If you try to connect to the CentOS 8 machine using VNC Viewer especially on Windows 10, you will see the following error message.

This happens because, VNC Viewer at the time of this writing, does not support TLS encryption. To fix this, you have to configure CentOS 8 in a way that it allows unencrypted VNC connections. You can use the Dconf Editor app to do that.
You can install Dconf Editor app with the following command:
![]()
To confirm the installation, press Y and then press <Enter>.

Dconf Editor should be installed.

Now, start Dconf Editor from the Application Menu of CentOS 8.

Click on I’ll be careful.

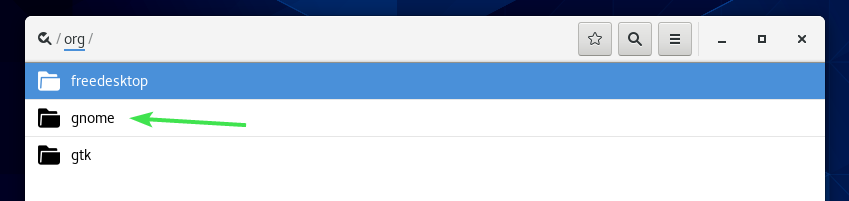
Click on org.

Click on gnome.
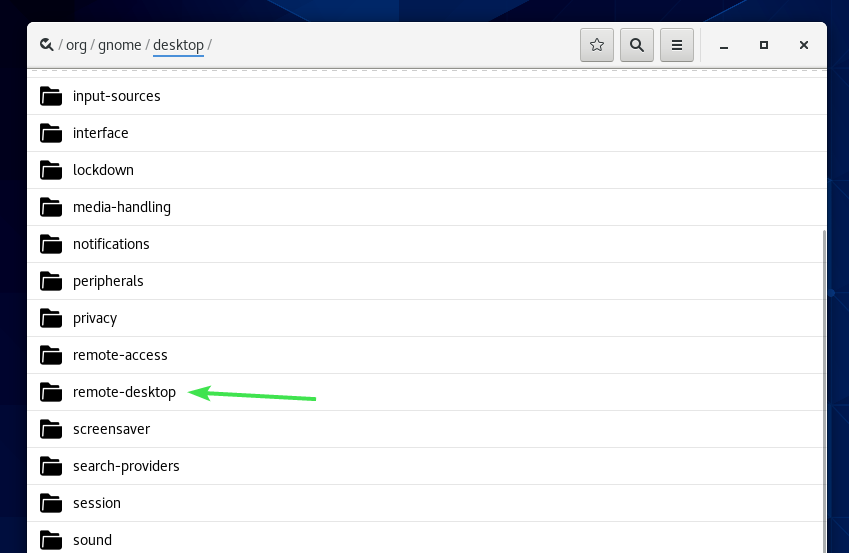
Click on desktop.

Click on remote-desktop.
Click on vnc.

Click on encryption.

Now, toggle OFF Use default value.
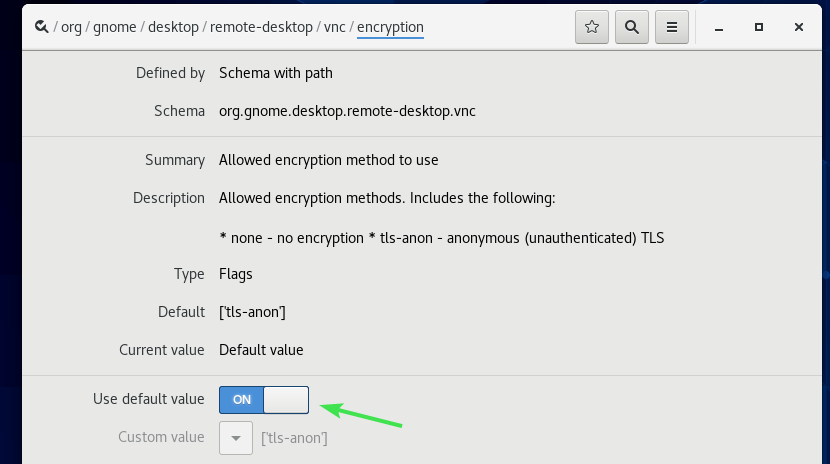
Now, click on the dropdown menu of Custom value. Now, check none and tls-anon checkboxes. Then, click on the tick icon as marked in the screenshot below.
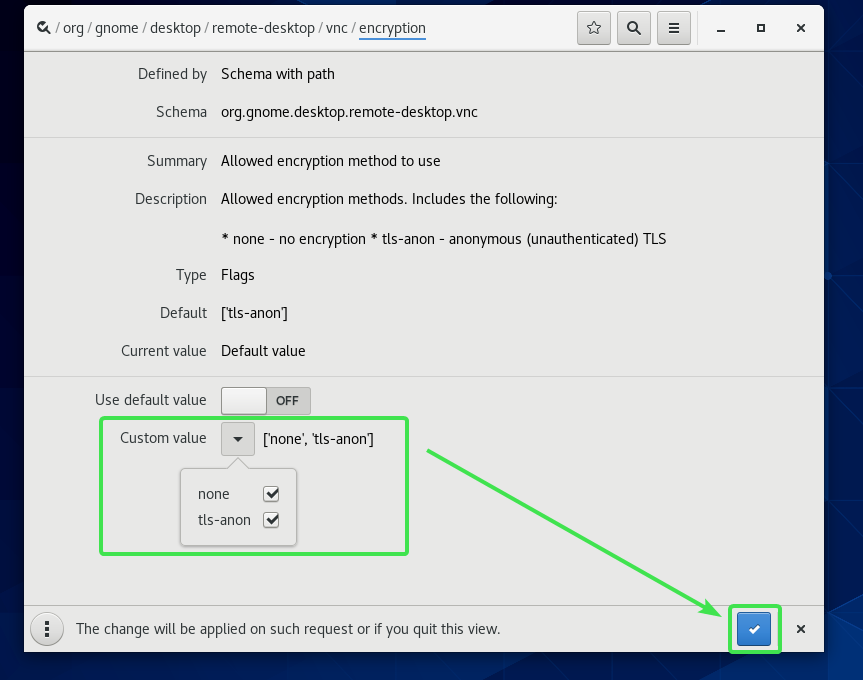
The Current value should be [‘none’,’tls-anon’] as shown in the screenshot below. Now, close Dconf editor.

Now, if you try to connect to your CentOS 8 machine from VNC Viewer, you will see the following warning message. Click on Continue.

Now, type in your VNC password and click on OK.

You should be connected to your CentOS 8 machine.
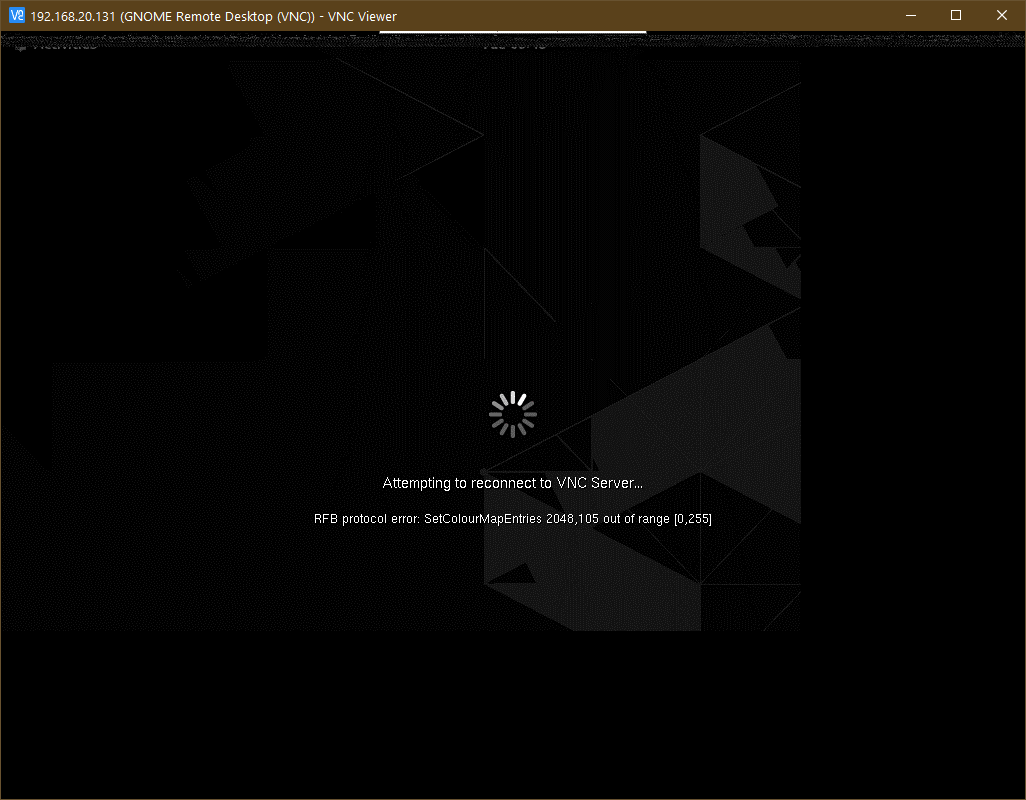
You may face some problems once you’re connected. Such as, you may see a black screen.

You may also see an error message as follows.
It’s easy to fix. To fix this problem, go to the Settings.
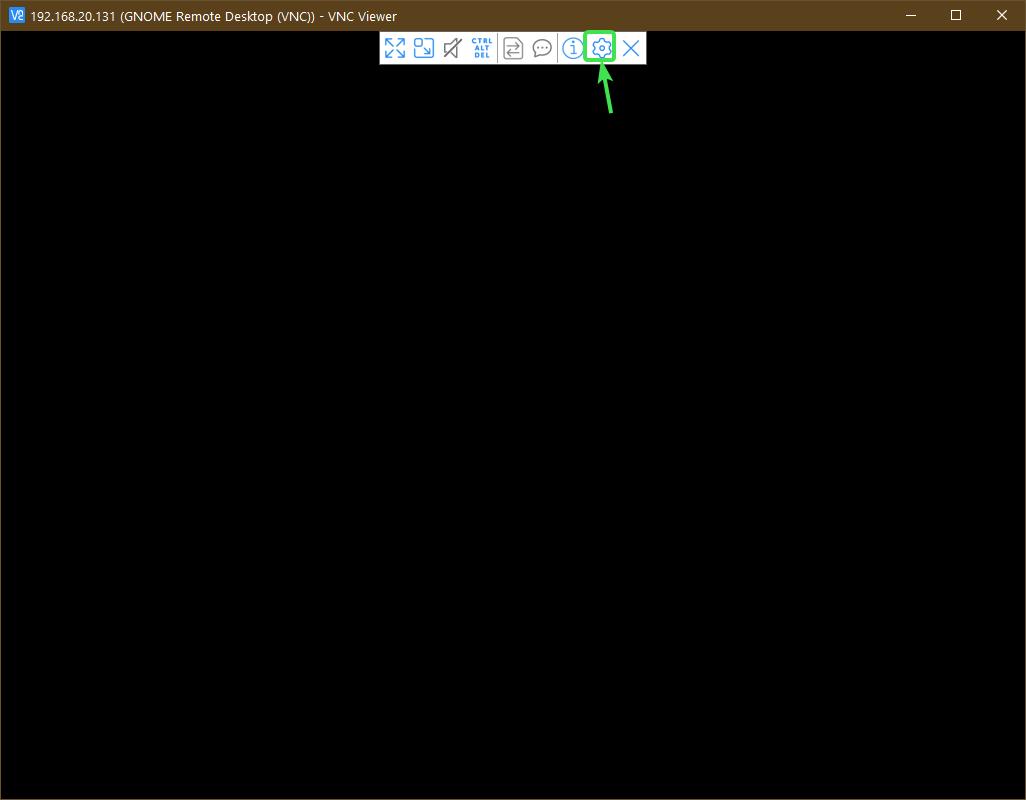
Click on Picture quality dropdown menu.
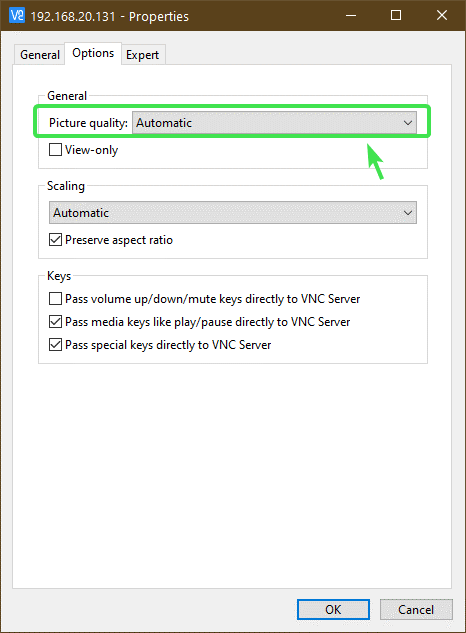
Now, set it to either High, Medium or Low. Then, click on OK.
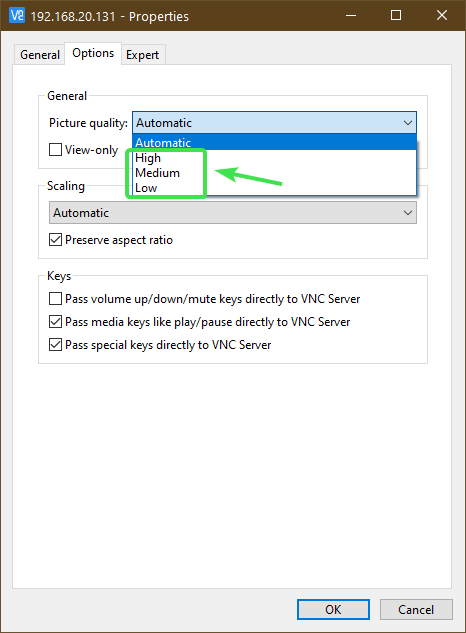
It should be fixed.
If it’s not fixed yet, close the VNC viewer window.
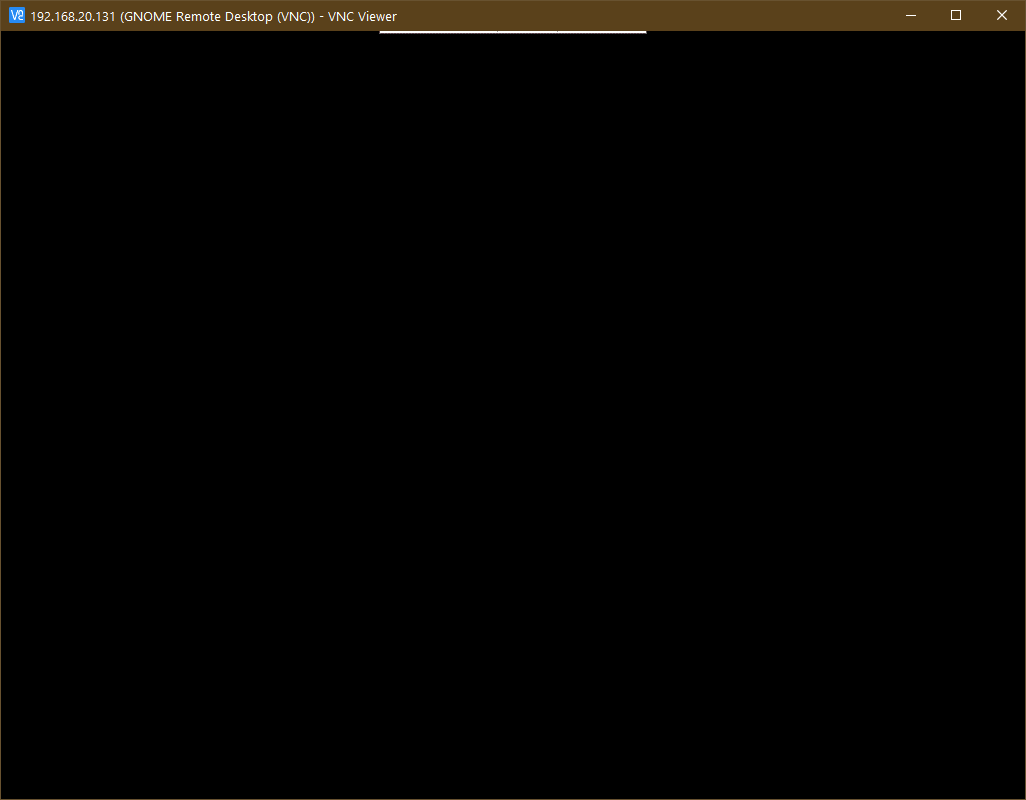
Now, connect to your CentOS 8 machine from the sessions window.

You should be connected and everything should work as expected.

If you don’t want to go through this hassle, you may use Tight VNC Client. In my testing, Tight VNC Client worked without any problem on Windows 10.
So, that’s how you configure VNC server on CentOS 8. Thanks for reading this article.