In this article, we will discuss how to visualize a model in PyTorch.
How to Visualize a PyTorch Model Using the Summary() Method?
There are many techniques for visualizing results from a deep learning model within the PyTorch framework. In this example, the “Summary()” method will be used to visualize a “ResNet” model in PyTorch. Graphical representation of models is essential in discerning bottlenecks that may skew the results to a particular outcome which may not accurately depict the available data.
Follow the steps below to learn how to visualize a PyTorch model using the “Summary()” method:
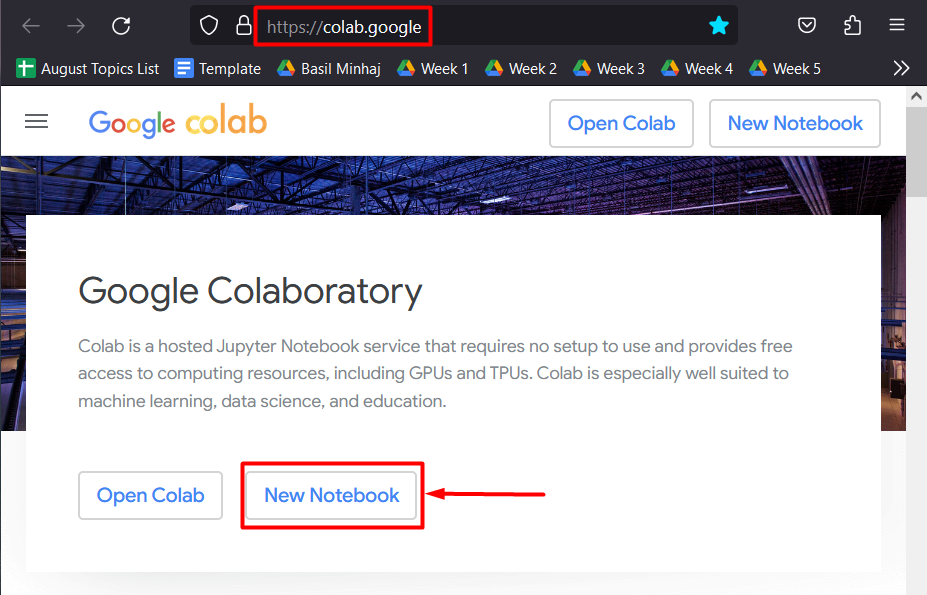
Step 1: Launch Google Colaboratory
Go to the Colab website and click on the “New Notebook” to begin a project as shown below or open a saved notebook:
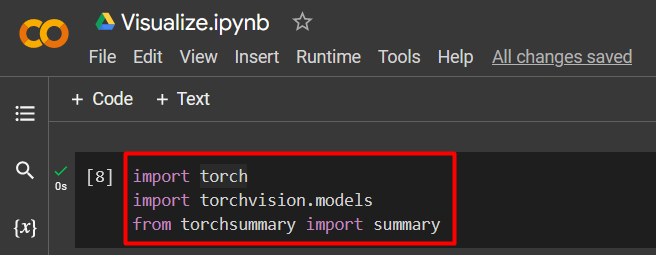
Step 2: Import Necessary Libraries
The first step when starting to code for a new project is to import the required libraries into the IDE so that all the necessary functionality is readily available. Follow the code given below to import the “Torch” library and others in Colab:
import torchvision.models
from torchsummary import summary
This project requires the following libraries:
- Torch – library contains all the functionality of PyTorch.
- Torchvision.models – It is a subdivision of the Torch library that has all the features required for deep learning models.
- Summary – It provides a summary of the forward pass of the model:
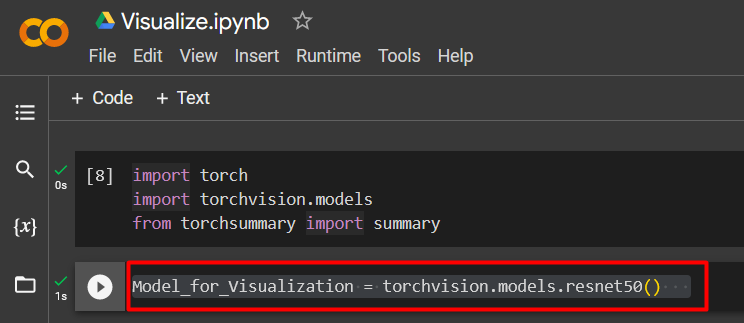
Step 3: Define a Model for Visualization
Any machine learning model can be visualized in PyTorch and in this tutorial we will use a “ResNet” model with 50 layers for demonstration. Define the pretrained model as shown:
This line of code works as follows:
- Give the variable a name such as “Model_for_Visualization”.
- Use the “torchvision.models” package to call the pretrained model.
- Then, add the “resnet50()” model to be assigned to the user-defined variable:
Step 4: Visualize the Model
The last step is to visualize the model for a better understanding of its processes and to determine where the loopholes lie. Follow the code below to do so:
The above line of code works as follows:
- Use the “summary()” method for visualization. This method takes two arguments that include the variable name and the defined input size.
- Add the variable name “Model_for_Visualization”, previously defined in step 3 to the summary() argument.
- Next, add the “input size” to the summary() argument as well. The input of ResNet50 has 3 channels and it is in the “7×7” format or its multiples:
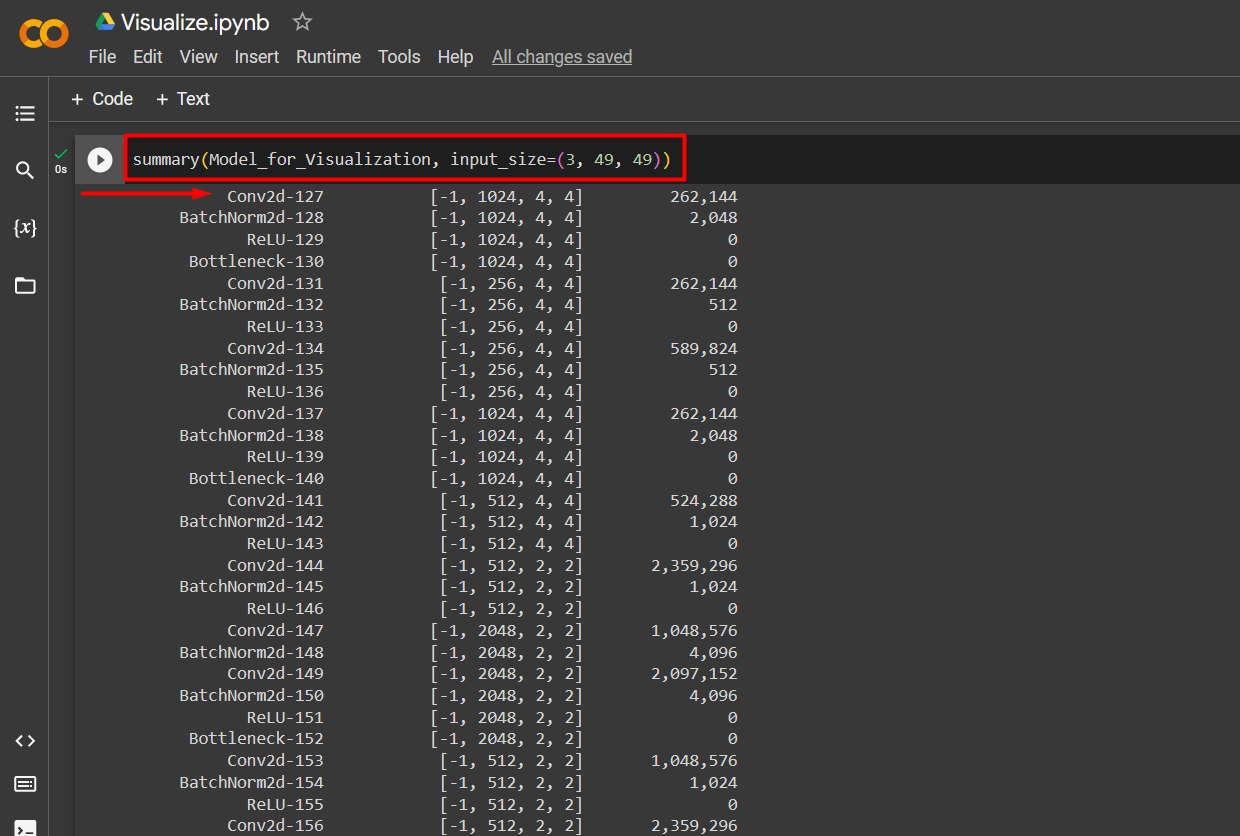
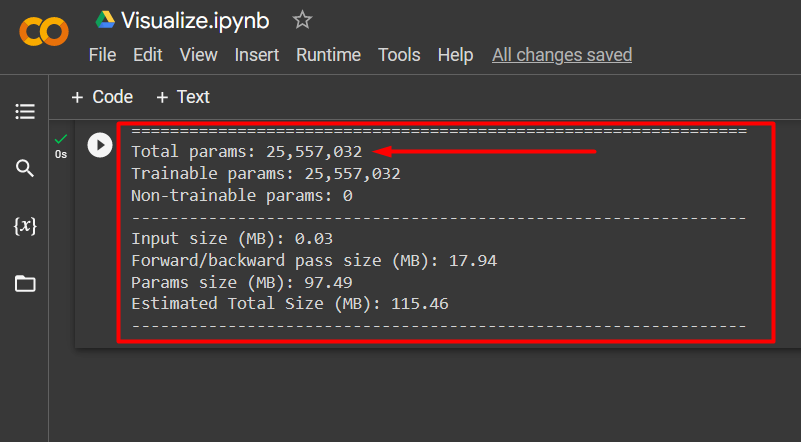
After the execution of above line of code, the overall model summary will be displayed on screen as highlighted below:
Note: You can access our Colab Notebook at this link.
Pro-Tip
You can add a large input size as the summary argument as well which will force the model to run over a larger dataset. This can produce results that show where the data is forming a local extremum that has the potential to seriously affect the quality of results.
Success! We have just demonstrated how to visualize a ResNet50 model in PyTorch using the summary() Method.
Conclusion
Visualize a model in PyTorch by first defining a custom model or a pre-trained model such as ResNet50 and its input size to the summary() method argument. This method returns the number of model parameters and trainable parameters as well as their size. In this article, we have showcased how to visualize a PyTorch model in order to learn about its performance and be better informed regarding which data is driving results.