How to Set Up VIM Editor for Python Programming
VIM is a customizable programmable text editor. You can do anything you want with VIM if you know how VIM works and how to write VIM plugins. This is out of the scope of this article. But now you know it is possible. Fortunately for us, many people already made a lot of VIM plugins that we can download and install on our system. This is how I am going to configure VIM with plugins that are required to work with Python. Let’s get started.
Installing VIM on Ubuntu/Debian:
On Ubuntu/Debian, you can install VIM from the official package repository of Ubuntu/Debian.
First update the package repository cache with the following command:
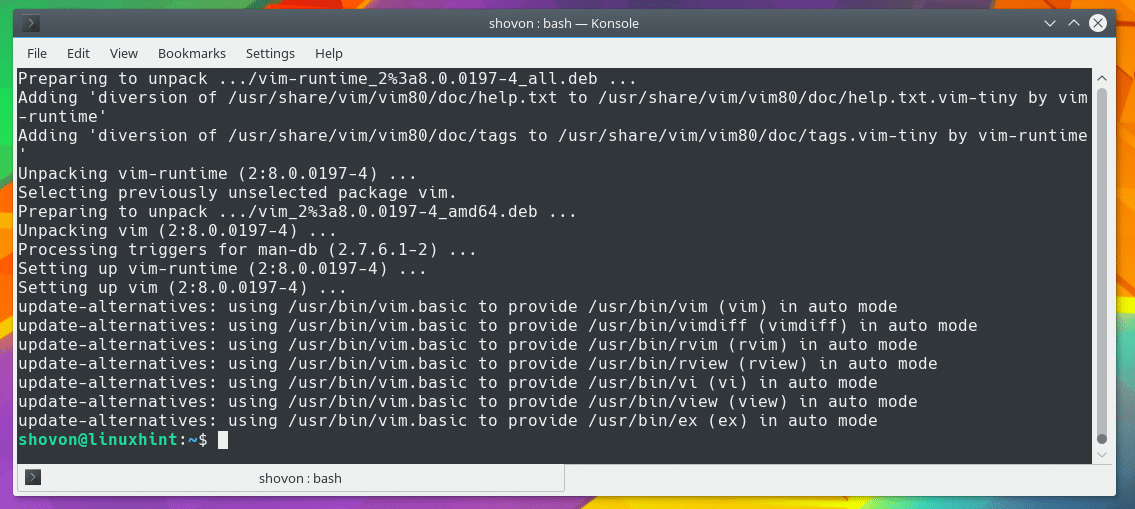
Now you can install VIM using the following command:
Press ‘y’ and press to continue.

VIM should be installed.
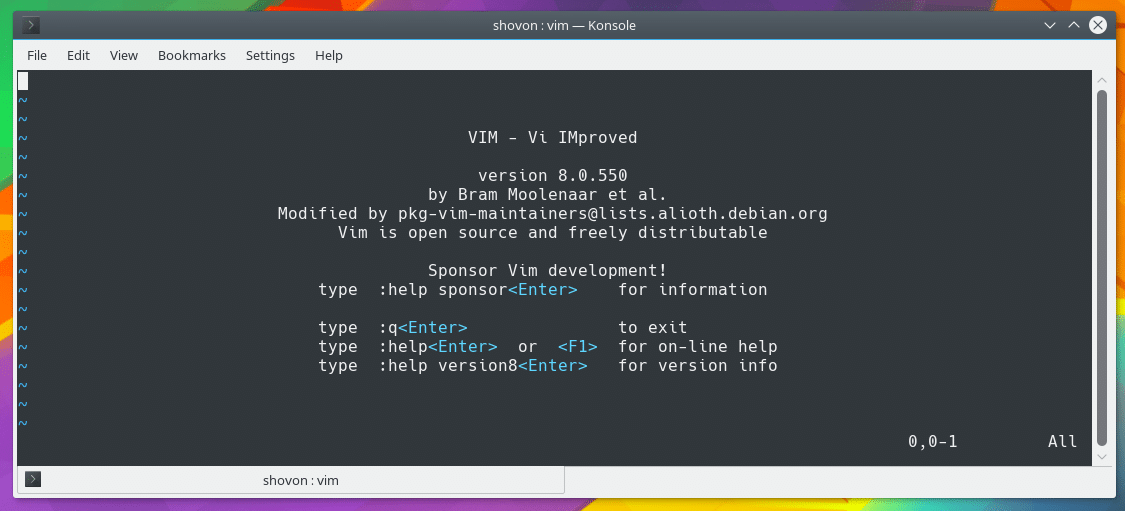
You can now run VIM with the following command:
This is the Welcome window of VIM.
Installing VIM on CentOS/RHEL/Fedora:
You can install VIM from the official package repository of CentOS/RHEL/Fedora with the following command:
Basics of VIM:
When you start VIM, it is in “Command mode”. In this mode you run VIM command. To edit a text or source code file, you press ‘i’ to go to the “Insert Mode”. In “Insert Mode” VIM should act like other text editors. You can go back to the “Command mode” from “Insert Mode” using the <ESC> key. To quit VIM, go to the “Command Mode” and type ‘:q!’ and press <Enter>. To save changes with VIM, run ‘:w’ from the “Command Mode”.
Configuring VIM for Python:
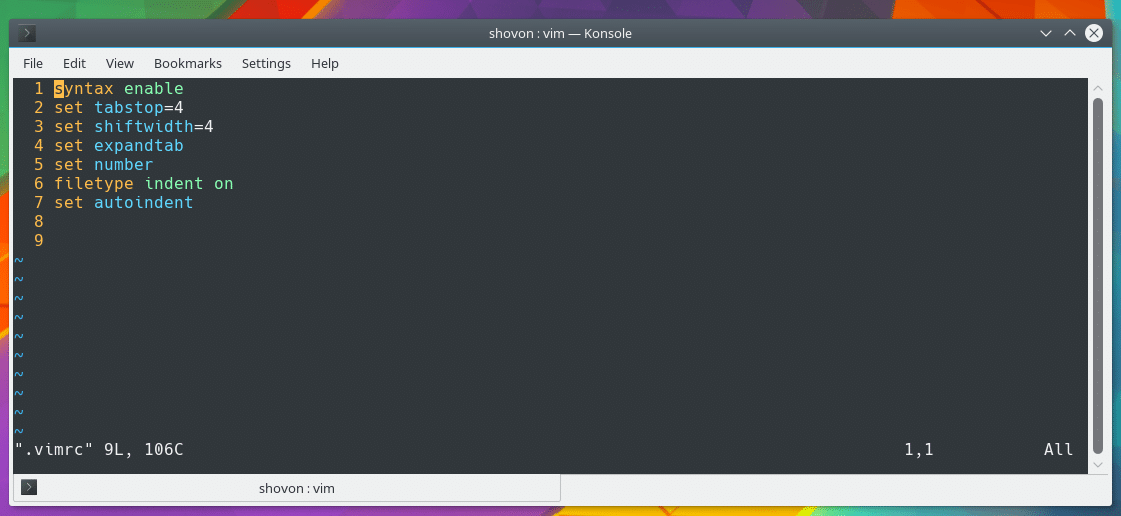
Now I am going to do some minimal VIM configuration. VIM reads a configuration file called ‘.vimrc’ from the user’s HOME directory and configure itself when you run VIM.
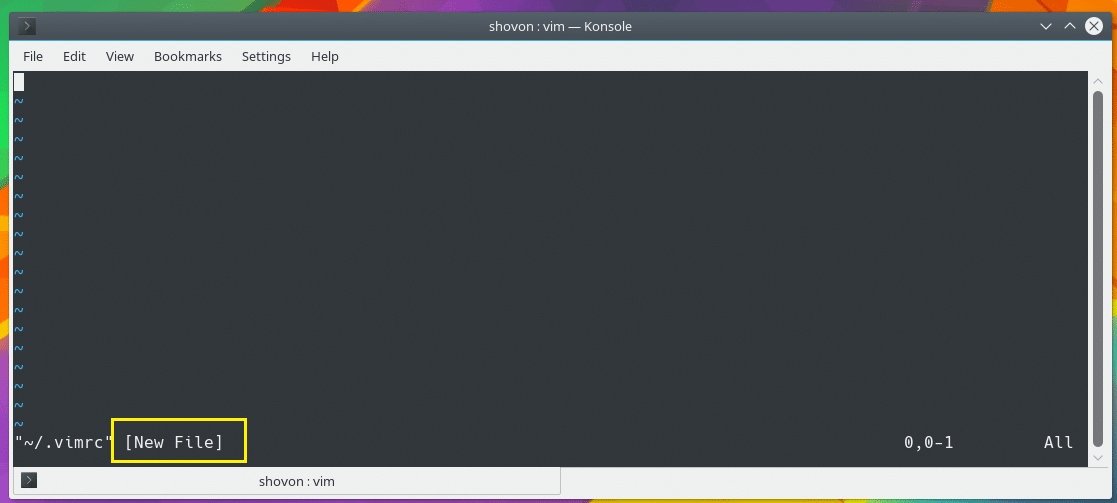
Now run the following command to create a ‘.vimrc’ file in the user’s HOME directory:
VIM should show up. Notice the marked area in the screenshot? It says “New File”. If the ‘.vimrc’ file doesn’t exists, VIM creates a new file. If ‘.vimrc’ file exists, then VIM opens the existing file. I just installed VIM a while ago, so I don’t have a ‘.vimrc’ file yet.
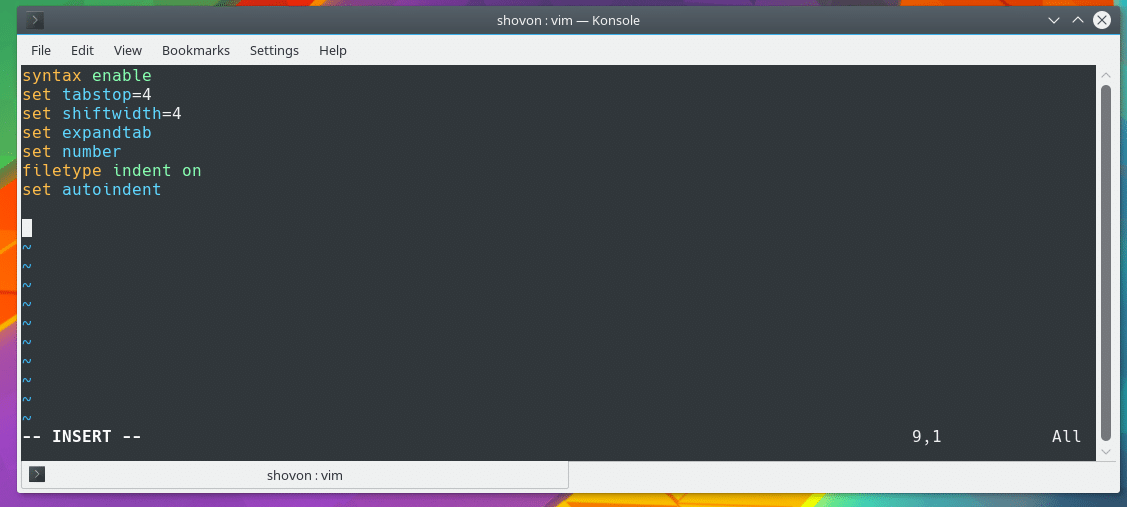
Now press ‘i’ and VIM should go to “INSERT” mode.
Now type in the following lines:
set tabstop=4
set shiftwidth=4
set expandtab
set number
filetype indent on
set autoindent
Now press and type in ‘:wq!’ and press to save the file and exit VIM.
If you open ‘.vimrc’ with VIM again, you should see some changes to the editor as shown in the screenshot below.
Now I am going to install python-syntax (https://github.com/hdima/python-syntax) syntax highlighting module on VIM for better python syntax highlighting of Python2 and Python3. The python-syntax module must be kept on a specific directory ‘~/.vim/syntax’ for it to work.
Run the following command to create the required directories:
Now navigate to the newly created directory:
Now download python-syntax module with ‘wget’ with the following command:
‘python.vim’ file should be downloaded from GitHub.
Now open the ‘.vimrc’ file with the following command:
Now type in the following line to enable python-syntax module.
Now save the file.
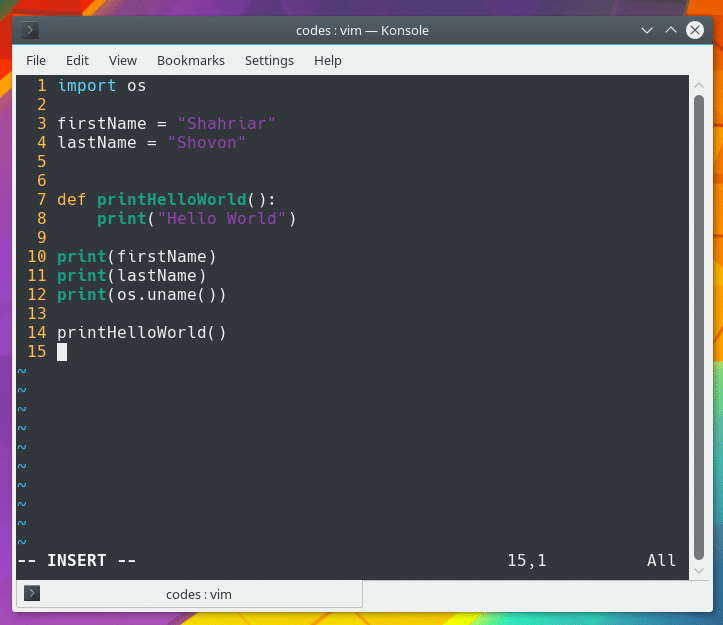
I created a ‘helloworld.py’ file and opened it with VIM. This is how it looks like.
Searching and Replacing Hard Coded Tabs with Spaces:
In this section I will show you how to replace all the tabs in a source code file with proper number of spaces with VIM.
I created a test file ‘replace.py’ and it has several tabs that are not replaced by spaces yet.
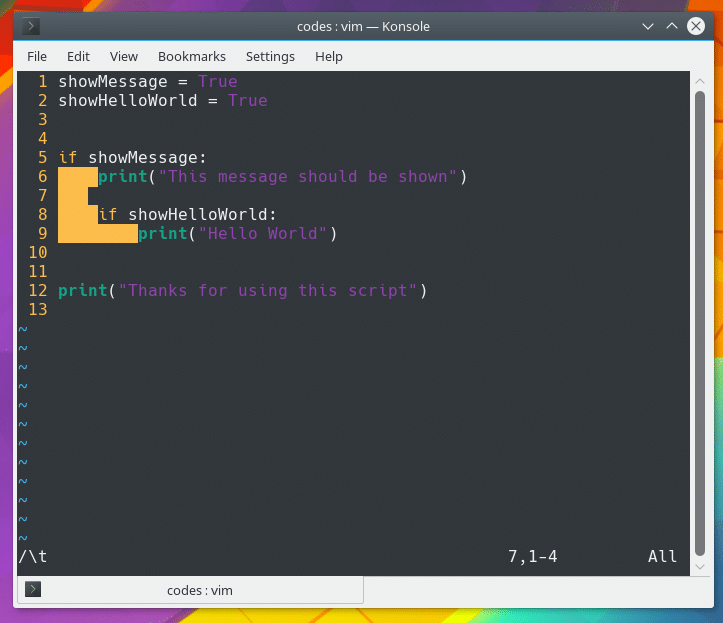
You can search for all the tabs with ‘/\t’ VIM command. If you want your search to be highlighted, first enable ‘hlsearch’ option with the following VIM command:
Now you can find all the tabs with ‘/\t’ VIM command as shown in the screenshot below.
Now if you want to replace all the tabs to spaces of width 4, you can run the following VIM command:
All the tabs are replaced with spaces.
Now if you try to search for tabs, you should be able to see “Pattern not found” error message as shown in the screenshot below. It means there are no tabs in the text file.
This is how you configure VIM for Python. Thanks for reading this article.
Other Python Syntax Highlight Modules:
Python Syntax: https://github.com/kh3phr3n/python-syntax
Python Mode: https://github.com/python-mode/python-mode


