Main Features of Vizex Command Line Tool
In addition to scanning storage drives and partitions, Vizex can also scan file and directory structure and show the amount of space used by them. It can do deep scanning using asynchronous processing, improving parse speed greatly even on low end machines. This makes it suitable for Linux desktop distributions as well as Linux servers of different configurations and CPU power.
Vizex can produce colored output in terminal for easy readability. It can also show disk usage in tree style structure, allowing you to have a better idea about storage space consumption. Vizex includes an option to export disk usage data into JSON and CSV files.
You can exclude specific partitions and drives to show disk usage information about certain selective drives and partitions only. In addition to disk space taken, Vizex can show full path to drives, mount points, and file system type.
Installing Vizex in Linux
You can install Vizex in any Linux distribution using Python’s “pip” package manager. It is available in default repositories of almost all Linux distributions, so you can install it from the package manager. In Ubuntu, you can install it by running the following command:
If for some reason pip is not available in repositories of your Linux distribution, you can download and install it by following official instructions available here.
Once pip is installed, you can run one of the following two commands to install Vizex in your Linux distribution:
$ pip3 install vizex
An AUR package for Arch Linux is also available. You can install it in Arch Linux based distributions by following instructions available here.
Using Vizex Command Line Tool
After installing Vizex, you can the run the following command to see a brief overview of storage drives connected to your Linux system:
Depending on your setup, you should see some output similar to this:
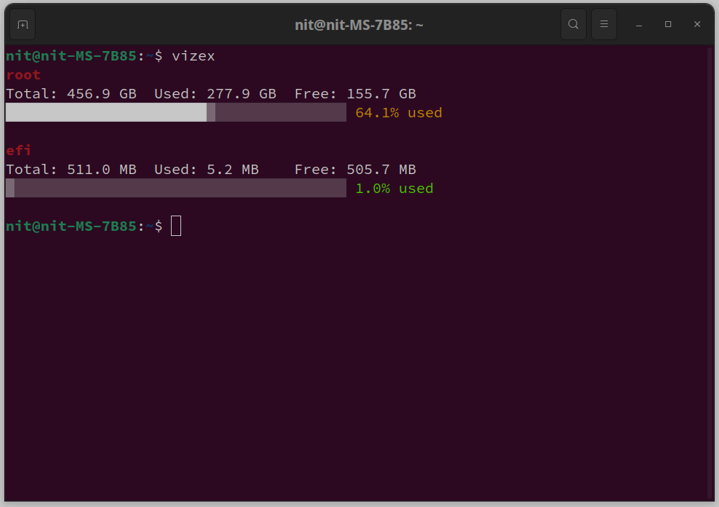
Note that if you have multiple internal and external storage drives connected to your Linux system, you will have to mount them first or you will have to open them in a file manager to automatically mount them at a mount point. Otherwise Vizex will show information about storage drives automatically mounted on a fresh boot only, usually the drive where Linux distribution has been installed.
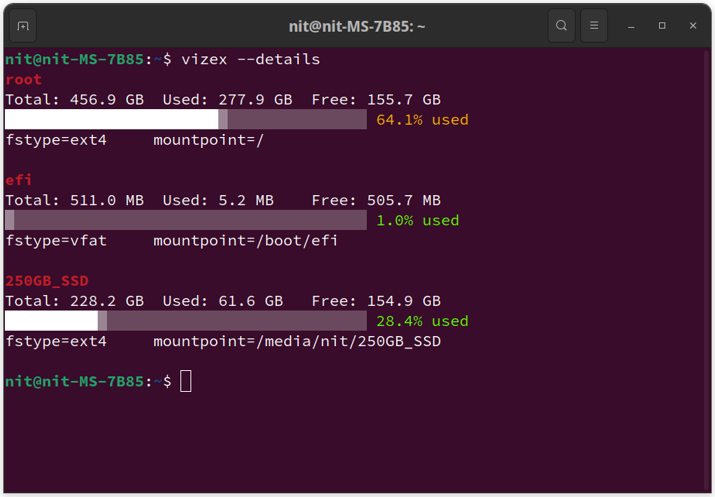
To show additional information about mounted drives, including file system type and mount point, run vizex command with “–details” switch.
The output will now show additional details, as shown in the screenshot below:
You can check disk usage information about a specific path using “-P” switch, as shown in the command below:
To exclude certain specific partitions or disks , you can use “-X” switch, as shown in the command below:
You have to supply a partition or drive name and not path to “-X” switch to exclude them from results.
To export disk usage information to an external file, use “–save” switch and specify the file extension as “.json” or “.csv”, as shown in the example commands below:
$ vizex --save data.json
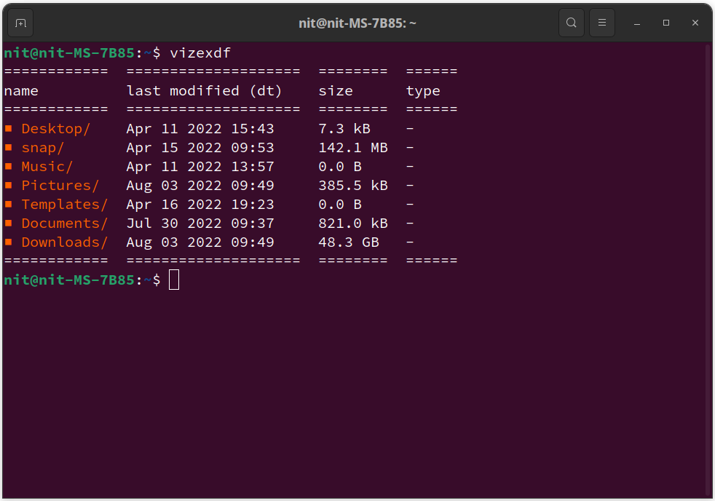
Vizex comes bundled with a few different commands that can be used to print details about space used by individual files and folders. For instance, the “vizexdf” command can be used to display tabular information about any directory. Run the command below to view information about home folder:
You should see some output similar to this:
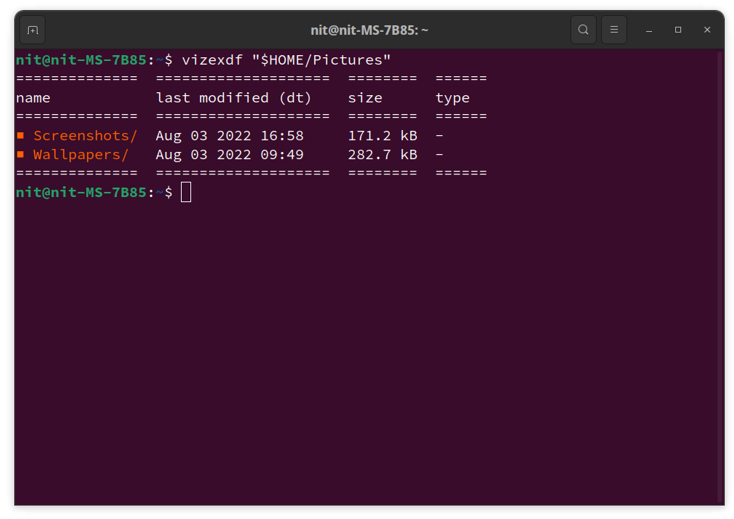
You can also supply a path to view information about a specific folder. The example command below shows information about the “Pictures” folder located in the home directory.
By default, vizexdf excludes hidden files and folders. If you want to include hidden files and folders, you can use the “-a” switch to show everything.
Vizexdf command includes an option to sort tabular data, using a specific heading as the base sorting criteria. If you want to represent data in descending order, you can use “-s” and “-d” switches to specify sorting criteria and order respectively. Here is an example command:
To sort data in ascending order, omit the -“-d” switch.
The “-s” switch takes type, size, name, and dt (date) as possible values.
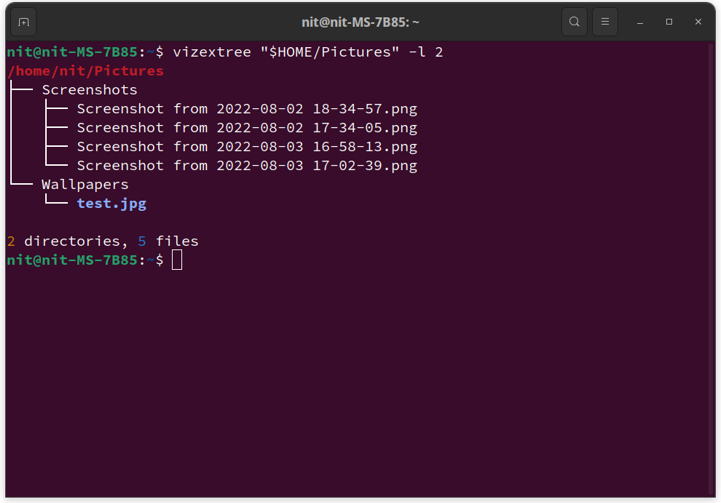
Another command called “vizextree” comes bundled with the installation of the vizex package. It can be used to provide directory details in a tree-like structure. You will need to specify nested directory levels to parse using the “-l” switch. Here is an example where the vizextree command shows directory information for two levels.
For any further information, you can run the following three commands to view the help documentation included with the vizex installation.
$ vizexdf --help
$ vizextree --help
Conclusion
Vizex is a minimal but comprehensive utility to visualize disk usage on a Linux system. It can represent information in colored output and tabular format for easy readability. It also includes an asynchronous execution mechanism, allowing you to quickly parse directories with multiple nested folders.