This article illustrates the method of viewing the changing history of a file by utilizing Git versioning.
How to Display the Change History of a File Utilizing Git Versioning?
To show the added change history of a file utilizing the Git versioning, first, navigate to the Git local repository and list the content of the current repository. Open the desired file, add some text, and save it. Track the file and commit changes to the repository. Next, execute the “$ git log — <file-name>” command or the “$ git log -p <file-name>” command to view the change history of a file.
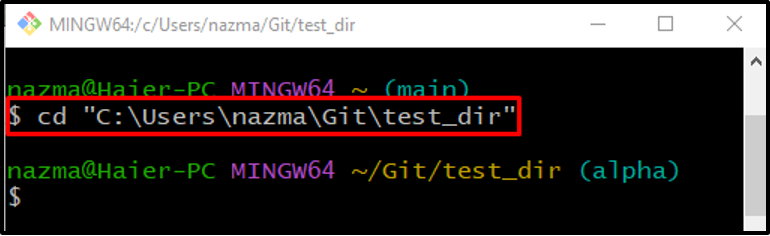
Step 1: Move to Local Repository
First, navigate to the particular Git local repository:
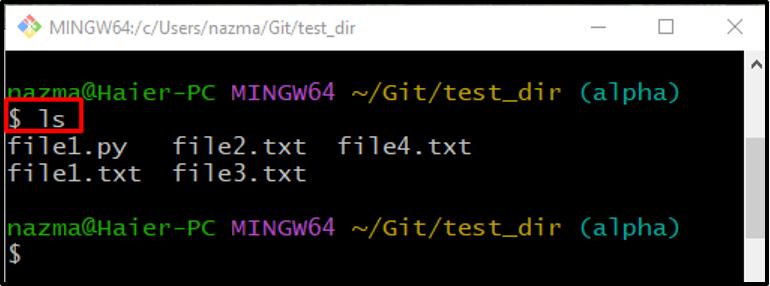
Step 2: View Content List
Execute the “ls” command to view the content list of the present repository:
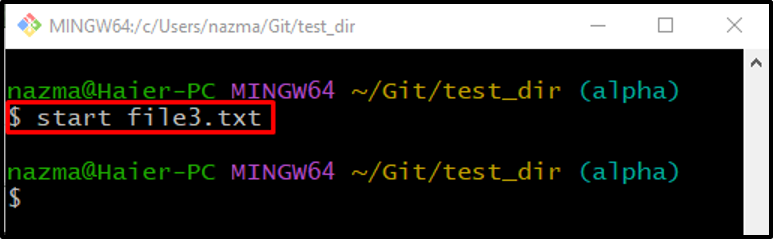
Step 3: Update Required File
Now, open the required file by utilizing the “start” command:
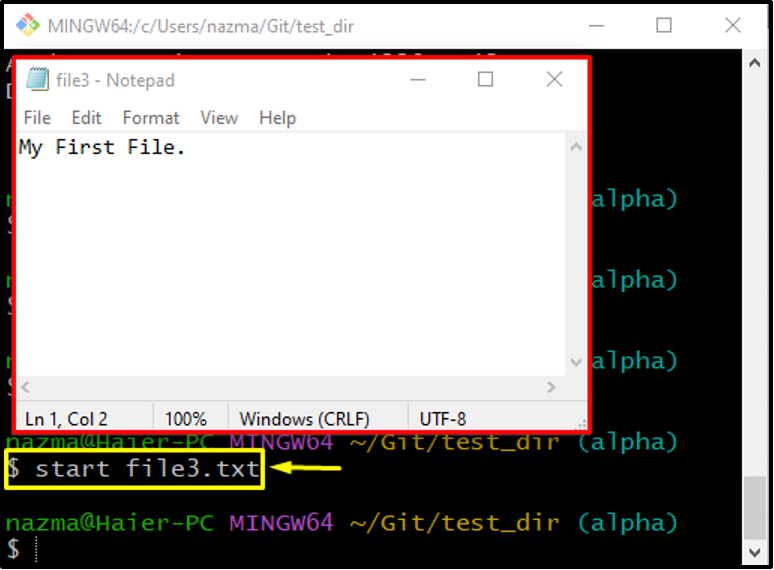
After executing the above-stated command, the specified file will be opened in the default editor. Add some text and press the “CTRL + S” keys to save the changes:
Step 4: Track Changes
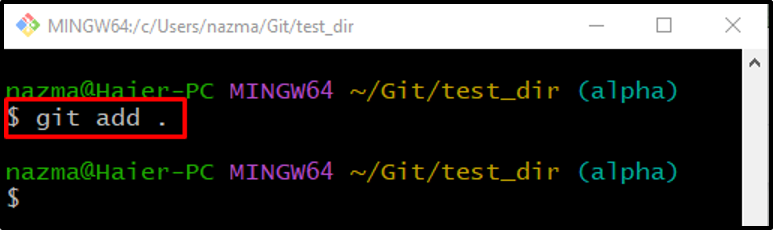
Next, run the “git add .” command to track all changes to the staging area from the working directory:
Step 5: Update Repository
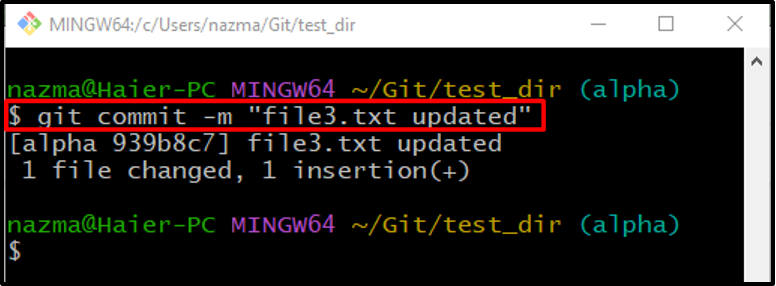
Now, update the repository with the added changes by committing through the “git commit -m” command and add the desired commit message:
Step 6: View File Change History
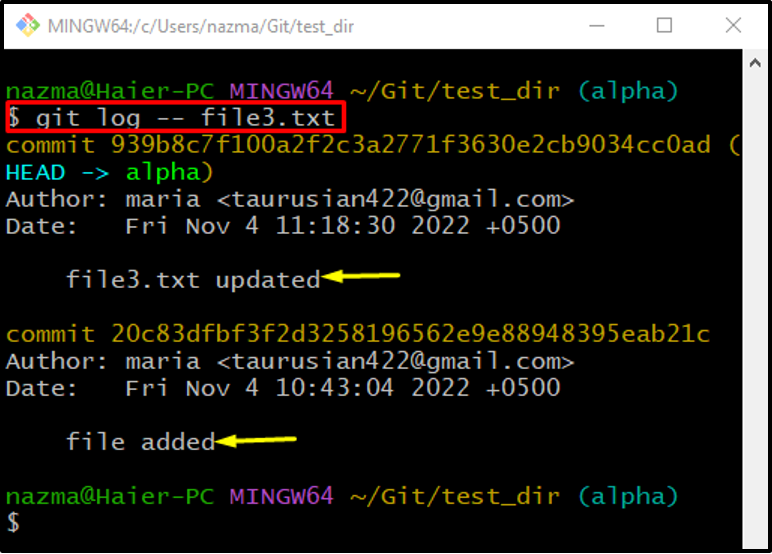
To view the change history of the file, execute the “git log” command with “—” and specify the file name:
As you can see, the below-stated output indicates the entire change history of the specified file:
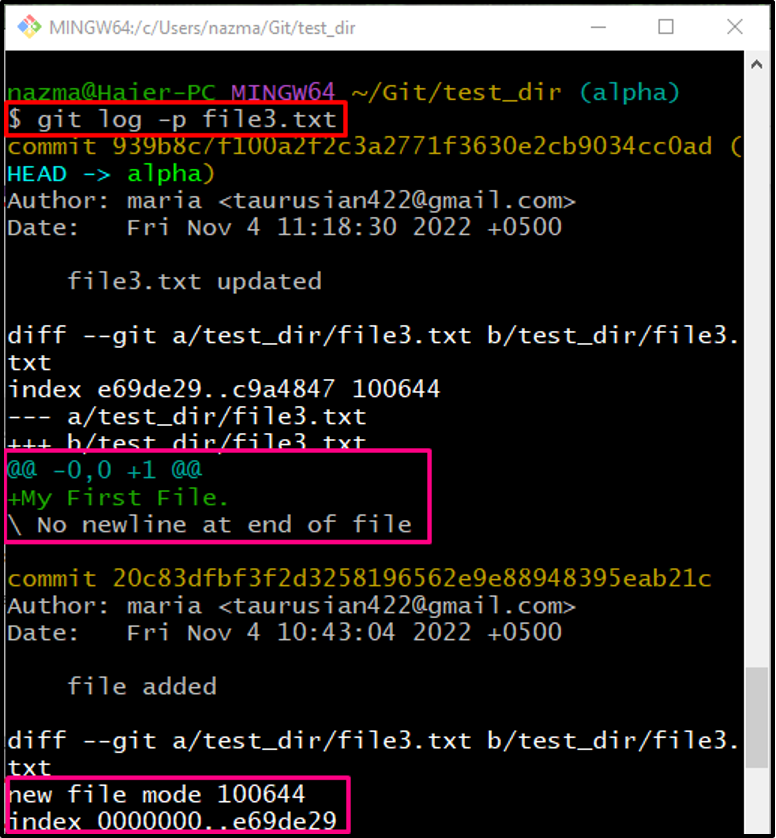
There is another command that is used to view the change history of a file using Git versioning as follows:
It can be observed that the commit history along with the change history is displayed:
Let’s move ahead to the other method to view the change history of a file using Gitk’s GUI.
How to Display the Change History of a File Utilizing Gitk’s GUI?
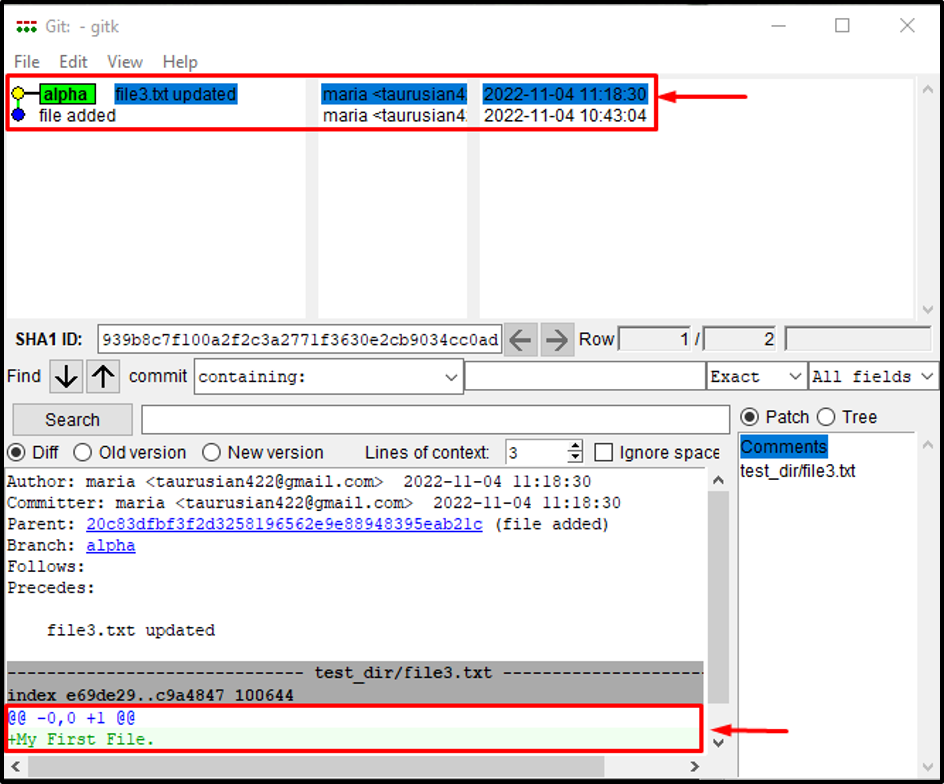
Gitk is a graphical repository browser used to visualize the history of the repository or its present files. To know the change history of a specified file using Gitk, run the below command:
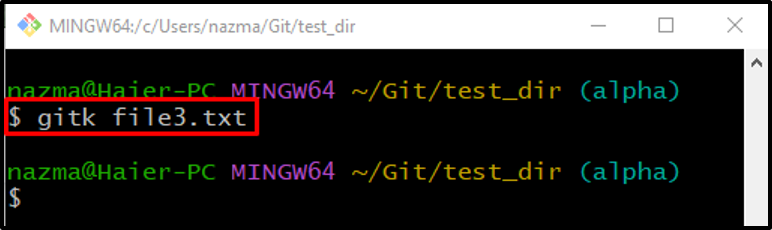
Here, it can be observed that when the above-provided command is executed, Gitk’s (GUI) is launched with specified file change history details:
We have provided the simplest methods to view the change history of the file with the help of Git versioning.
Conclusion
To view the change history of a file using Git versioning, first, navigate to the desired repository and view the list of the current repository content. Open the desired file, add some text, and save it. Track the file and commit changes to the repository. Next, execute the “$ git log — <file-name>” command. The “$ git log -p <file-name>” command can also be utilized to view the change history of a file. Another way to view the change history is Gitk’s GUI. For this purpose, run the “$ gitk <file-name>” command. This article explained the procedure of viewing the changing history of a Git file utilizing Git versioning.