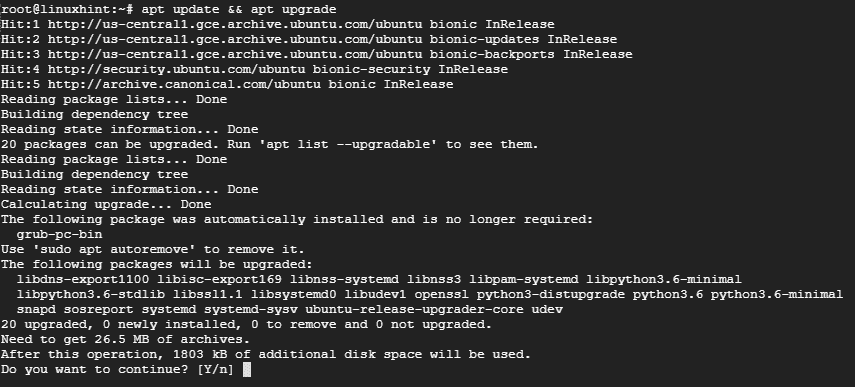
Step 1: Update the system
To start off, begin by updating the packages in the system to ensure that they are up-to-date. To do this, access your server as root and run the command:
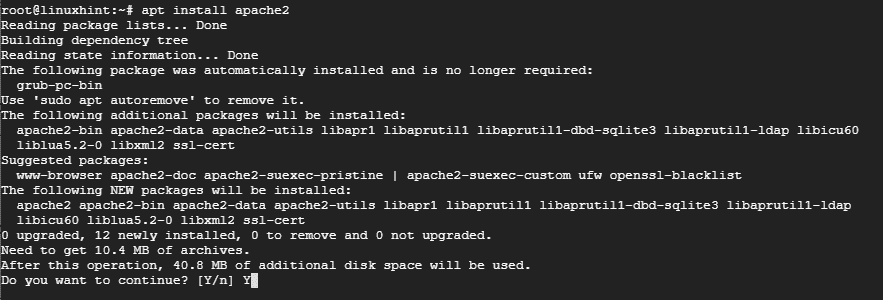
Step 2: Install Apache webserver
Since Varnish cache sits in front of a webserver, we will need to install Apache webserver for demonstration purposes.
To install Apache, run the command:
Once the installation of Apache web server is complete, start the webserver and check it’s status using the commands below:
# systemctl status apache2
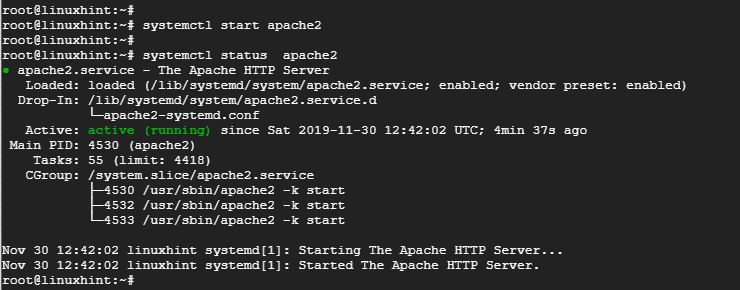
The output above confirms that the Apache webserver is up and running.
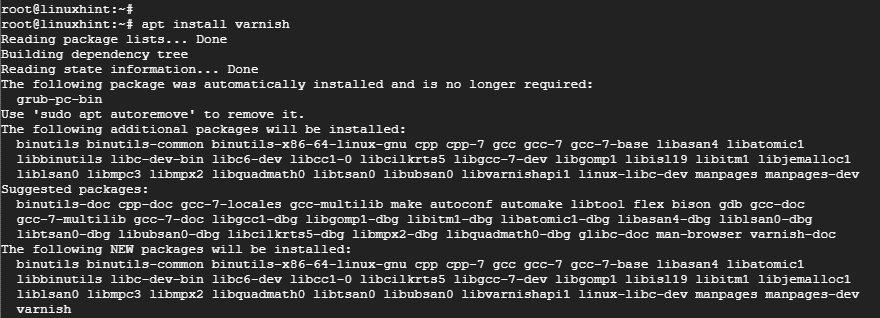
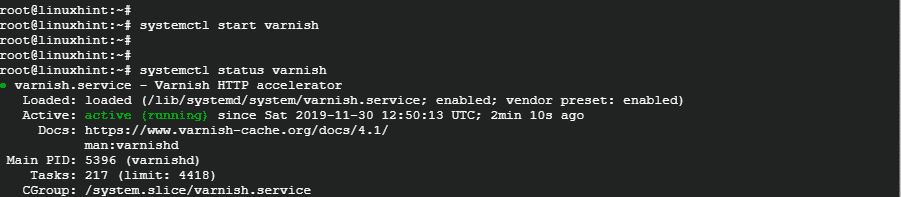
Step 3: Install Varnish HTTP Accelerator
With Apache webserver installed, install Varnish HTTP accelerator by running:
# systemctl status varnish
Step 4: Configuring Apache and Varnish HTTP Cache
Apache webserver listens on HTTP port 80 for incoming connections. However, in our setup, we need to make a few adjustments. Since Varnish will be forwarding HTTP requests to the Apache webserver, we will configure the Varnish Accelerator to listen to port 80 and then configure Apache to listen to port 8080.
So, to configure Apache to listen to port 8080, open the configuration file as shown with
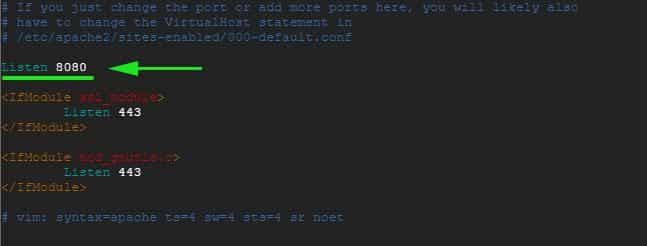
Save and exit the configuration file.
On the same note, we are going to make changes to the default Apache virtual host file and configure it to listen to port 8080
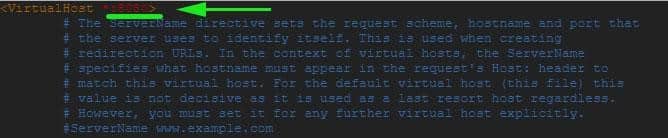
Save and exit the configuration file. For the changes to come into effect, restart the Apache webserver
At this point, if you try accessing the webserver on port 80, you will get an error due to the changes we’ve just made. It can only be accessed via port 8080 as shown.

Step 5: Setting up Varnish to listen to port 80
We also need to configure Varnish to listen to port 80 in order to forward HTTP requests to the webserver. This will also eliminate the need to appending 8080 at the end of the URL when accessing the web browser.
Launch your preferred text editor and open the /etc/default/varnish file.
Scroll and locate the attribute ‘DAEMON_OPTS’. Be sure to change the port from 6081 to port 80

Save and close the text editor.
If you check the /etc/varnish/default.vcl file, you should get the output shown below.

Lastly, we need to edit the /lib/systemd/system/varnish.service and modify the port in ExecStart directive from port 6081 to 80.
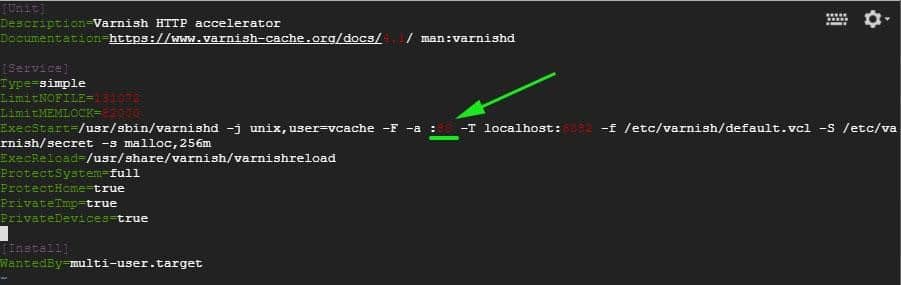
Save and exit the text editor.
For the changes to come to effect, we need to restart Apache web servers, reload the system and restart Varnish in the order shown
# systemctl daemon-reload
# systemctl restart varnish
Step 6: Testing the Configuration
To confirm that our configuration is all good use the curl command as shown:
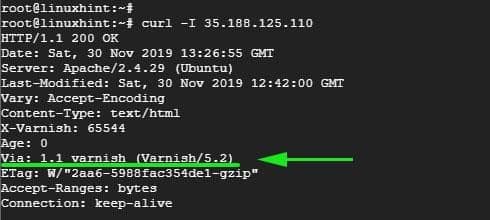
Be on the lookout for this line Via: 1.1 varnish (Varnish/5.2) as indicated on the output above. This shows that Varnish works as expected.
You can now visit your webserver without appending the 8080 at the end.
Conclusion
And that’s how you configure Varnish Cache to work with Apache web server on Ubuntu 18.04. Your webserver should work faster than ever before thanks to the super-fast Varnish HTTP accelerator that will cache frequently accessed webpages and serve them at impressive speeds!