
Note: Linux Mint 20 is used throughout this article to demonstrate the usage of this command. However, you can work with any Linux distribution of your choice.
Install usbutils Package
Before getting started with the lsusb command, install the usbutils package onto your Linux Mint 20 system. To install the package, follow the steps shown below:
Launch the terminal by clicking on the terminal icon, highlighted in the following image:
![]()
After you click on this icon, the terminal window will immediately pop up, as shown below:

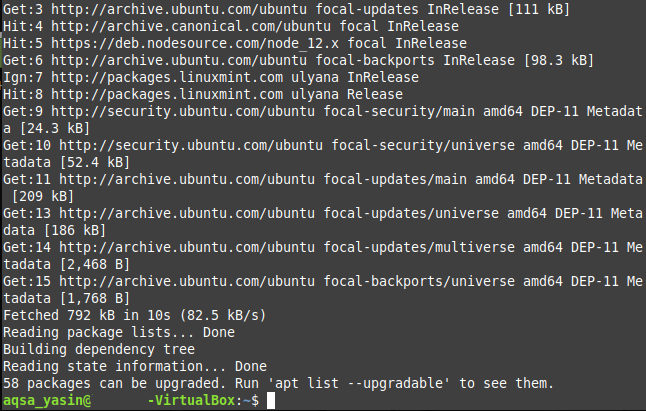
Before installing the usbutils package, it is highly recommended to update your Linux Mint 20 system to avoid hindrances during the installation. This can be done by executing the update command in the following manner:
This command can be seen in the image shown below:
![]()
Once your system has been updated, you will see the following output, as mentioned in the image on your terminal:
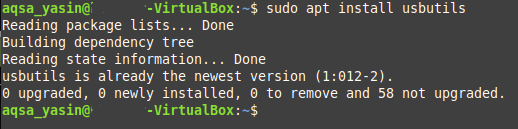
After successfully updating your system, you can now run the following command without any worries:
This command will install the usbutils package on your Linux Mint 20 system.
![]()
The successful installation of the said package will render the following output on your terminal:
Using the lsusb Command
The lsusb command provides information about the USB devices attached to your Linux system. This command may either be used individually or combined with various choices. For this section, we are only interested in running the lsusb command independently, i.e., without any additional parameters or options. Simply run the following command in your Linux Mint 20 terminal to do so:
![]()
Upon successful execution of this command, you will see all the information related to any USB buses and devices connected to your system, as in the following image:

Options Used with the lsusb Command
As mentioned previously, the lsusb command can also be used in conjunction with different options. These options include the following:
- -s: Displays information about any particular USB device, according to the device’s bus number and device number.
- -v: Shows more detailed information about the USB devices connected to your system.
- -D: Provides detailed information read from a specific USB device file.
- -t: Displays all the connected USB devices in the form of a tree or hierarchy.
In the examples given below, you will learn more about the usage of these options.
Example 1: Display a Specific USB Device
To display a specific USB device, you need to know two things about the device: its bus number and its device number. These two items can be determined simply by running the lsusb command alone, as discussed above. Once you know the bus and device numbers of the USB device, run the following command on your terminal:
Replace the BusNum and DeviceNum with the device’s bus number and device number, respectively. For the sake of demonstrating this method, we have used bus number 1 and port number 1, which you can verify in the image below:
![]()
After running this command, you will see the USB device, along with the specified bus number and device number on your terminal, as shown in the following image:

Example 2: Display Detailed Information about All USB Devices
To display every detail about all the USB devices that are connected to your system, run the following command in your terminal:
You can also see this command in the image below, for more clarity:
![]()
After this command is executed successfully, you will be able to see more details about all the USB devices connected to your system, as seen in the image below:

Example 3: Display Information about a Specific USB Device
As you may have noticed, in the method above, the output with the –v option was quite long. In some situations, you might want to have detailed information only about a single device, instead of having it for all the USB devices attached to your system. If this is the goal, then a detailed output about a single USB device can be achieved by executing the following command in your terminal:
Again, to run this command, you will need to know the bus number and device number of the specific USB device that you would like more information about from the device’s particular file. In this example, we have replaced the ‘BusNum’ with 001 and the ‘DeviceNum’ with 002, as shown in the image below:
![]()
After running this command, you will be able to see all the details about the specified USB device, read directly from the device’s file, as shown in the following image:

Example 4: Display All USB Devices in a Tree Structure
At times, you may also want to list down all the connected USB devices in the form of a hierarchy or a tree structure, for easier readability. This can be done by executing the following command in your terminal:
This command can also be seen in the image below:
![]()
Running this command will display all the USB devices that are connected to your system in the form of a tree structure, as shown in the following image:

Conclusion
This article gives you a detailed overview of the usage of the lsusb command in Linux Mint 20. Now, whenever you require more information about the USB devices attached to your system, you can conveniently make use of this command.