Data is indispensable in today’s market, as everything depends heavily on it. As the reach of the Internet continues to grow, and as more and more users dive into online life, the amount of data that companies deal with expands. The scale at which data is being generated is massive.
At the rate at which available data is expanding, the companies using this data must also keep up with it and, as a result, this often leads them into thinking up strategies about how to efficiently manage the huge amount of information coming in so it does not end up burdening their storage services.
Disk partitioning is one useful and popular method used to optimize storage resource usage. This is a useful technique, as divides your storage spaces into separate, specific areas that allow the storage service to be better utilized by the company.
For Linux users, one such partition manager is the KDE Partition Manager, which will be discussed in detail in this article.
What is KDE Partition Manager?
KDE Partition Manager is an application used for disk management tasks in your system. This app allows users to create new file systems, whether on an already existing partition or a new one; move or delete these partitions; and resize a partition without any loss of data.
In addition to this, it also allows you to make a backup of your partitions, as well as restore your partitions a backup version. KDE Partition Manager has support for a large number of file systems, the most notable ones being NTFS, FAT, F2FS, and so on. Just like every other application of KDE, the Partition Manager is released under the GNU Public License, making it completely free to use and open-source.
Installing KDE Partition Manager Using Apt
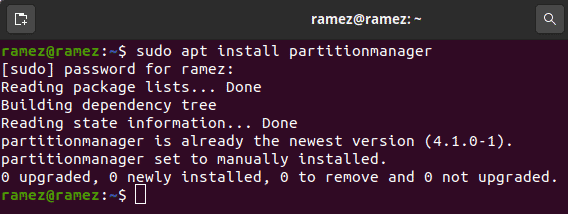
KDE Partition Manager comes as part of the official Ubuntu repository, making it available for installation using apt. First, you will need to update the apt cache of your Ubuntu system, which can be done by entering the following command in the terminal:
Next, install KDE Partition Manager by running the following command:
Using KDE Partition Manager
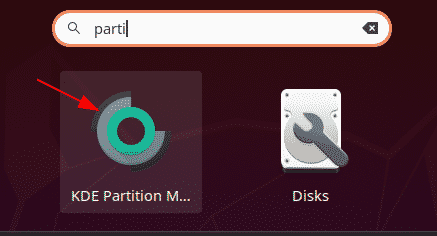
After installing KDE Partition Manager, you can find it in the list of applications that you have installed on your system.
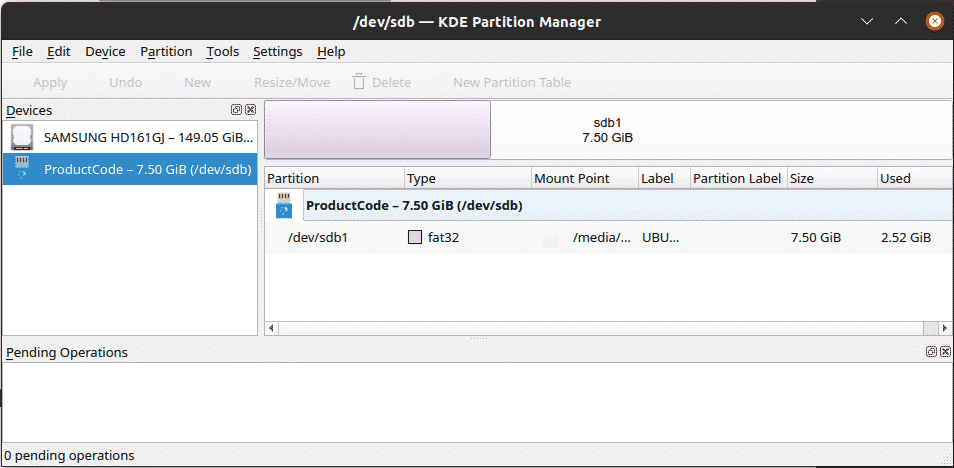
When you open the partition manager, you will be greeted with a prompt asking you to authenticate your identity. Input your password and press enter. The partition manager will then start scanning your disk so that it has a record of all the disk devices present in your system.
After scanning, the app will then present you with a complete outline of your disk drives, giving details including the type of partition, the total size of the partition, the amount of space used up, and so on. The main components of the KDE Partition Manager include the devices panel, which lists all the devices that can be found on your system; the graphical and tree view, which both show a different representation of the partitions; pending operations,which contain all the operations waiting to be executed; and a few other panels.
You can add more panels by going to the Settings menu item and then checking the panels you want to appear in the Panels Shown section.
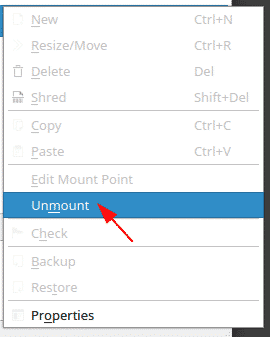
To resize or delete any partition, first, select the correct device from the devices panel and then right-click on the partition to which you would like to apply the desired action. Click unmount. This is done because you can only apply actions to an unmounted partition.
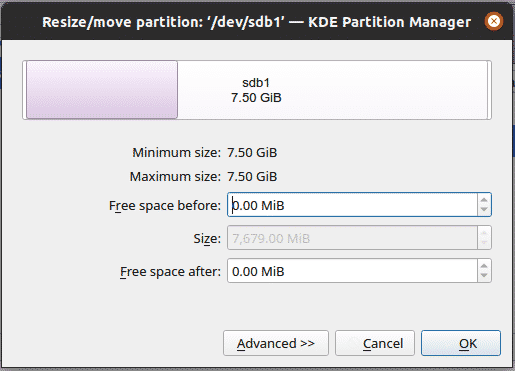
To resize the partition, either once again right-click and select the resize/move option or hit the keys Ctrl + R, which will open the following dialog:
You can play around with the memory size. Once you are satisfied with the values, press OK, which will add a new operation to the pending operations list, along with updating the graphical and tree views.
After resizing and applying the other corresponding actions, you need to apply these changes to make them permanent. This can be done by going to the Edit menu item and selecting Apply. This will open a dialog box to confirm whether you want to apply all the pending operations. Click OK and the process will start. Once all pending operations have been applied, you will receive a success message, along with a report containing all the details of the entire process.
KDE Partition Manager can also be used to format your partitions. To do this, once again, unmount your partition, and then either right-click and select the delete option or hit the delete button, after which your partition should look something like this:
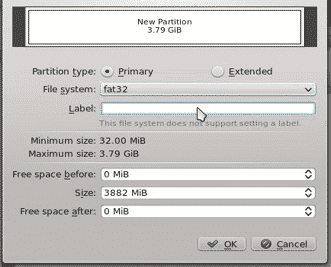
Next, right-click and select the New option or hit Ctrl + n, which will open the following prompt:
Set the options that you want your partition to have and then hit OK (be sure to select what type of file system you want your new partition to be). The following image shows the result that you should get after performing this action:
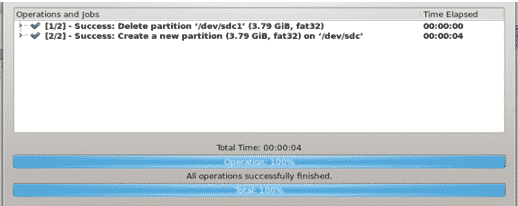
Now, click the Apply button from the Edit menu item, click OK on the pending operations dialog, and then wait till the process finishes, after which you will see something like this:
And, voilà! You now have your formatted partition.
Why use KDE Partition Manager?
KDE Partition Manager is a powerful utility program that offers a variety of features to its users for handling disk devices. Supporting a large number of file formats and being free to use, KDE Partition Manager is certainly quite the game-changer in data management.

