Git is an open-source tool that permits the developer to manage projects and is compatible with cross-platforms like Windows, Linux, and Mac. In the Mac OS, z-shell (zsh) is the default terminal that manages tasks. Most of the senior Developers prefer Mac over Windows because it gives them more flexibility as well as great control over development.
This article will talk about the instructions to use Git on Mac zsh-prompt.
How to Use zsh-git-prompt?
To use the Git z-shell prompt on Mac, install Git, configure, and use it. To do this, walk through the following steps.
Step 1: Install Git
First, open the terminal on Mac and install Git with command as follows:
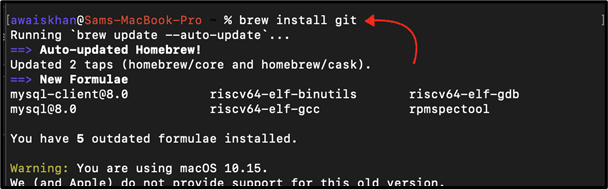
Git has been installed.
Step 2: Check Version
To verify that Git has been installed or not, let’s check the version of Git:

Git version 2.24.3 is available for use.
Step 3: Configure User Name
After the Git installation, configure it with your username with the help of the provided command:

Step 4: Configure Email
For configuring the email, use the below-mentioned command and specify the email:

The username and email are configured for Git. Let’s move ahead, initialize the repository, track the file, and check the status.
Step 5: Initialize Repository
To initialize the Git repository, use the “git init” command as provided:

Step 6: Add File
For instance, we have the “file.txt” in our repository. To track this file, use the “git add” utility along with the file name:
![]()
Step 7: Check Status
Now, check the status of the file whether it is tracked or not through the given command:
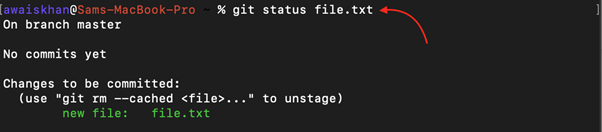
The above output shows that the file “file.txt” has been tracked.
Conclusion
To use the git on z-shell (zsh) prompt, open the z-shell terminal and install it using the “brew install git” command. Once the installation is completed, configure the Git with the email and username. After that, initialize the project repository, add the file, and perform other tasks based on the requirements. This tutorial has accomplished the steps to use Git on the zsh-prompt of Mac.