When it comes to video editors for Linux, there is a wide variety of options to choose from. Some are high-end and feature-rich — best for professional use. In contrast, others get the job done for casual users. Not all of us need an editor as powerful as OpenShot, nor its extensive functionality. Sometimes, all one needs is to trim and merge videos with no questions asked.If you are one of those people, VidCutter is the way to go. In this guide, we will be showing you how you can install and use VidCutter on Ubuntu.
Features
VidCutter is a simple video editing cross-platform program for Linux, Windows, and Mac. It is built on Python and Qt5, using FFmpeg as back-end decoding and encoding. VidCutter is by no means a full-blown powerful video editor like Adobe Premiere and other such programs, but it still packs a mean punch in terms of features. The main functionality of VidCutter is to trim and merge audio and video files. If you are looking for a program that you can use to quickly edit your videos without having to go through page-long instructions or a steep learning curve, VidCutter is your best bet.
Let us take a brief look at some useful features that VidCutter brings to the table:
- Cross-platform (available for Windows, Linux, and macOS)
- Easy to use
- Convenient interface
- Open-source
- Supports almost all common video and audio formats like MP4, AVI, WMV, MP3, 3GP, MOV, MPEG, FLV, and more
As we mentioned earlier, VidCutter is used solely for trimming and merging video and audio files, nothing else. This may be considered a limitation more than anything. However, if it gets the job done, then there are no complaints from our side. Another small bummer is that currently, it has no conversion feature. It means the format of the output is the same as the input video — the user cannot change it. That covers this segment. Now, let us move on to how you can install VidCutter on your Linux computer.
Installing VidCutter on Linux
VidCutter is available for basically all Linux distributions out there. The main installation guide is going to be targeted at Ubuntu users. If you are running some other distro, worry not, we will point you in the right direction.
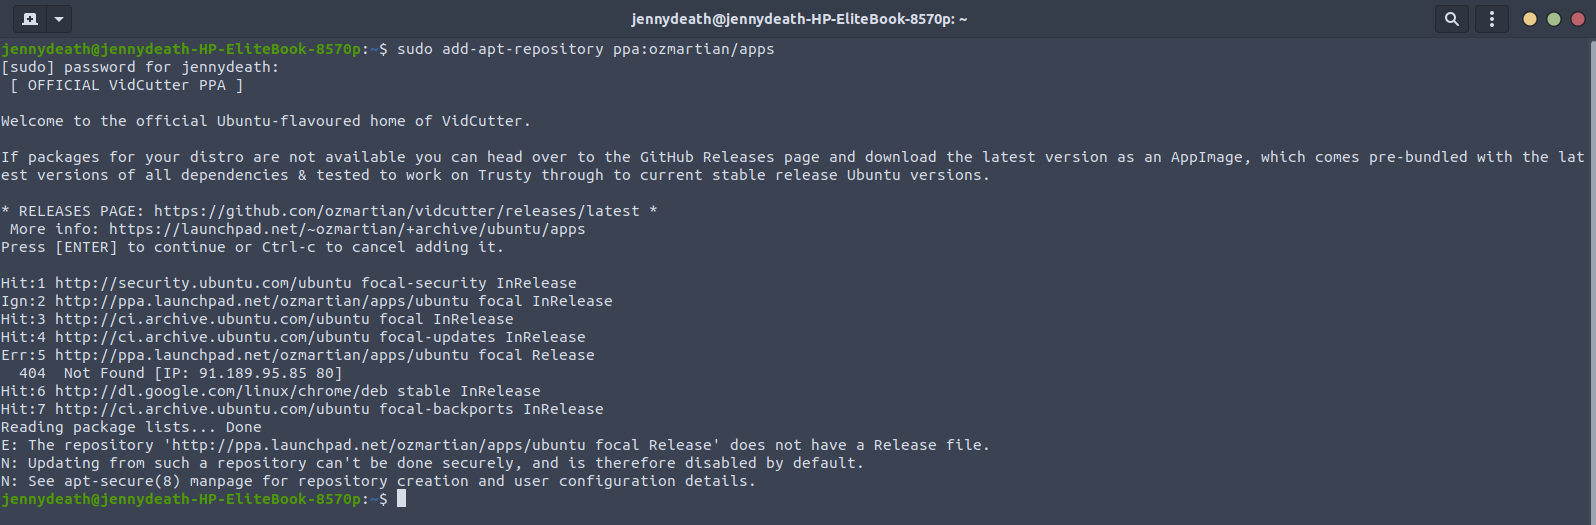
So, let us start the installation process. You can get VidCutter through a snap command. First, you have to add its PPA to your system’s software sources. Open a new Terminal window by pressing Ctrl + Alt + T on your keyboard and run the following command:
Now, we install VidCutter by the snap command below:

If you encounter some error, either through the installation or using the program, you may need to install some dependencies. Try the following command for this purpose:
For uninstalling VidCutter from your system, the following commands should work:
$ sudo add-apt-repository --remove ppa:ozmartian/apps

Also, if you would rather not add a PPA, you have the option of downloading and installing VidCutter through a binary package from their PPA page. Another thing worth mentioning is that if you are going for this method, you might need to run the command in the style below to ensure no dependencies are missed:
The official PPA is available and works for Ubuntu-based distros such as Linux Lite, Linux Mint, etc. If you wish to install VidCutter on Arch-based distributions such as Apricity, Antergos, or Manjaro, you may use AUR. In the case of already having AUR enabled, simply run the following command, and you are good to go.
Alternatively, you may get the source code for VidCutter from GitHub as well. Anyway, having installed VidCutter on your Linux operating system, take a look at the following segment on how you can use it:
Using VidCutter
VidCutter is a very straightforward and to-the-point application. Using it is quite easy, as you will see shortly. The main tasks performed through VidCutter are of trimming and merging videos. The interface is convenient and intuitive so that you will be trimming and merging your videos in no time.
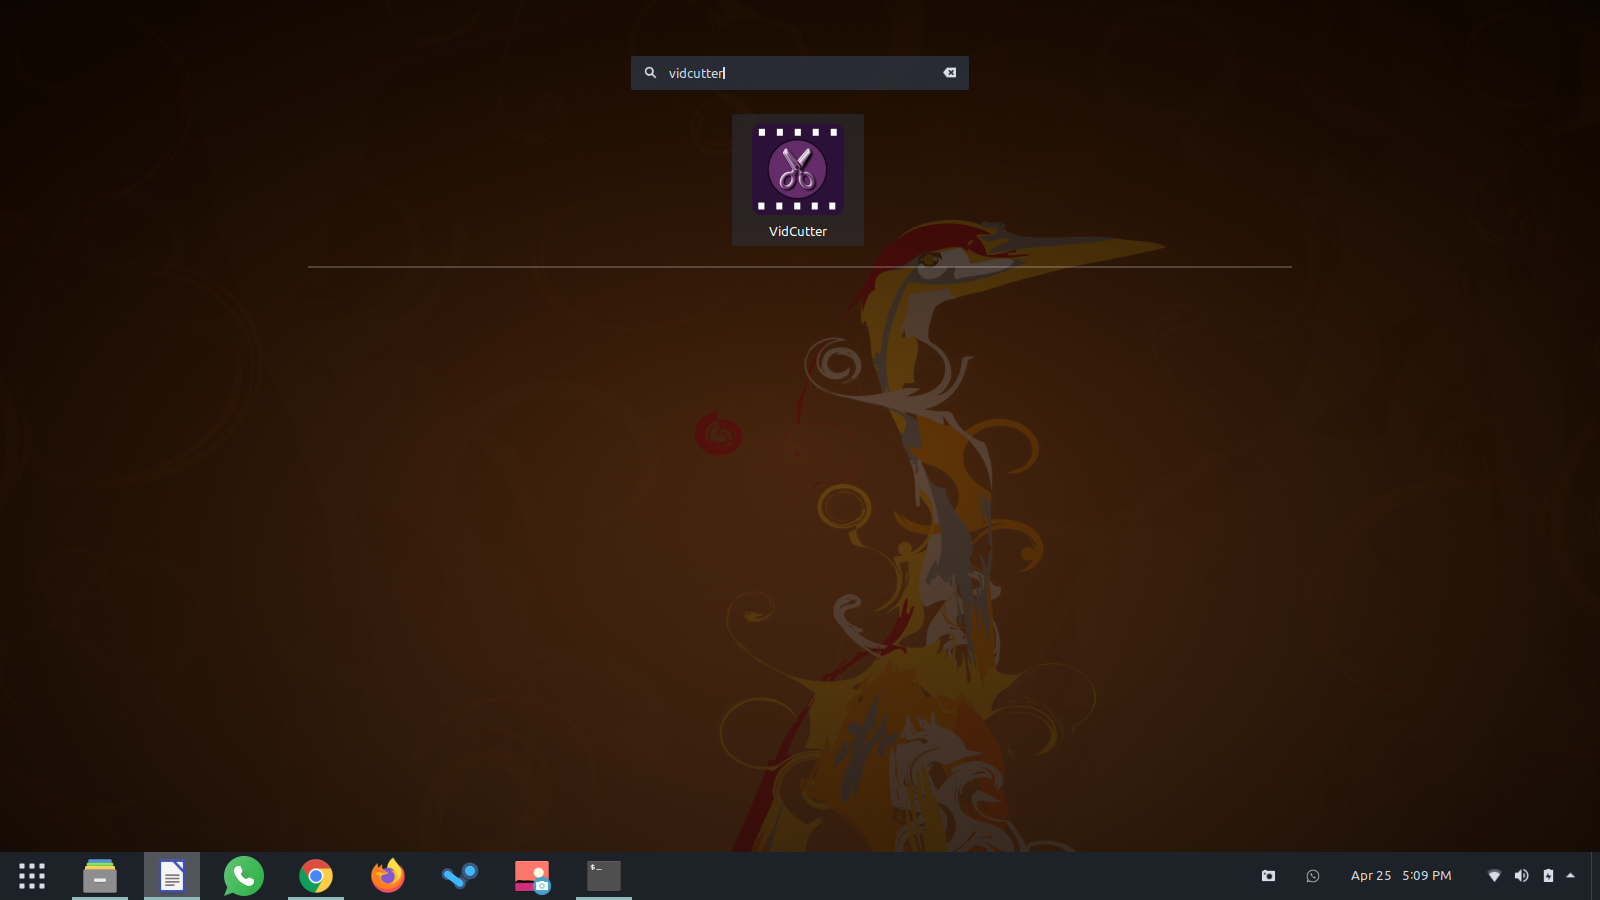
Go to the Activities menu in Ubuntu and search for VidCutter to open it.
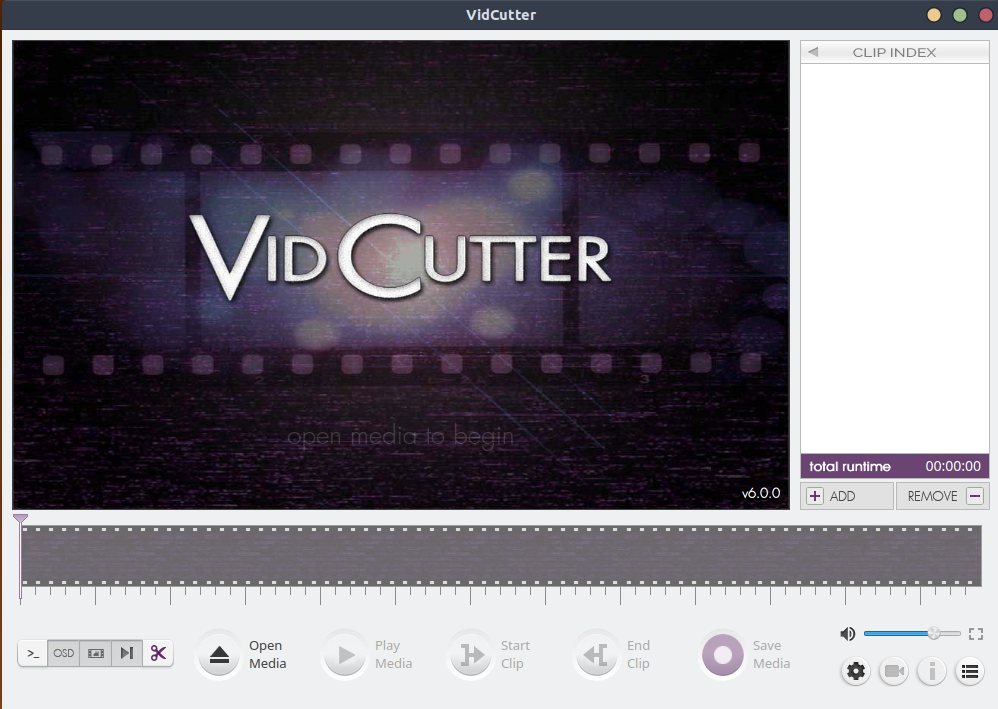
You should see a screen similar to the one below.
Click the Open Media button and browse to your desired video file. Once you have it, we can start the trimming process.
You can trim the main video into smaller clips by selecting a starting position through the position marker. Then click the button that says Start Clip. Once the video has played to the point where you would like to finish the clip, click End Clip. This is demonstrated in the image below.
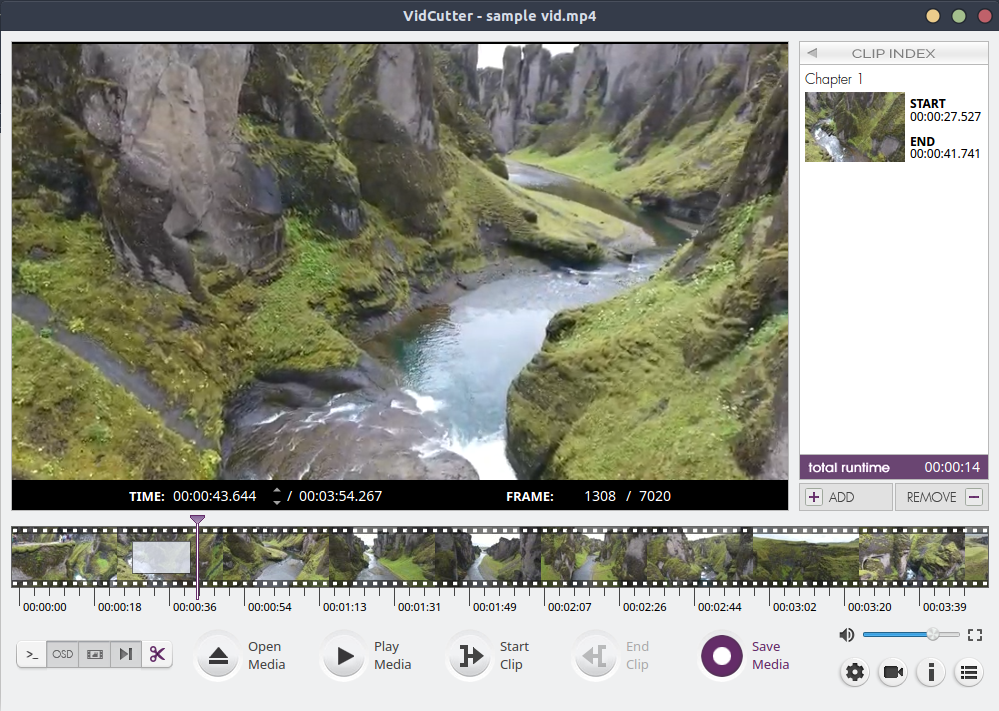
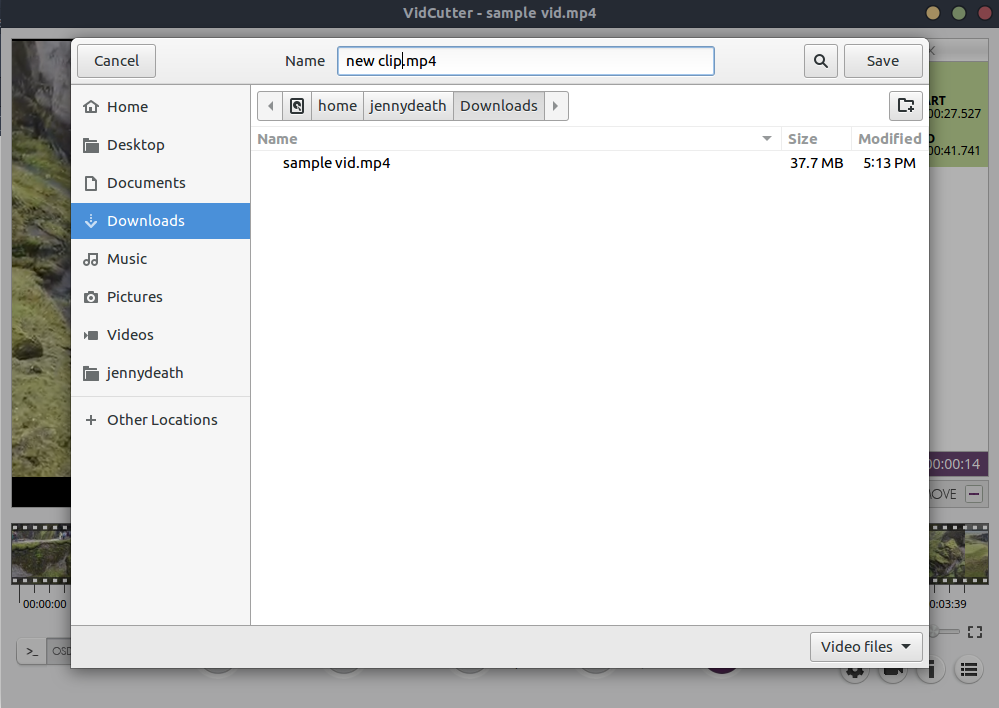
Once you have clipped the video, you will see a new “chapter” appear on the right side of the workspace. This is your clip. You can click on it to play it, add more chapters, and merge/remove them through the Add and Remove buttons. If you would like to save the final product, click the Save Media button and store it in any location of your choice.
And you are done! It is easy, convenient, and takes a few seconds to trim and merge any videos you want.
Note: The edited clip you just saved has the same format as the main video you inputted. This signifies the lack of export options. There is no conversion solution put in place, which ever-so-slightly limits the functionality of VidCutter. All in all, it does what it promises — cutting videos.
Conclusion
This article pretty much covers all there is to know about VidCutter — its features, how to install it on Ubuntu, and how to use it. It is a handy little software that lets you trim and merge videos quickly and easily. There could be improvements made in terms of functionality, such as more format options for output or some other editing features. Perhaps a few presets for visual effects and filters would do nicely. With that being said, VidCutter is an effective tool for cutting videos.