In this blog, the attention will be on what ResNet is and how to use it in PyTorch.
What is ResNet in PyTorch?
The vanishing gradient problem of a complex model arises when the gradients have to go backward through a large number of layers during training. The gradients keep getting smaller at each step and rapidly approach zero thereby massively slowing down the entire process.
Some important aspects of “ResNet” are listed below:
- Firstly, it resolves the problem of the “vanishing gradient” in machine learning models with a large dataset.
- The “integration” of ResNet within PyTorch has also increased its popularity as a valuable tool for complex models.
- ResNet smoothens the flow of gradients along the layers of the model which leads towards a convergent value much quicker.
- The improved flow between layers also means that models that are equipped with ResNet are better geared toward learning about the various features of the input data and drawing better inferences.
- A little modification to the source code of ResNet can make it usable for models other than image classification.
How to Use ResNet in PyTorch?
ResNet can be easily integrated into a PyTorch model. To use the ResNet in PyTorch, follow the below steps:
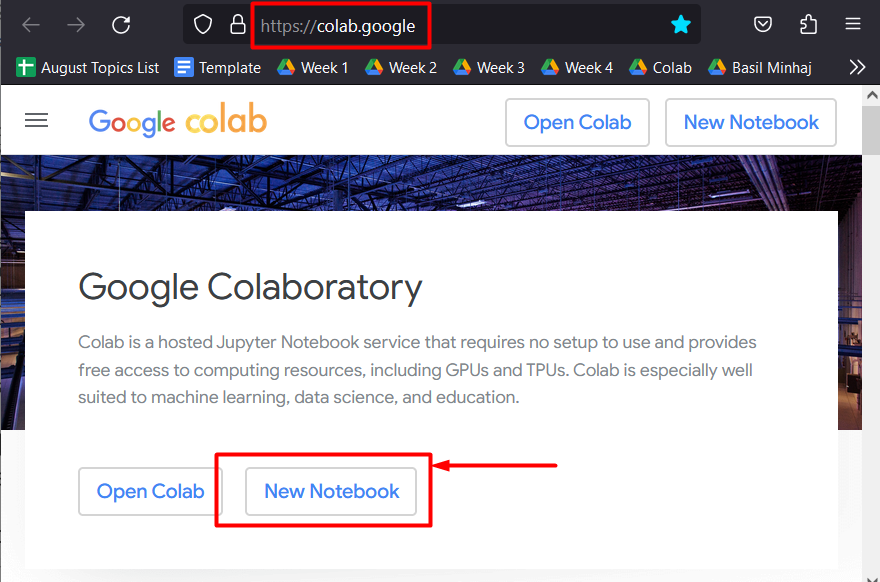
Step 1: Open Google Colab
Go over to the Colaboratory website and start a “New Notebook”:
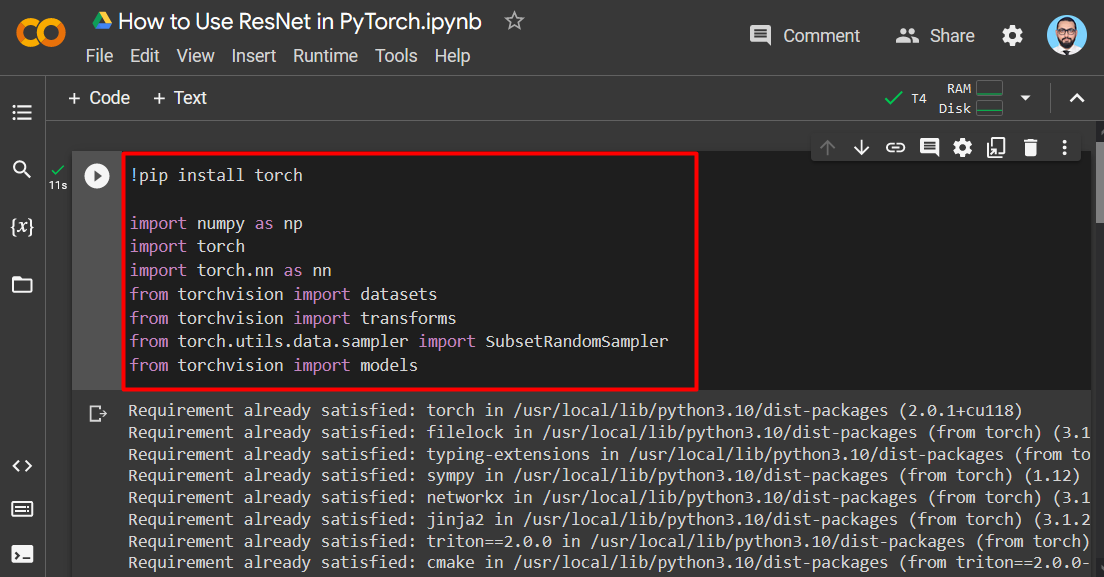
Step 2: Install and Import the Required Libraries
Install the “Torch” library and any relevant subsidiaries and import them into the project as shown:
import numpy as np
import torch
import torch.nn as nn
from torchvision import datasets
from torchvision import transforms
from torch.utils.data.sampler import SubsetRandomSampler
from torchvision import models
This project requires the following libraries:
- Numpy – It is used for working with arrays.
- Torch – The essential PyTorch library
- Torch.nn – It is used for Neural Networks.
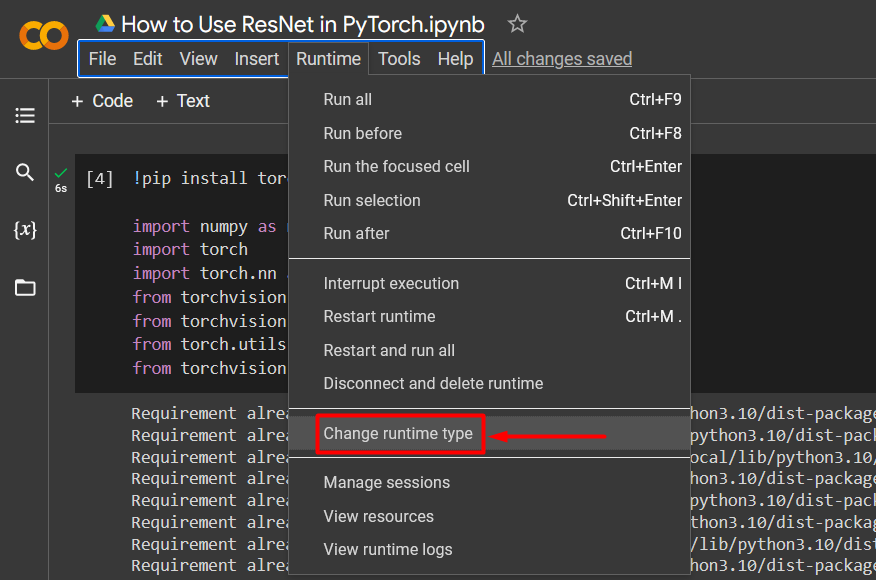
Step 3: Enable GPU for faster Processing
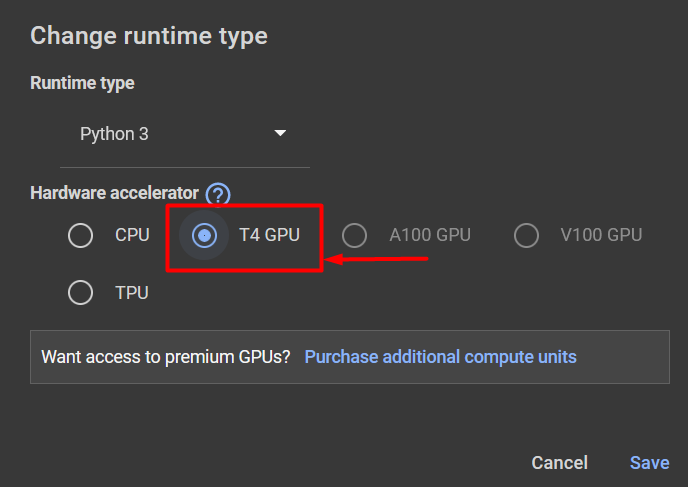
Select the “T4 GPU” as the Hardware Accelerator from the “Change runtime type” menu as shown:
Choose the “T4 GPU” and click on “Save” to apply the change in runtime settings:
Step 4: Define the Transformations
Use the “transforms” method to define the transforms and assign them to the “transform” variable as shown:
transforms.Resize((224,224)),
transforms.ToTensor(),
transforms.Normalize(mean=[0.4914, 0.4822, 0.4465],
std=[0.2023, 0.1994, 0.2010])
])
The above code works as follows:
- Define the transformations within the “transforms.Compose()” function.
- Use the “transforms.Resize()” method to define how to resize the tensor.
- Use the “transforms.Normalize()” method to define the mean and standard deviation of the data:

Step 5: Train the Dataset with ResNet
The last step of the model is to train the “CIFAR-10” dataset with ResNet:
batch_size=64
train_dataset = datasets.CIFAR10(
root=data_dir, train=True,
download=True, transform=transform,
)
test_dataset = datasets.CIFAR10(
root=data_dir, train=False,
download=True, transform=transform,
)
train_loader = torch.utils.data.DataLoader(
train_dataset, batch_size=batch_size, shuffle=True
)
test_loader = torch.utils.data.DataLoader(
test_dataset, batch_size=batch_size, shuffle=False
)
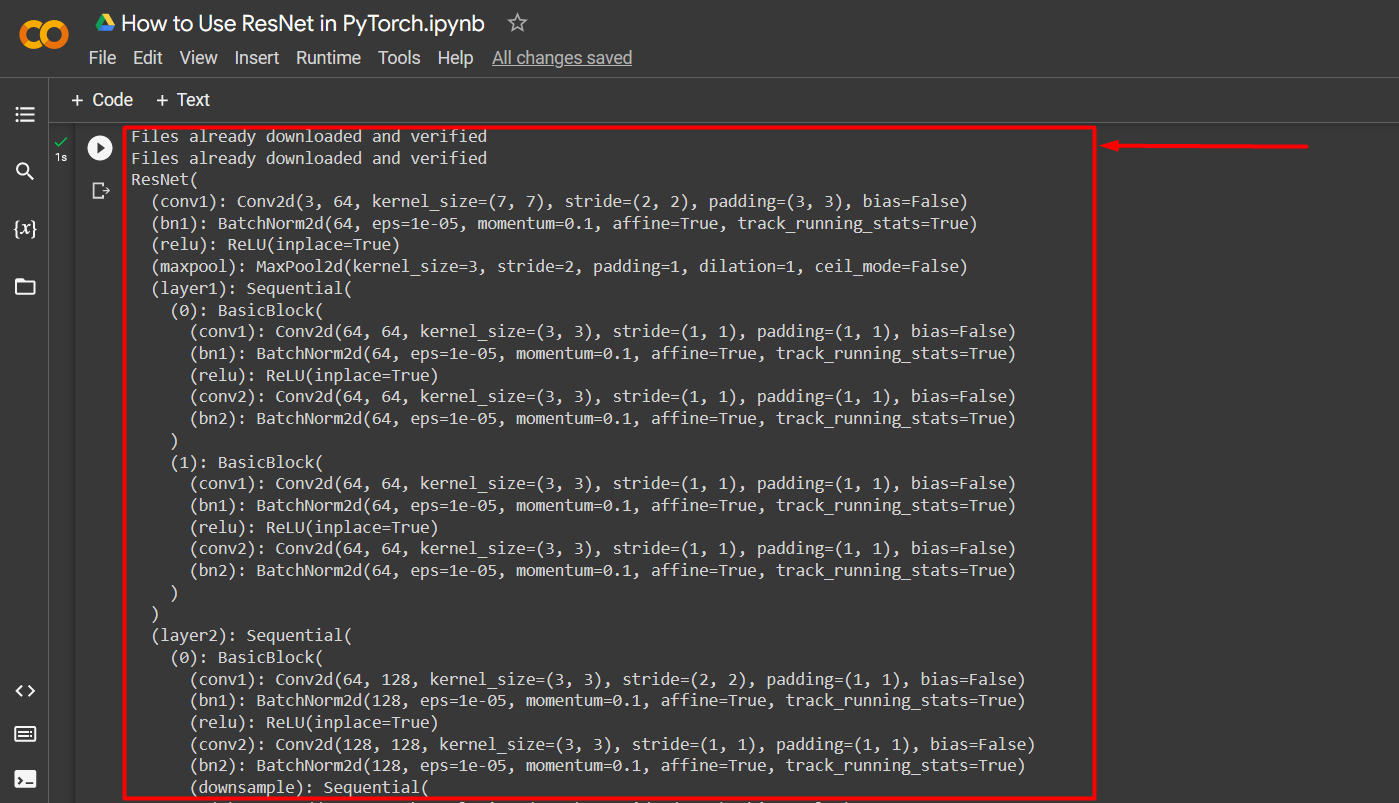
model = models.resnet18(pretrained=True)
model = model.to(device)
print(model)
The above code works as follows:
- Define the “batch_size” for the model for optimal processing.
- Next, use the “datasets.CIFAR10()” method to “train” the dataset with specified transformations.
- Then, “test” the dataset similarly.
- Next, use the “torch.utils.data.DataLoader()” method to define the progression of the training and testing phases of the model with a fixed “batch_size” and “shuffle”.
- Then, use the “models.resnet18()” method to incorporate the functionality of the “Residual Network Architecture” to further optimize the model.
- Lastly, utilize the “print()” method to showcase the output:
Note: You can access our Google Colab notebook to further understand how to use ResNet at this link.
Pro-Tip
A remarkable feature of the ResNet architecture is its ability to handle different numbers of layers in a convolutional neural network. You can use ResNet on a model that has anywhere from 18-152 layers and it will efficiently handle the gradient vanishing problem.
Success! We have shown the use of ResNet in PyTorch.
Conclusion
To use the ResNet architecture in PyTorch, utilize the “resnet18()” method that is pre-trained on an image-based dataset. Residual Networks can be trained on custom user data from scratch as well for added functionality. The optimal processing of models as a result of the removal of vanishing gradients is evident in models with thousands of rows of data. This article has noted the importance of ResNet and how to best use it to improve the performance of user projects.