
QTimer Usage
The following sections provide examples that illustrate how to implement two different applications using the QTimer class.
Example 1: Create a Stopwatch
The following script will implement a stopwatch application in Python using the QTimer class. This application will count the number of seconds and the number of minutes. Two buttons are used to start, stop, resume, and reset the counter. When the user clicks the Start button, the counter will start counting, and the caption of the Start button will be changed to Stop. When the user clicks the Start button with the caption Stop, the counter will stop temporarily, and the caption of the Start button will be changed to Resume to continue the counter to the next time. When the user clicks the Reset button, all the values of the counter will be initialized to 0.
import sys
from PyQt5.QtWidgets import *
from PyQt5.QtCore import *
# Define class to create the stop watch
class StopWatchWindow(QMainWindow):
def __init__(self):
# Call the parent constructor
super().__init__()
# Set the title of the window
self.setWindowTitle("Stop Watch using QTimer")
# Set the geometry for the window
self.setGeometry(100, 100, 300, 200)
# Set the necessary variables
self.counter = 0
self.minute = '00'
self.second = '00'
self.count = '00'
self.startWatch = False
# Create label to display the watch
self.label = QLabel(self)
# Set geometry for the label
self.label.setGeometry(100, 40, 150, 70)
# Create start button
self.start = QPushButton("Start", self)
# Set geometry to the start button
self.start.setGeometry(50, 120, 100, 40)
# Call start() method when the start button is clicked
self.start.pressed.connect(self.Start)
# Create reset button
resetWatch = QPushButton("Reset", self)
# Set geometry to the stop button
resetWatch.setGeometry(160, 120, 100, 40)
# Call reset() method when the reset button is clicked
resetWatch.pressed.connect(self.Reset)
# Create timer object
timer = QTimer(self)
# Add a method with the timer
timer.timeout.connect(self.showCounter)
# Call start() method to modify the timer value
timer.start(100)
# Move the position of the window
self.move(900, 400)
# Display the window
self.show()
# Define a method to modify the values of minutes and seconds based on the timer value
def showCounter(self):
# Check the value of startWatch variable to start or stop the Stop Watch
if self.startWatch:
# Increment counter by 1
self.counter += 1
# Count and set the time counter value
cnt = int((self.counter/10 - int(self.counter/10))*10)
self.count = '0' + str(cnt)
# Set the second value
if int(self.counter/10) < 10 :
self.second = '0' + str(int(self.counter / 10))
else:
self.second = str(int(self.counter / 10))
# Set the minute value
if self.counter / 10 == 60.0 :
self.second == '00'
self.counter = 0
min = int(self.minute) + 1
if min < 10 :
self.minute = '0' + str(min)
else:
self.minute = str(min)
# Merge the mintue, second and count values
text = self.minute + ':' + self.second + ':' + self.count
# Display the stop watch values in the label
self.label.setText('<h1 style="color:blue">' + text + '</h1>')
# Define method to handle the start button
def Start(self):
# Set the caption of the start button based on previous caption
if self.start.text() == 'Stop':
self.start.setText('Resume')
self.startWatch = False
else:
# making startWatch to true
self.startWatch = True
self.start.setText('Stop')
# Define method to handle the reset button
def Reset(self):
self.startWatch = False
# Reset all counter variables
self.counter = 0
self.minute = '00'
self.second = '00'
self.count = '00'
# Set the initial values for the stop watch
self.label.setText(str(self.counter))
# Create app object and run the app
app = QApplication(sys.argv)
stopWt = StopWatchWindow()
app.exec()
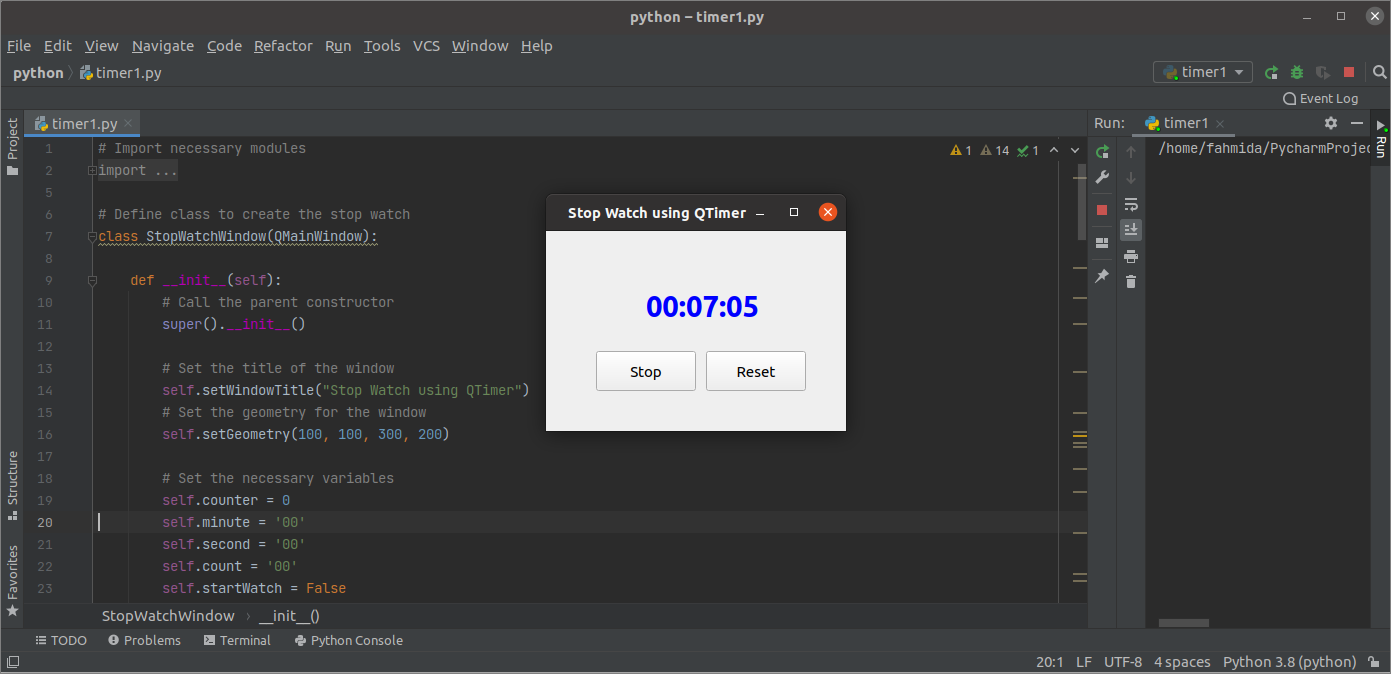
The following window will appear after the above script is executed.

The stopwatch will start working after the user clicks the Start button.
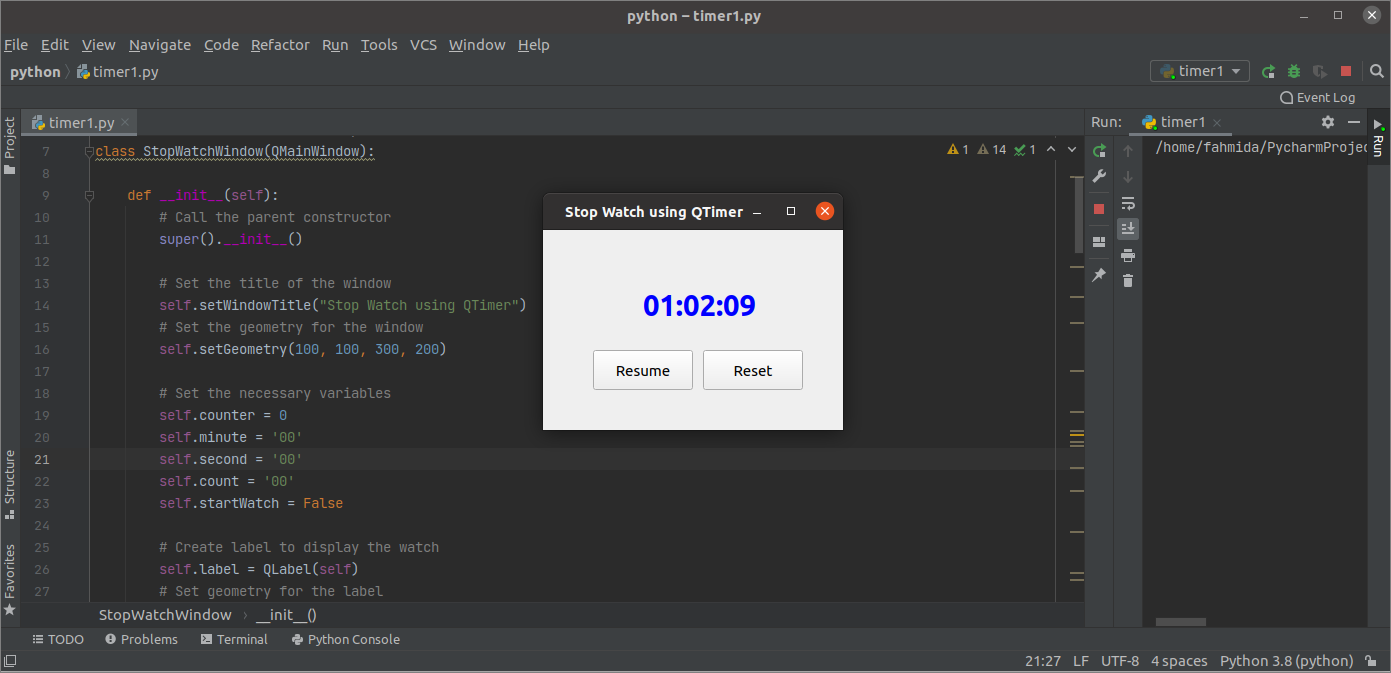
The counter will stop counting after the user clicks the Stop button.
Example 2: Create A Digital Clock
The following script will implement a digital clock in Python using the QTimer class. The script will display the digital clock in a label by reading the current system time once every second.
import sys
from PyQt5.QtWidgets import QApplication, QWidget, QLabel, QVBoxLayout
from PyQt5.QtCore import QTimer, QTime, Qt
from PyQt5.QtGui import QFont
# Define class to create the digital clock
class DigitalClock(QWidget):
def __init__(self):
super().__init__()
# Create a label with font and alignment
self.lblTimer = QLabel()
font = QFont('Times', 50)
self.lblTimer.setFont(font)
self.lblTimer.setAlignment(Qt.AlignCenter)
# Create the vartical layout object
v_layout = QVBoxLayout()
v_layout.addWidget(self.lblTimer)
self.setLayout(v_layout)
# Create the timer object and call necessary methods to display the clock
timer = QTimer(self)
timer.timeout.connect(self.showClock)
timer.start(1000)
# Set the title of the window
self.setWindowTitle("Digital Clock using QTimer")
# Resize the window
self.resize(270, 120)
# Move the position of the window
self.move(800, 400)
# Call method to display the time
self.showClock()
# Display the window
self.show()
def showClock(self):
# Read the current time
Current_Time = QTime.currentTime()
# Display the digital clock
self.lblTimer.setText('<p style="color:green">' + Current_Time.toString('hh:mm:ss AP') + '</p>')
# Create app object and run the app
app = QApplication(sys.argv)
win = DigitalClock()
app.exec()
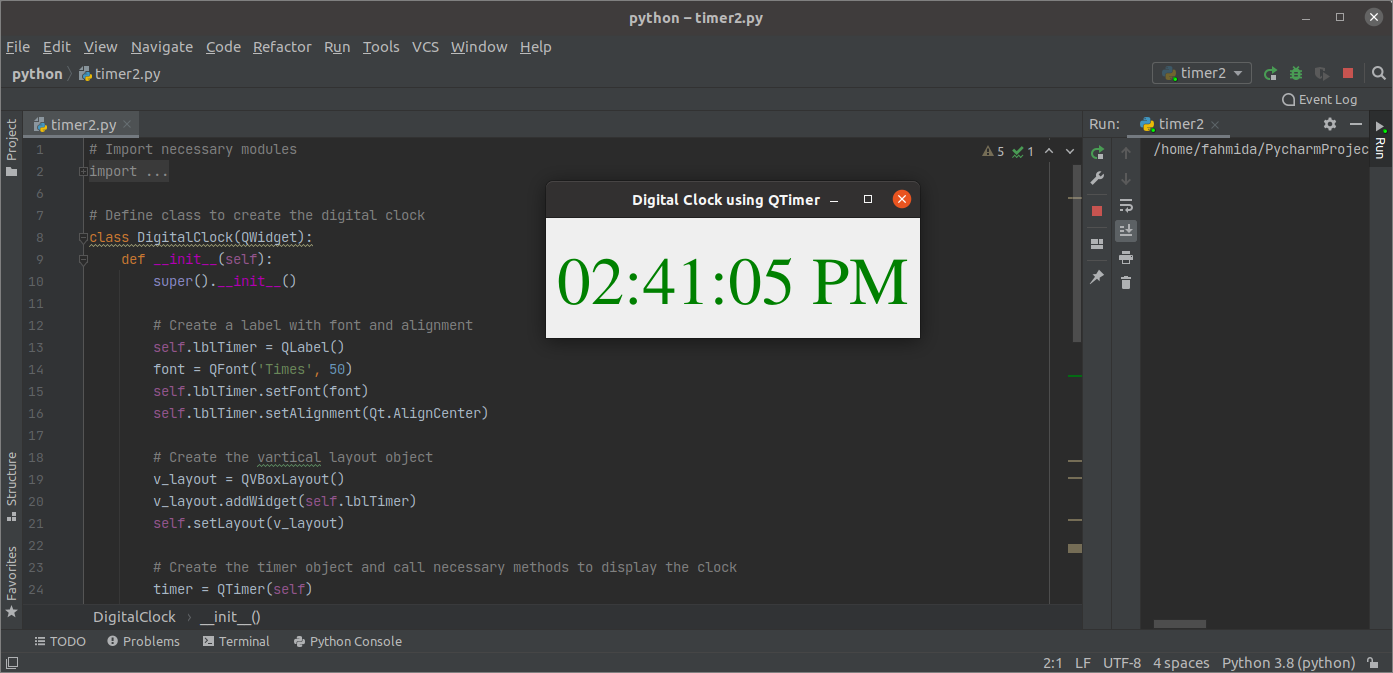
The following output window will appear after the above script is executed.
Conclusion
The date and time value of the current system time can be read in various ways using the QTimer class of the PyQt library. The QTimer class was used in this tutorial to execute various example time-related scripts.