
Rc.local is an obsolete script kept for compatibility purposes for systemV systems.
It was once a universal file present in most Linux distributions due to its simplicity for Linux administrators to define startup scripts or additional services to start.
The file rc.local does not contain information on system startup components, but only superuser/root defined components. However, not all root startup programs are described in rc.local but only those which don’t interfere with system components. Usually, rc.local is executed after normal services are started.
Newer Linux systems, including Systemd, replaced the rc.local script, but it can be restored despite being a recommended solution. This tutorial shows how to restore and use the rc.local script and use rc-local by systemd on newer Linux distributions.
Enabling /etc/rc.local in Linux distributions using Systemd:
IMPORTANT: It is important to remember /etc/rc.local is discontinued and replaced. The current method to run scripts at boot is described after instructions to enable /etc/rc.local. This tutorial is intended for users with specific needs.
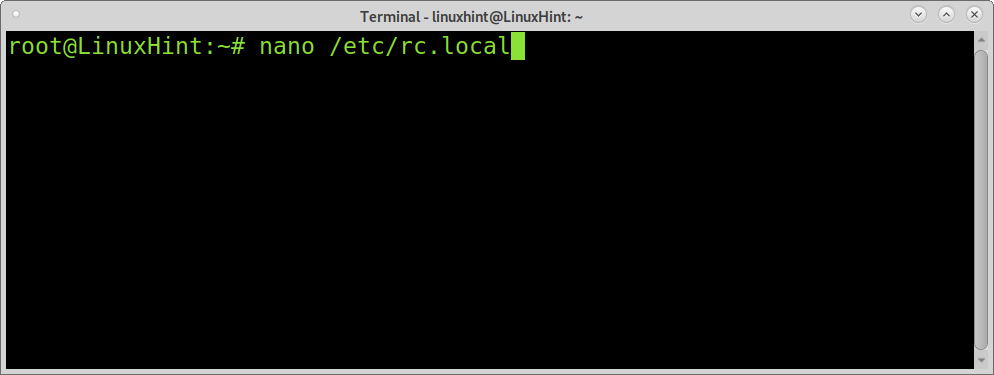
To start, create the file /etc/rc.local using the editor you want and sudo (or root):
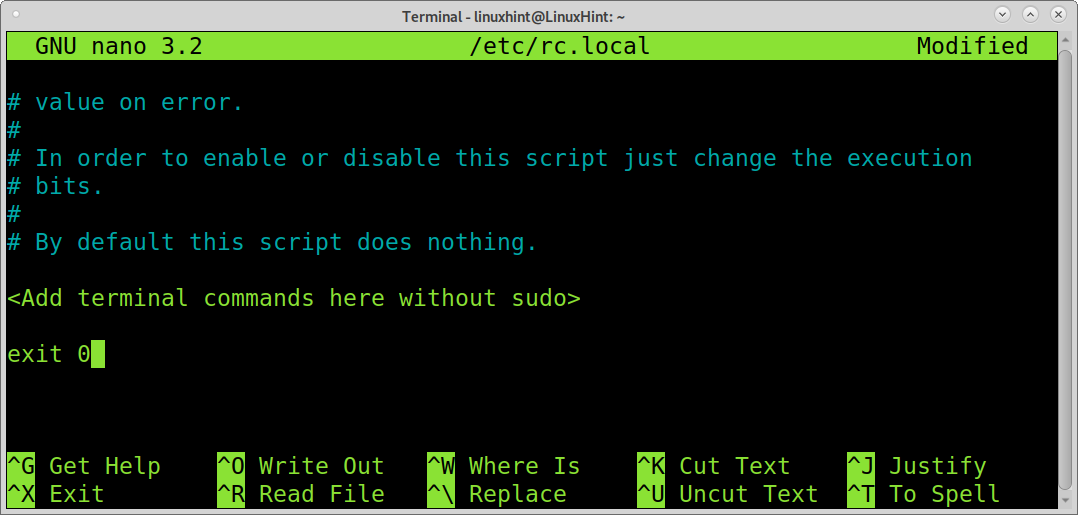
Paste the code below in the file, and replace <Add terminal commands here without sudo> with the command you want to run at startup. Don’t use sudo. If a command included in this script fails to execute, the service which will call rc.local (rc-local.service) will fail.
#
# rc.local
#
# This script is executed at the end of each multiuser runlevel.
# Ensure that the script will "exit 0" on success or any other
# value on error.
#
# To enable or disable this script, just change the execution
# bits.
#
# By default, this script does nothing.
<Add terminal commands here without sudo>
exit 0
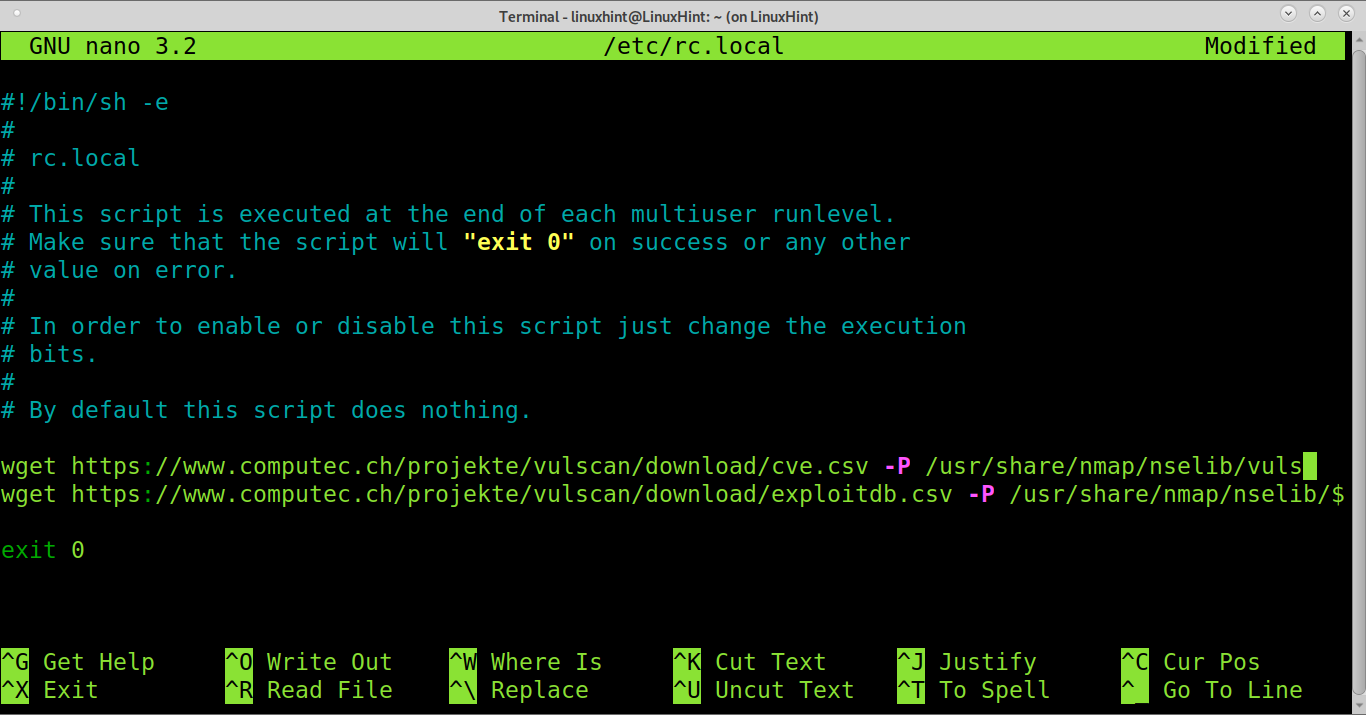
In my example, I will use the rc.local script to update the security scan vuls database every time the system starts. You can write any script you want to be executed at the start except for networking scripts (such as iptables) which may interfere with the normal startup process and have their own startup scripts or directories.
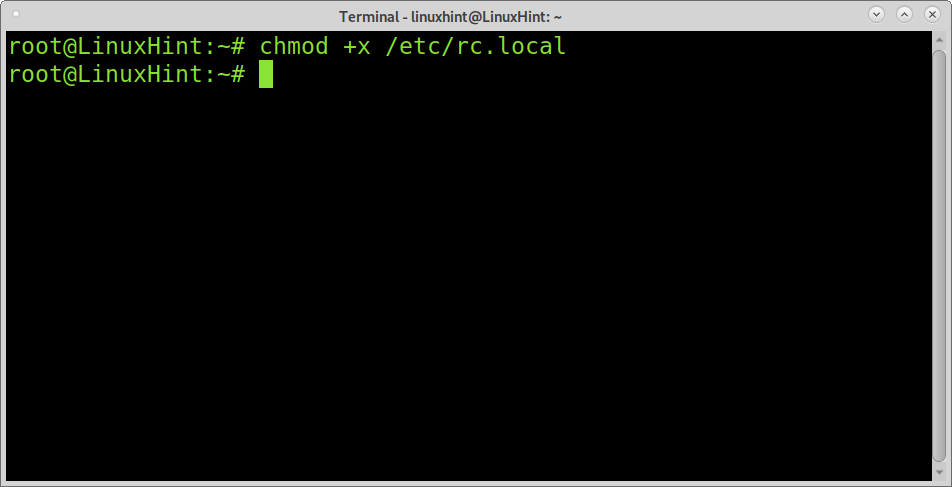
Save the file (CTRL+X and Y) and give it execution permissions by running the command below:
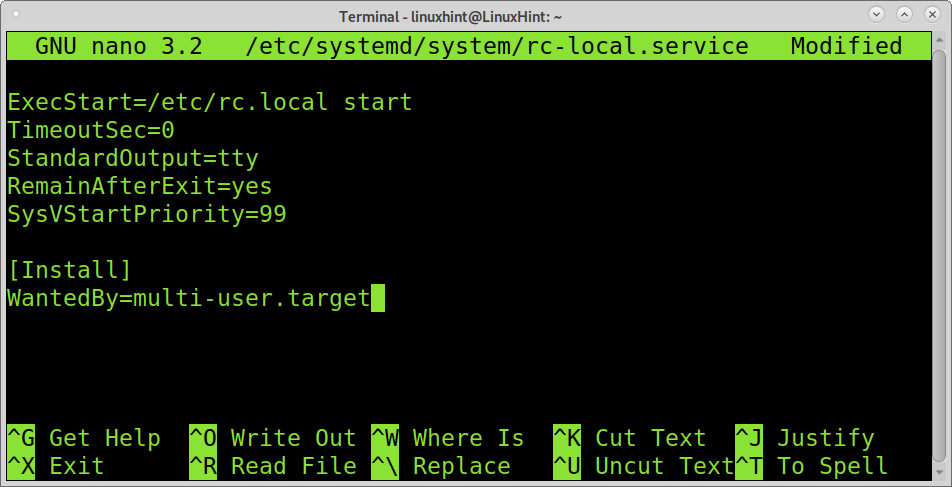
Create the file /etc/systemd/system/rc-local.service, run:

Paste the following commands and exit saving by pressing CTRL+X and Y.
TimeoutSec=0
StandardOutput=tty
RemainAfterExit=yes
SysVStartPriority=99
[Install]
WantedBy=multi-user.target
Enable rc-local:
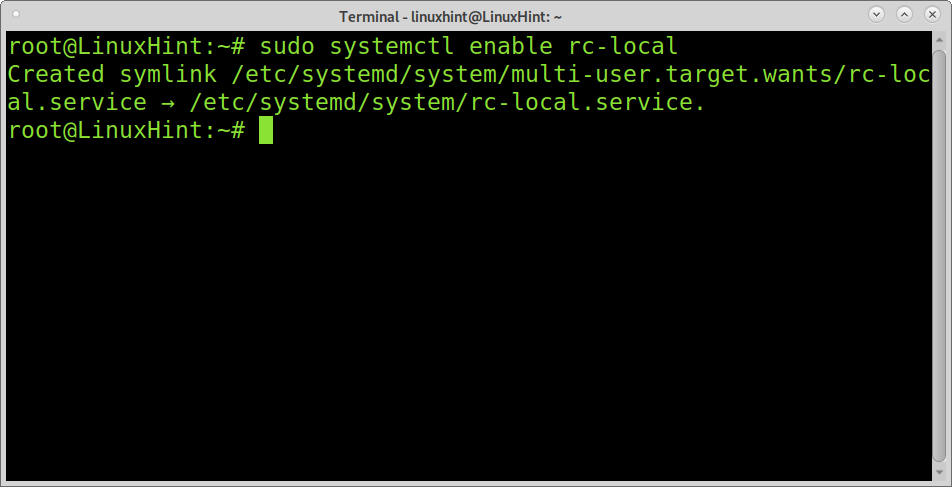
Now you can start the rc-local.service, which will read the /etc/rc.local file. Run the command shown below:
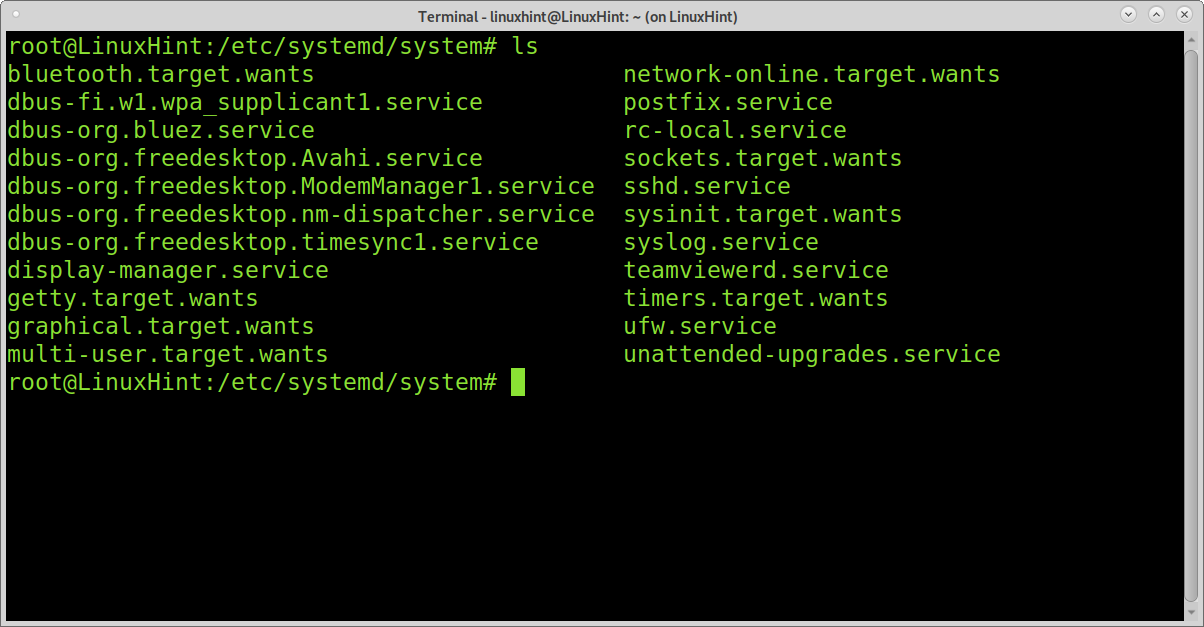
You can check if rc-local was properly loaded by running the following:

The correct way (Systemd):
The process described above is old, obsolete, and may crash some services.
This section shows the current process to start scripts or services at boot for Linux distributions using Systemd.
Systemd is a services manager who assigns services control groups (cgroup) and tracks processes. Systemd is the process (PID) 1 responsible for the system startup.
To add services or scripts at startup, you need to create a systemd unit.
Systemd units include services (.service), mount points (.mount), devices (.device) or sockets (.socket). Contrary to the old process described previously with rc.local, instead of editing the same file containing information on user scripts, you need to create a Systemd service unit for each script you want to run at startup.
Systemd units are located at /etc/systemd/system, and that’s where we need to create the systemd unit for the script we want to run at boot.
The following image shows the content of the unit TeamViewer.service.

Where the [Unit] directives:
- Description= This directive describes the unit; you can set the unit name.
- Requires= Here, you can specify dependencies to prevent startup failures.
- Wants= Like the previous, it keeps the service working even if it doesn’t find the defined dependencies.
- After= The unit will start after the specified in this directive.
Some directives used in the [Service] section may be shared with [Unit].
- Type= In the example shown above, forking indicates the service will be killed, keeping child processes that must be assigned a PID.
- PIDFile= Forking directive requires the PIDFile directive, which must contain the path to the file pid of the child process for Systemd to identify it.
- ExecStart= Here, you specify the path and commands you want to be executed. This is similar to the rc.local file.
- Restart= This directive instructs Systemd when to restart the unit. The available options are on-failure, on-abort, always, on-success, on-watchdog, or on-abnormal.
- StartLimitInterval= This directive indicates the unit has 60 seconds for 10 attempts to restart upon failure.
- StartLimitBurst= This directive indicates the attempts limit, in the example above, 10 attempts in 60 seconds.
The only [Install] directive in the example above is WantedBy.
- WantedBy= Here, you can specify this unit as a dependency; it is similar to the Wants directive, but to define the current unit is considered a dependency by another unit.
Note: You can check all Systemd directives at
https://www.freedesktop.org/software/systemd/man/systemd.directives.html
Adding your own Systemd Unit:
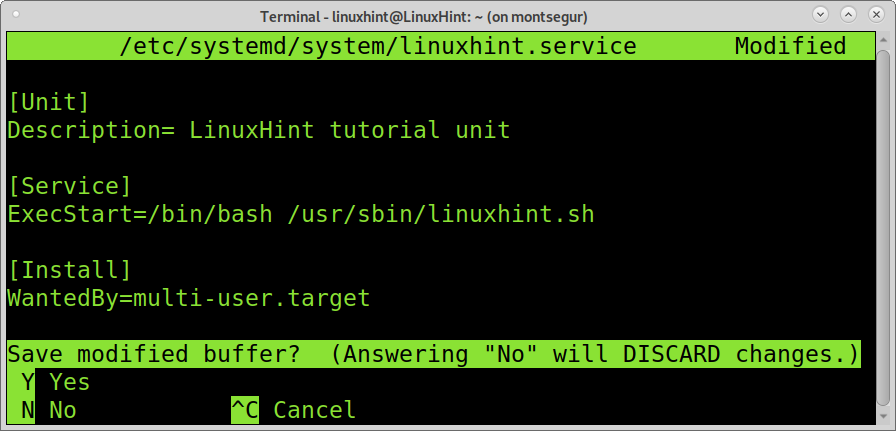
To run a script at startup, create it under /etc/systemd/system with its name followed by a dot and service, for example, linuxhint. Service. You can use nano as in the following sample:

Paste the following, replacing <Script name or description> with a description of your script and where /usr/sbin/linuxhint.sh write the correct path.
Description= <Script name or description>
[Service]
ExecStart=/bin/bash /usr/sbin/linuxhint.sh #in this line specify the path to the script.
[Install]
WantedBy=multi-user.target
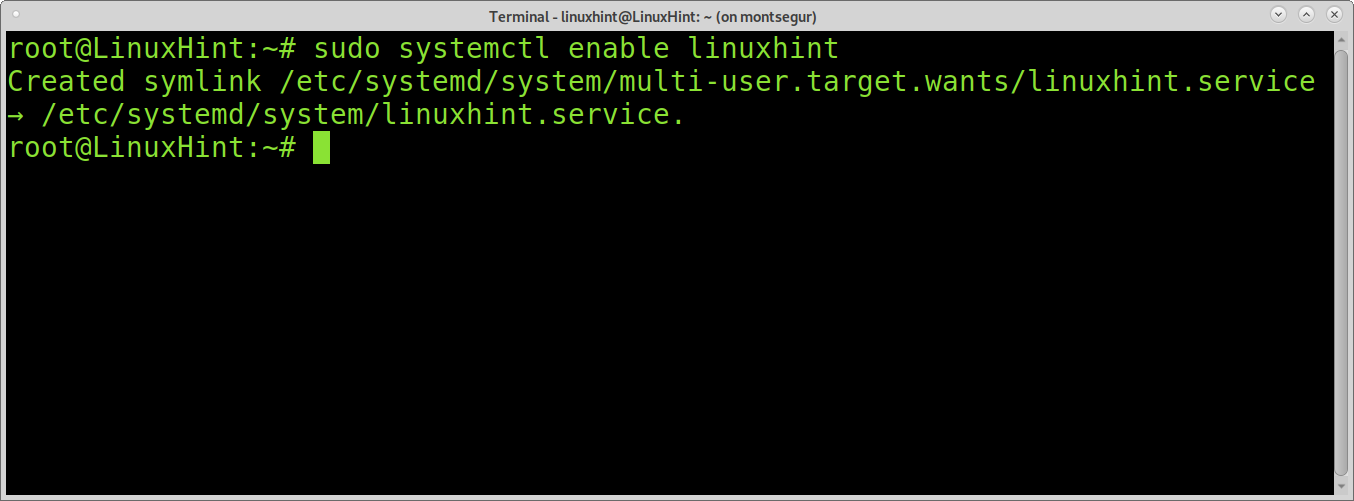
Then enable your new service by running:
Start your service and check its running correctly by executing:
systemctl status linuxhint
Your script is ready to run at startup.
Conclusion:
While Systemd seems a lot more complicated than the old rc.local, each service or script is a unique unit that guarantees more stability to the system.
As said in the first section dedicated to rc.local, if a command within the script fails to load correctly, it may impact a general configuration file.
Additionally, Systemd provides tools rc.local does not, to deal with more situations and specifications.
Other Systemd advantages include the simplicity of controlling and manage processes (which wasn’t explained in this tutorial). Systemd also allows to group services and contains more detailed error outputs.
I hope you found this helpful tutorial. Keep following Linux Hint for more Linux tips and tutorials.