Download the Ubuntu ISO Image
The most important and first step to install Ubuntu is to download the ISO image of Ubuntu from its official download page. Make sure to download the latest version of the Ubuntu desktop ISO image; we already downloaded Ubuntu 20.04.
Create a Bootable Ubuntu USB
Another important step after downloading the ISO image is to have a Bootable USB drive. We must first create a bootable Ubuntu ISO image within the USB drive to install Ubuntu through USB. For this, we should have a USB with a memory of 10GB at least. You can use any software utility to make a bootable, i.e. Rufus, etc. The following image depicts that we created a bootable Ubuntu USB successfully:
Create a New Virtual Machine in VirtualBox
Now, make sure that VirtualBox is installed on your computer using the most recent version. Using “Administrative” rights, launch VirtualBox, and select the “New” icon to start a new virtual machine such as one for Ubuntu.
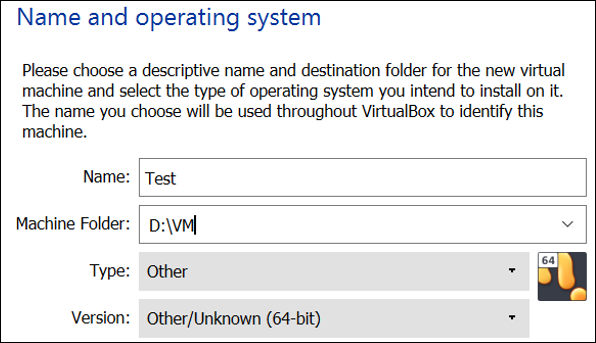
A window is launched to get the information regarding the system to be installed, i.e. name, type, destination folder, version, etc. We name it as “Test” and its type as “Other”.
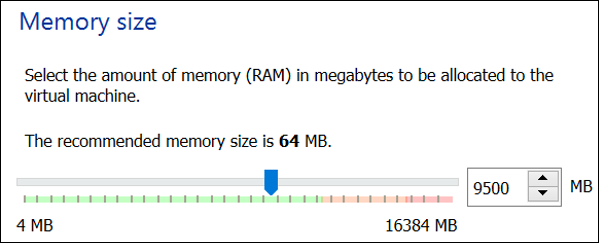
Moving to the next screen, assign the RAM size to create the virtual machine. This size should be assigned according to your system’s total RAM.
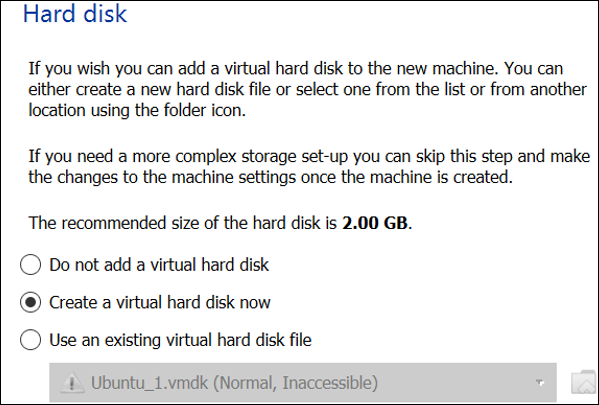
You have to select the hard disk to install a virtual machine. We use the “Create a virtual hard disk now” option to proceed.
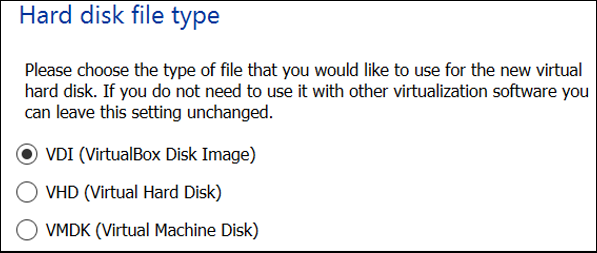
We must now decide what kind of hard drive to build. Since we are using the ISO image as a USB bootable, we select the VDI (VirtualBox Disk Image) option before proceeding to the next step.
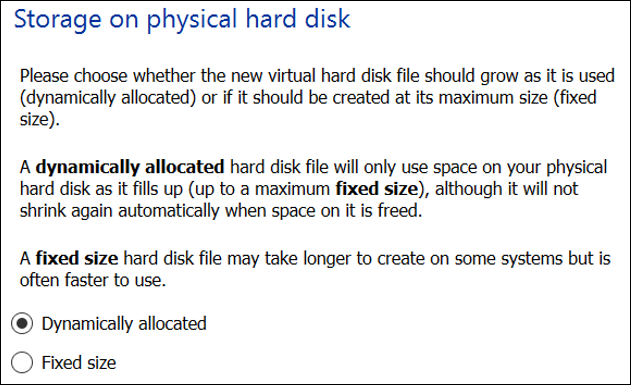
Now, you have to select the storage type for the physical hard disk to be created on your system for the Ubuntu installation. We recommend using the “Dynamic” storage so that if your Ubuntu system lacks storage, it can get more storage from the main system without any issues. Therefore, select the “Dynamically allocated” option to proceed.
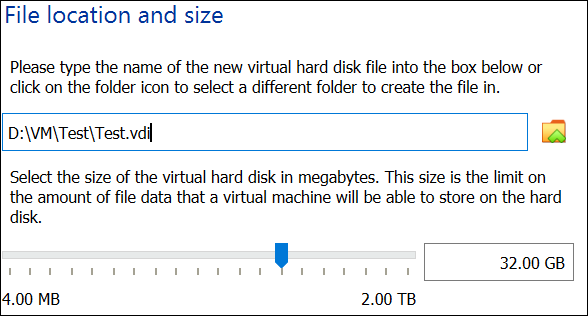
After selecting the hard disk type, we must choose the destination folder and size on our system to install Ubuntu. Assign the size to a hard disk carefully according to your system needs, and tap on “Create” to complete this process.
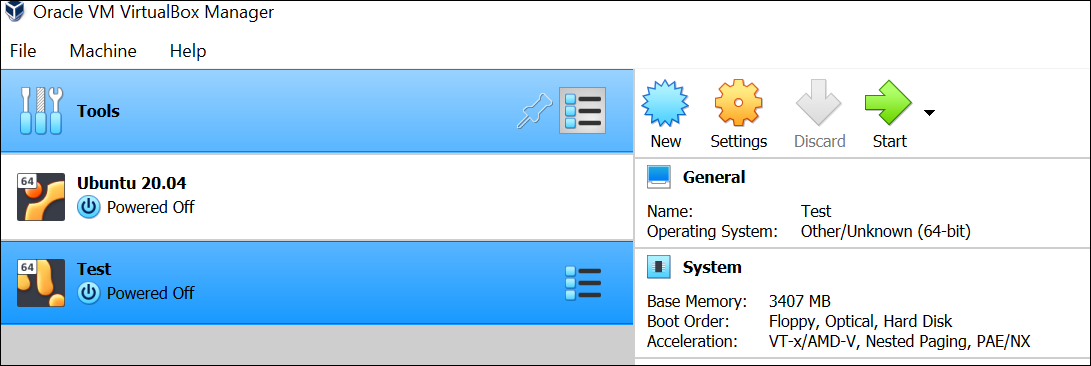
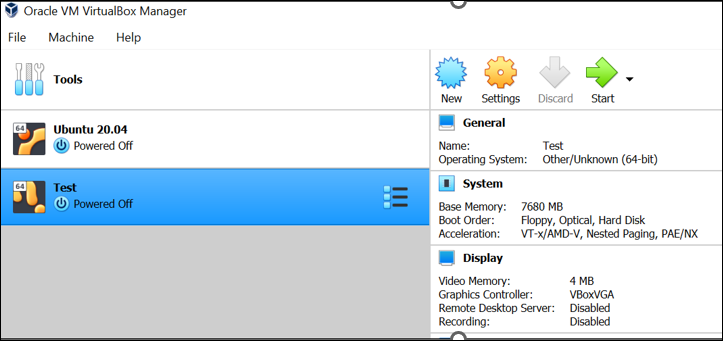
The virtual machine named “Test” is now successfully created within the VirtualBox.
Download the Bootloader
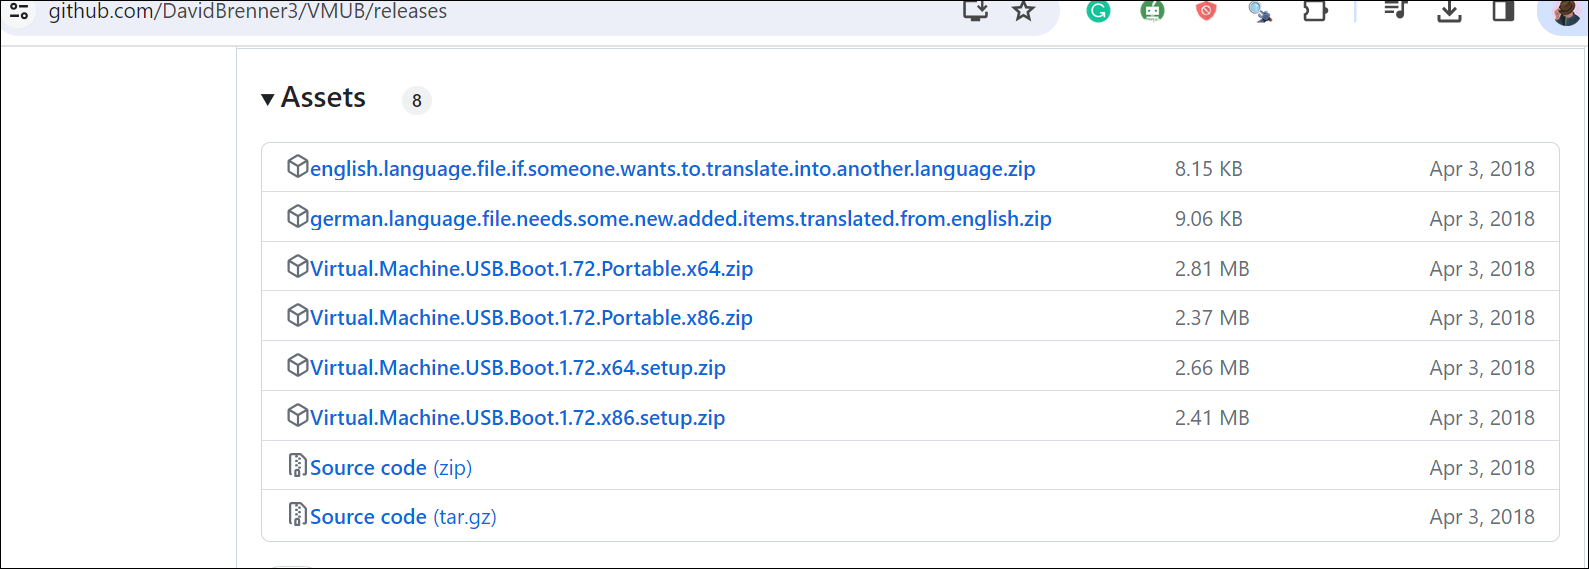
Search for the “Virtual Machine USB Boot” on the Google search engine and open the GitHub link that provides the setup for a bootloader. Tap on the “zip” file to download.
It may take up to 4-5 minutes to download successfully. After a download, unzip the downloaded file, and you will get the “exe” file for the bootloader as shown in the following:
Boot Virtual Machine via the Bootloader
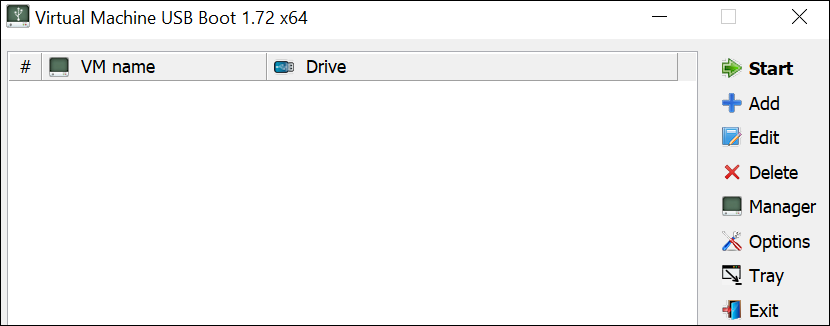
Open the bootloader “exe” file using the “Run as Administrator” option, and you will get the following window of the bootloader on your screen. There are many icons that are listed on the right side of the bootloader. Tap on the “+”icon, i.e. Add, to add a USB bootable. Ensure that the Bootable USB is attached to your system and is already detected.
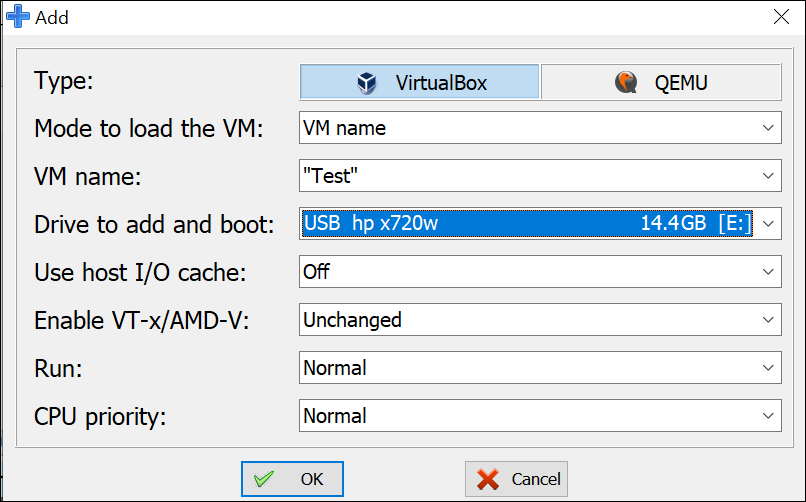
A new screen will appear as depicted in the following. Ensure that the booting machine type is selected as “VirtualBox” followed by the mode of VM, i.e. “VM name”. Within the VM name, select the new virtual machine that you created on VirtualBox, i.e. Test. After this, select your USB bootable device from the drop-down in front of the “Drive to add and boot” option. Now, tap on the “OK” button to proceed.
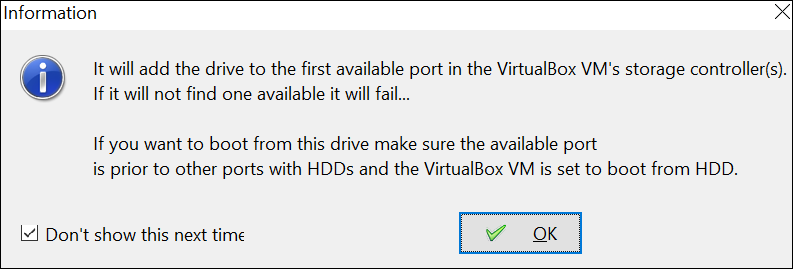
An information pop-up will be generated. Tap on “OK” to proceed.
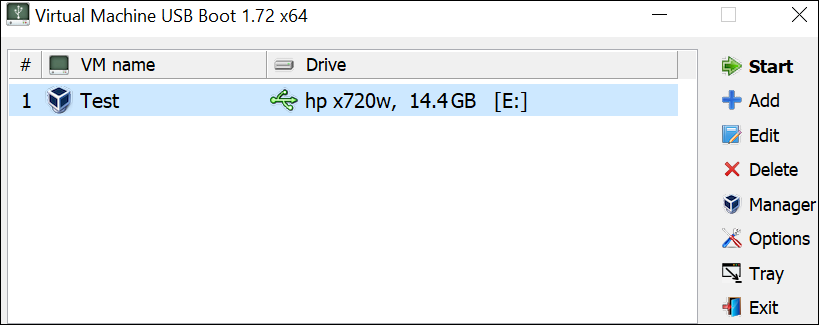
The “Test” virtual machine is added within the bootloader and will be installed via the USB bootable drive as mentioned in the “Drive” section of the bootloader. Tap on the “Start” icon from the right list to start bootloading the Ubuntu from a USB drive to test the virtual machine that is created in the VirtualBox.
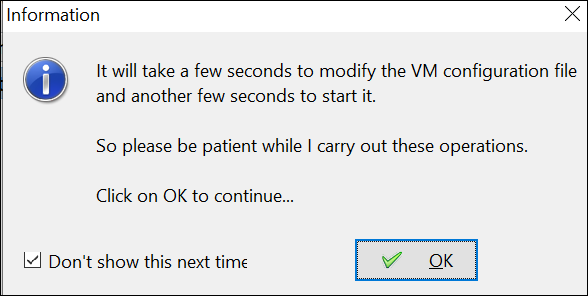
Another information pop-up will be generated. Tap on the “OK” button to continue.
The warning pop-up will be generated as depicted in the following. To proceed, you must press the “Yes” button.
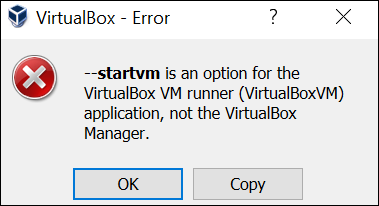
After tapping the “Yes” button, we might get a VirtualBox error in the form of a pop-up that can be ignored. So, press the “OK” button to continue with the next step.
Install Ubuntu via the Bootable USB
A new VirtualBox window will be launched. Close the already opened VirtualBox window and select the “Test” virtual machine that we created on the new VirtualBox. Now, tap on the “Start” button from the new VirtualBox window to start the installation.
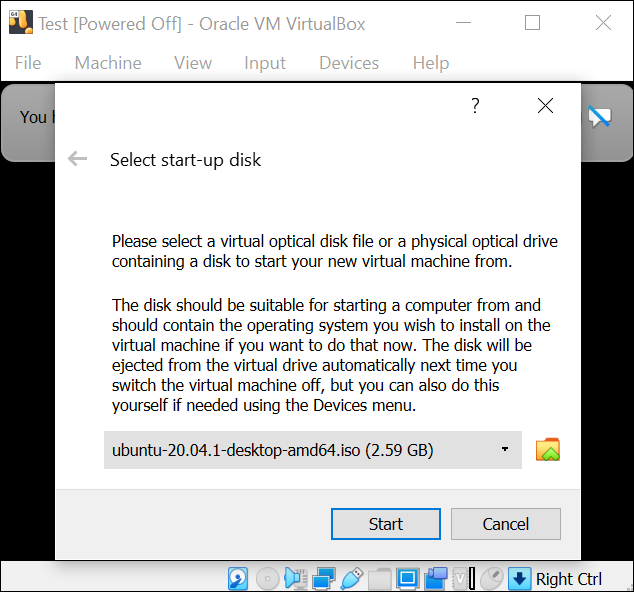
The “Test” virtual machine window will be launched. You have to “Cancel” the first pop-up that is generated on this setup screen; no need to select the start-up disk.
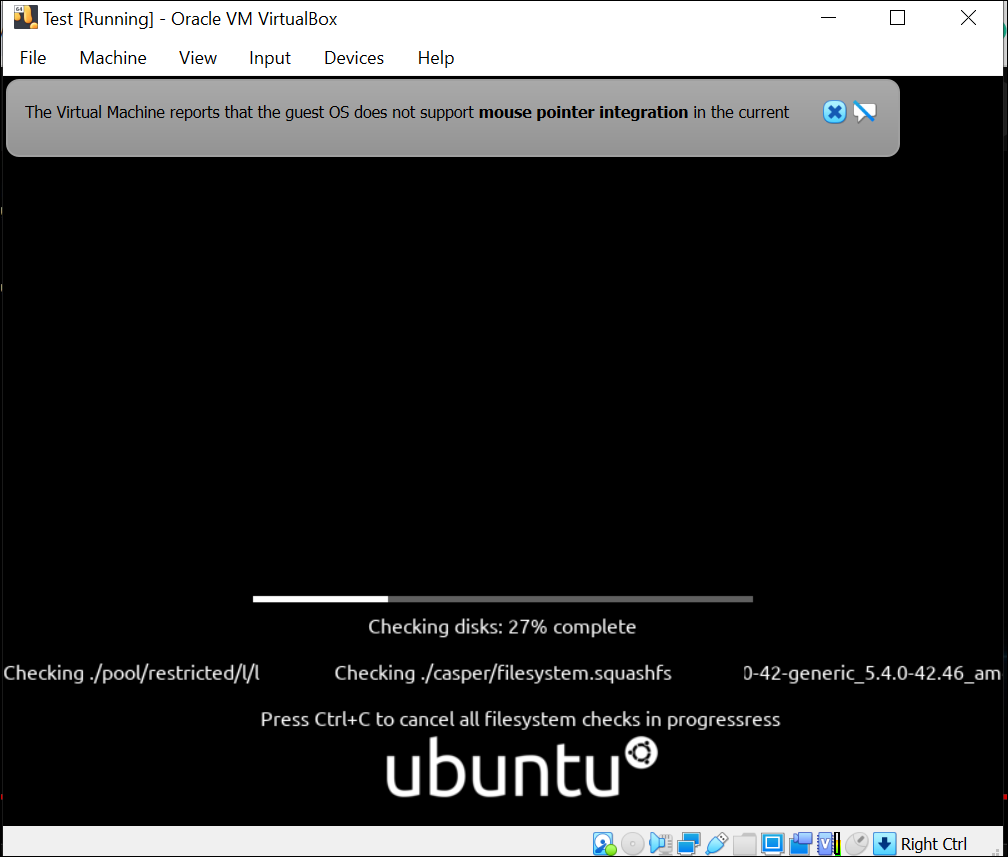
The system will eventually begin gathering the required data and analyzing the disks. It might take up to 4-5 minutes.
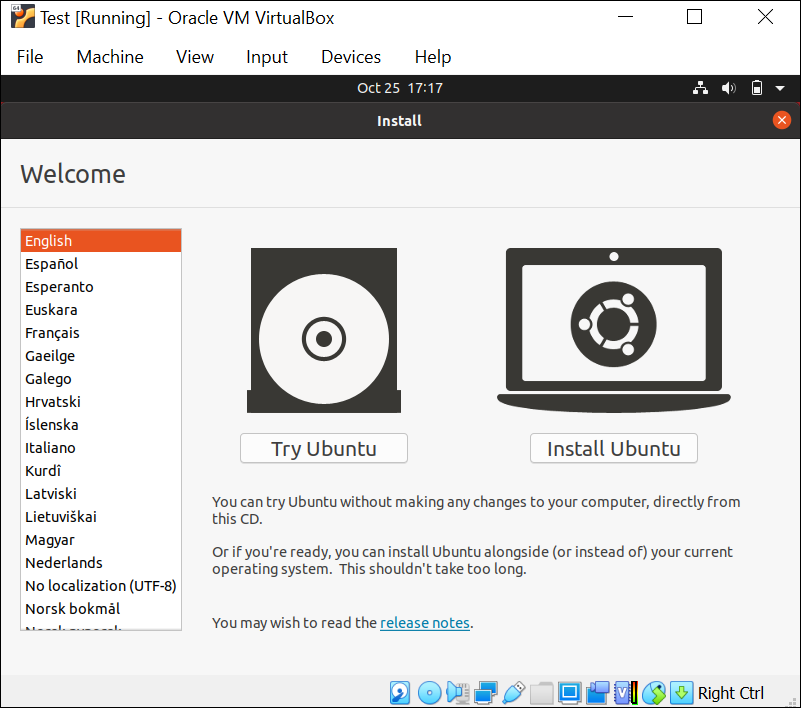
The installation screen for Ubuntu will appear. Tap on the “Install Ubuntu” option to start installing the Ubuntu from a Bootable USB.
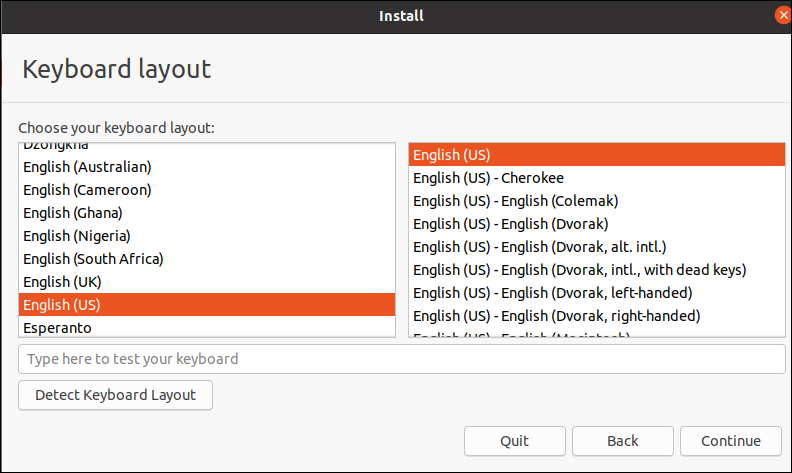
Now, select the keyboard layout according to your choice, i.e. English.
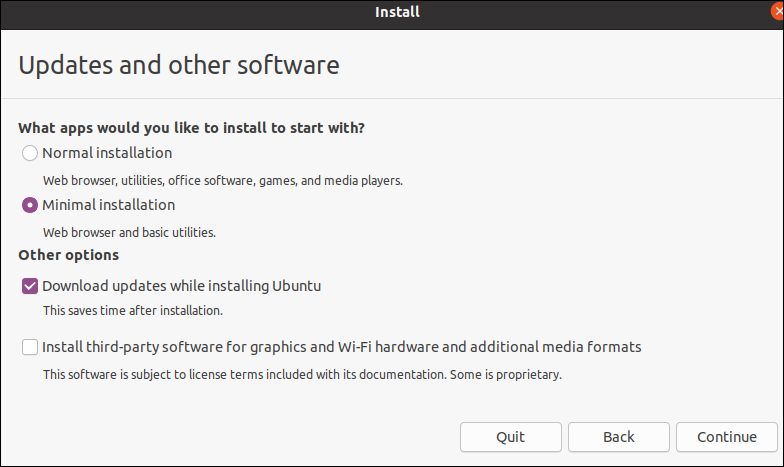
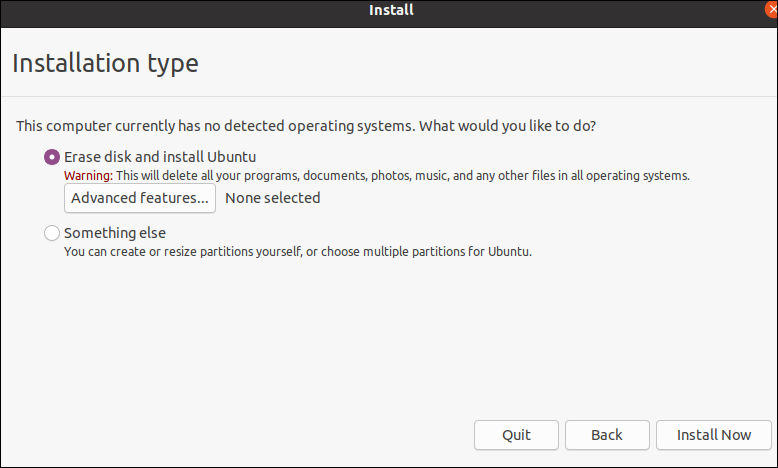
Select the installation type along with other available options, i.e. normal or minimal.
You must choose the “Erase disk and install Ubuntu” option within the installation type.
On the following screen, you have to tap on “Continue” to proceed.
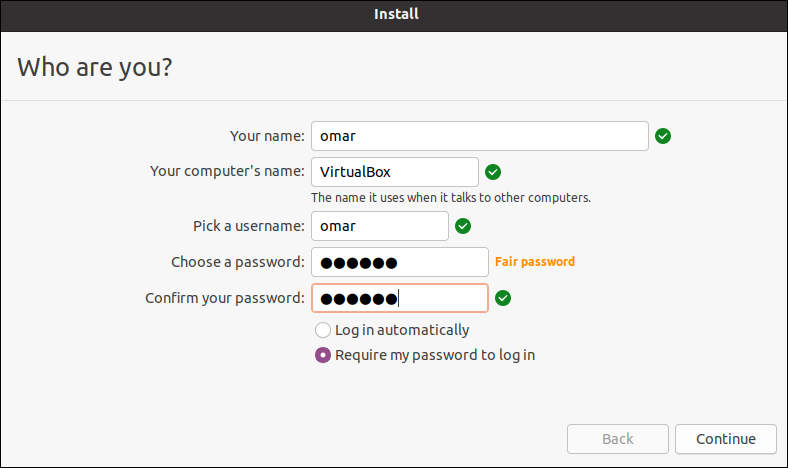
Make sure to provide the new username and password on the depicted screen.
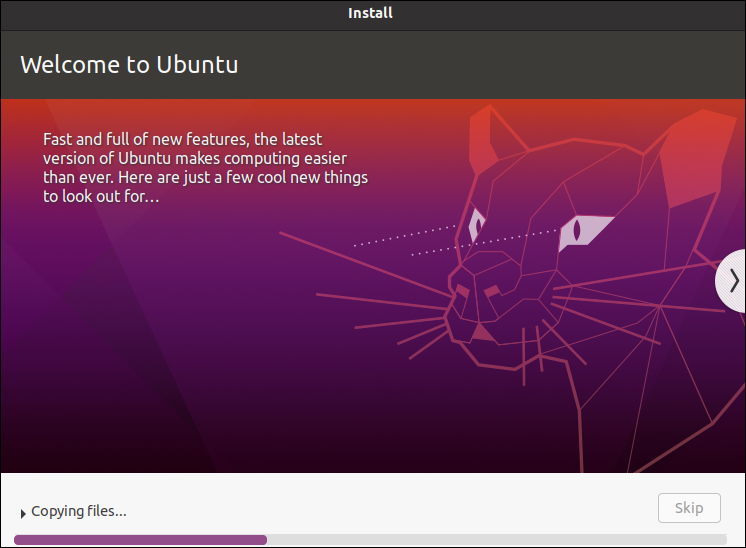
The procedure of installation will begin. It must wait until the login screen appears.
Conclusion
This guide demonstrates the most straightforward and most precise method to install Ubuntu on VirtualBox through a bootable USB drive. Ensure that you do not miss any of the given steps to get a successful installation.


