In computing, the frequent update mechanism of the packages is necessary to carry out. This guide will provide the possible methods to update the PowerShell with the following learning outcomes:
– How to Update PowerShell using MSI installer
– How to update PowerShell using the winget package manager
Prerequisites
By default, the winget package manager is not installed on your system. For this, you must go to Microsoft Store from your system and search for winget as shown below:
How to update PowerShell
Microsoft releases the PowerShell version with no defined time. The latest LTS of PowerShell is 7.2 which supports thousands of cmdlets to perform operations on your machines. Here, we have described various methods to update PowerShell.
How to update PowerShell using the msi installer
The msi installer of the PowerShell is available on GitHub. The following steps will lead you to download and install PowerShell using the msi installer.
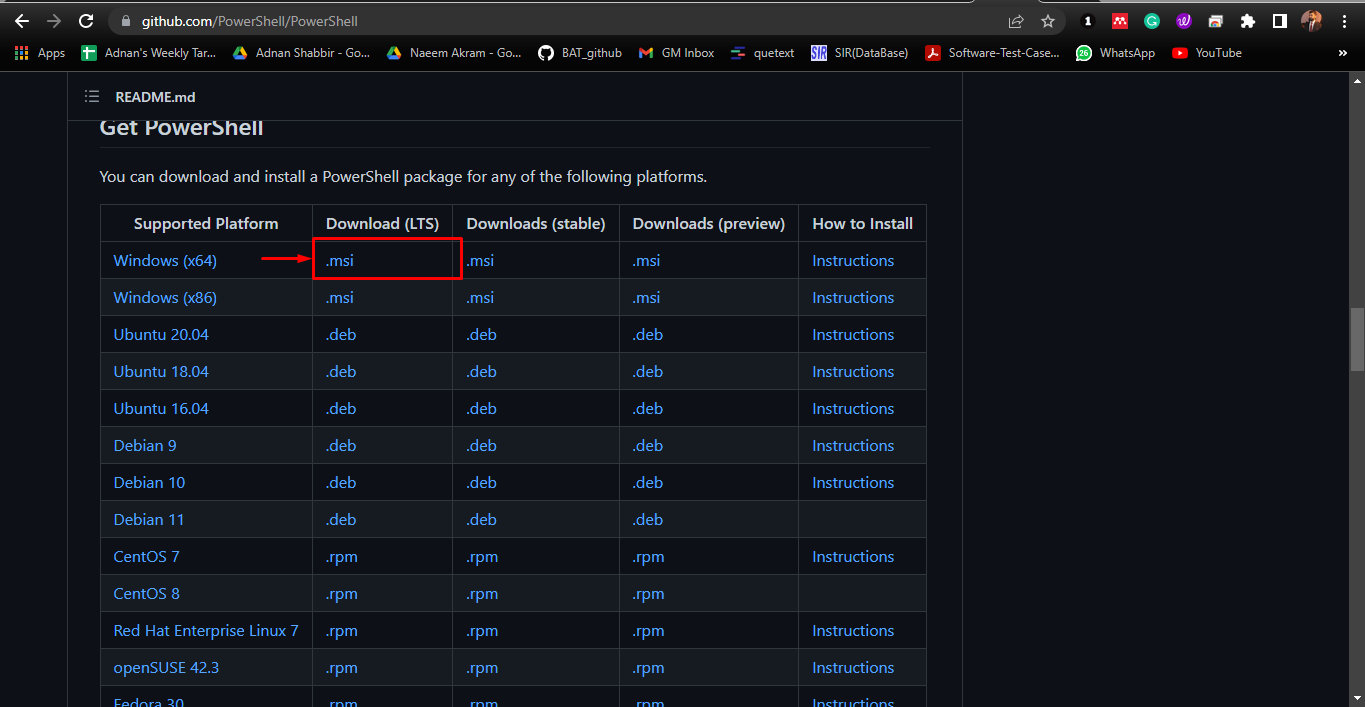
Step 1: Navigate to the following link to get the msi installer from GitHub:
Scroll down the page and download the required version as we are downloading LTS:
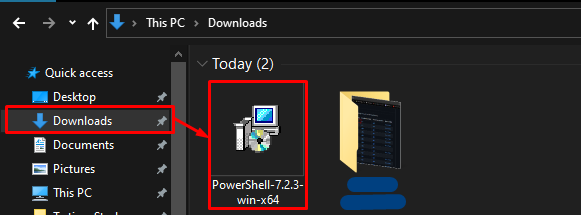
Step 2: Now, open the directory (usually it is Downloads) where the .msi installer of PowerShell is downloaded and click on the installer:
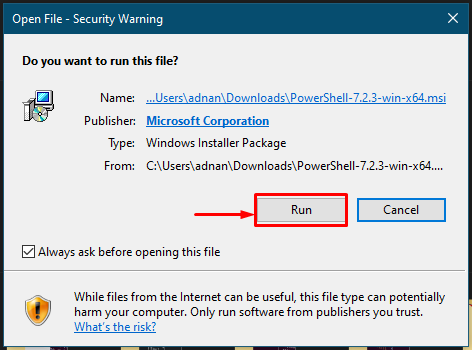
Upon opening, the following interface will appear, click on “Run” to continue:
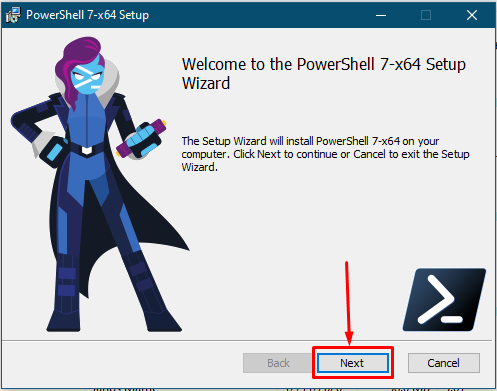
Keep on following the default settings and move forward by clicking on “Next“:
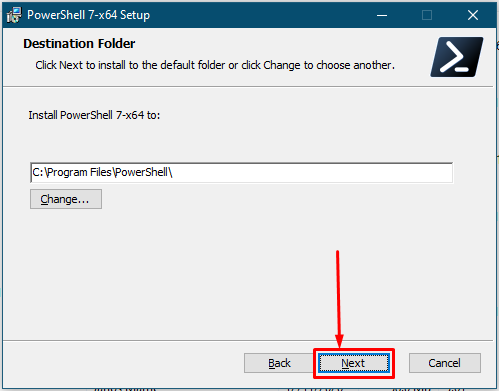
Choose the location of installation:
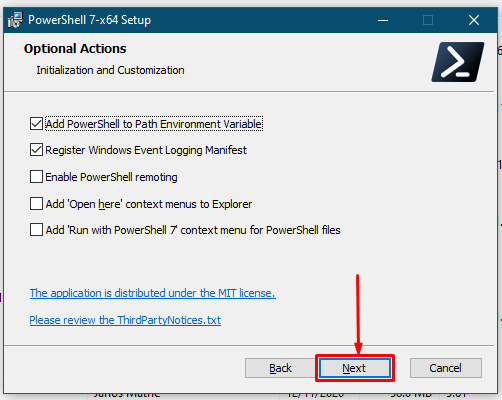
Choose the optional features as per your requirement:
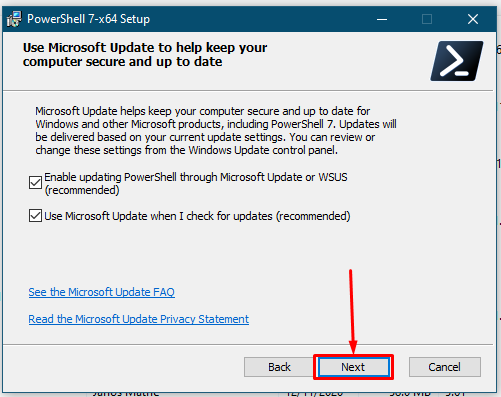
Now, select the update mechanism for PowerShell and click on “Next“:
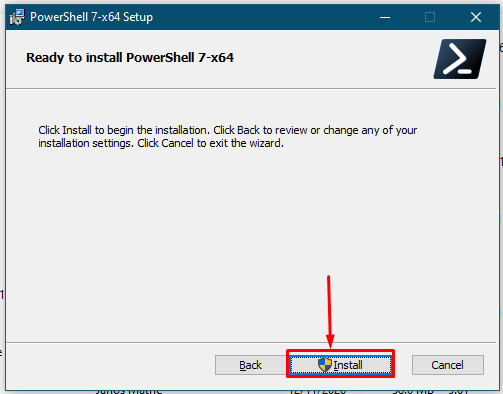
Click on “Install” to proceed further:
The installation will take a few moments. Once it is completed, you can launch it by clicking on “Finish“:
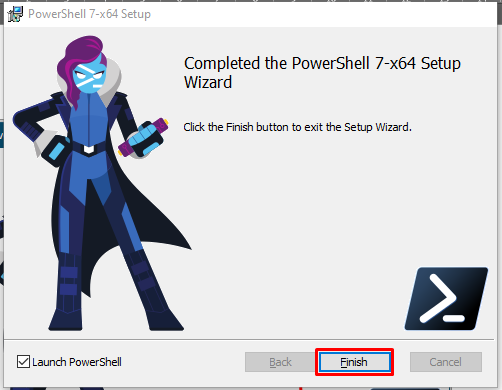
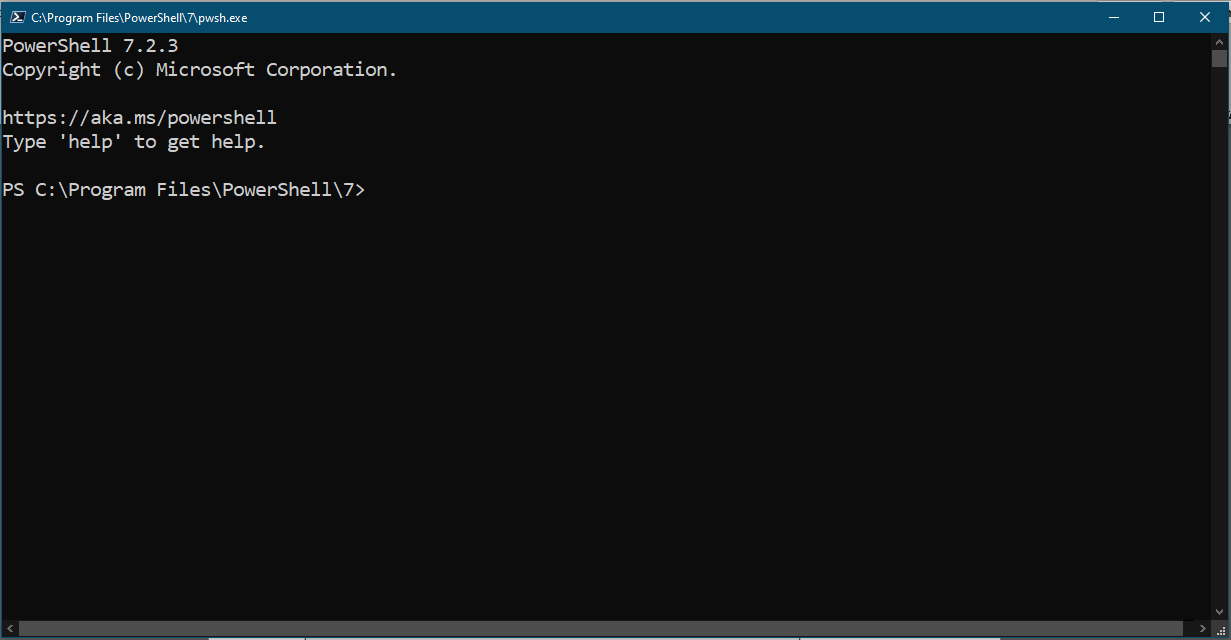
Here you go with the black console!
How to update PowerShell using the winget package manager
The winget is a windows package manager to update/install windows packages using PowerShell. This section lists various steps to update PowerShell using the winget:
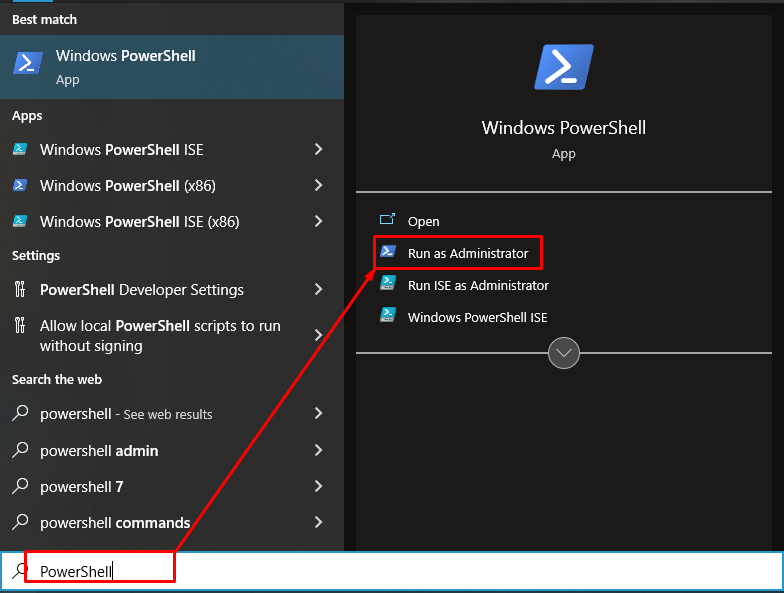
Step 1: Open the PowerShell from the Start menu as follows:
Step 2: Run the following command in your PowerShell terminal. We have used the “winget” package manager to download and install the latest version of PowerShell.
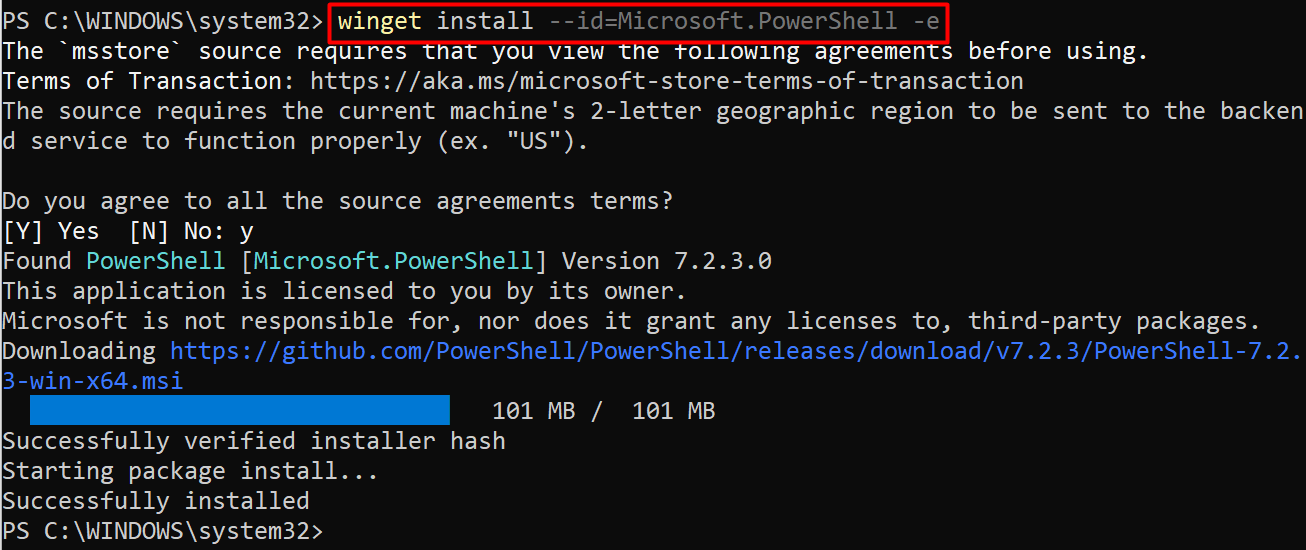
It is observed that the latest version of PowerShell has been installed on your system.
Conclusion
The PowerShell can be updated using the msi installer and the PowerShell console. This article demonstrates these methods to update PowerShell. The msi installer can be downloaded from GitHub using the graphical user interface. On the other hand, you can update the PowerShell using the Windows manager named winget.