In this article, you will learn how to extract ZIP files through the command line in Linux system using the unzip command utility. We have executed some useful unzip commands on Ubuntu 20.04 system which are given below:
How to use unzip command on Ubuntu 20.04?
The unzip command is already installed on my system Ubuntu 20.04. But if this is not installed on your Linux system then you can easily install it on your system.
To install unzip command, Open the terminal window using Ctrl + Alt + t and type the following command on the terminal screen:
Extract ZIP file with unzip command
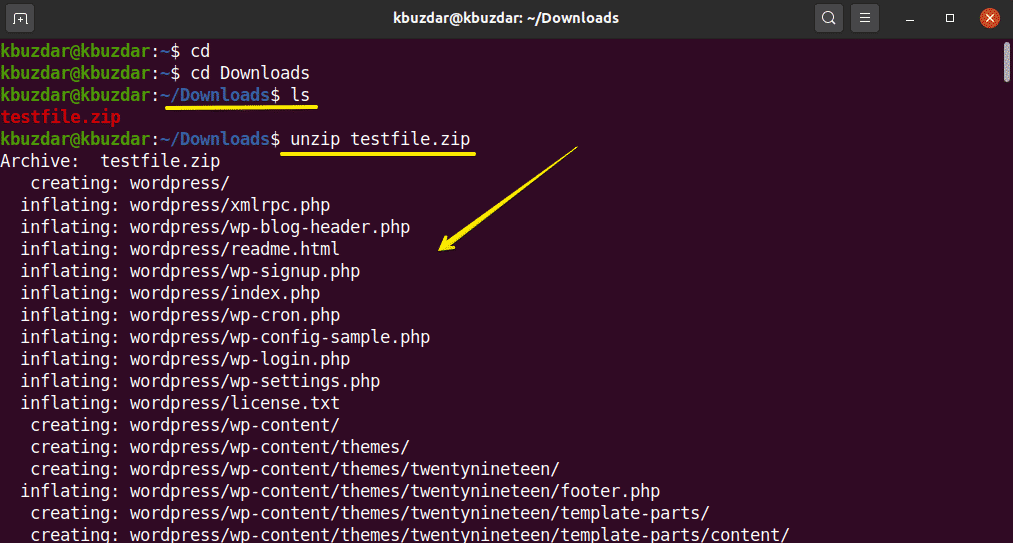
Using the simple unzip command, you can extract all files from the zip archive into the current zip file directory as follows:
For example, we have downloaded a zip file in the ‘Downloads’ with the name ‘testfile.zip’. So, first, navigate into Downloads directory and then we have extracted the zip file using the following command:
$ unzip testfile.zip
Unzip the file to another directory
Using -d switch with unzip command, you can extract the file to a different location instead of the current directory. The basic syntax is as follows:
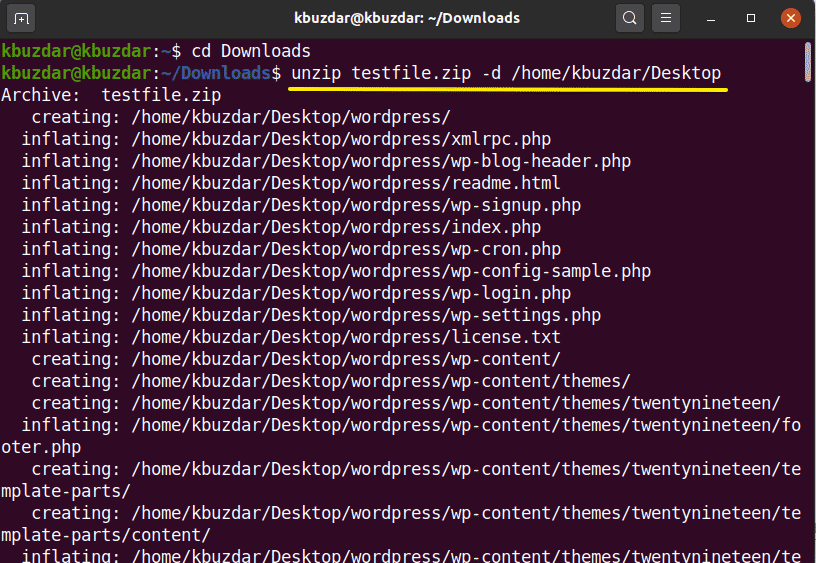
For example, we want to extract a zip file on the desktop instead of the current Downloads. So, we used the following command to do this:
As you can see in the following image the folder has been extracted on my desktop. You should have read and write permissions to extract a ZIP file to different directories.
Extract ZIP files with suppressing output
When you extracted a zip file then it first prints the all files name during extraction and also displays a summary on completion. Using ‘-q’ switch with unzip command, you can avoid printing these messages on the terminal as follows:
For example, we have extracted a ‘testfile.zip’ using ‘-q’ switch. You can see the zip file is extracted without printing files names.
Exclude files from extracting a ZIP file
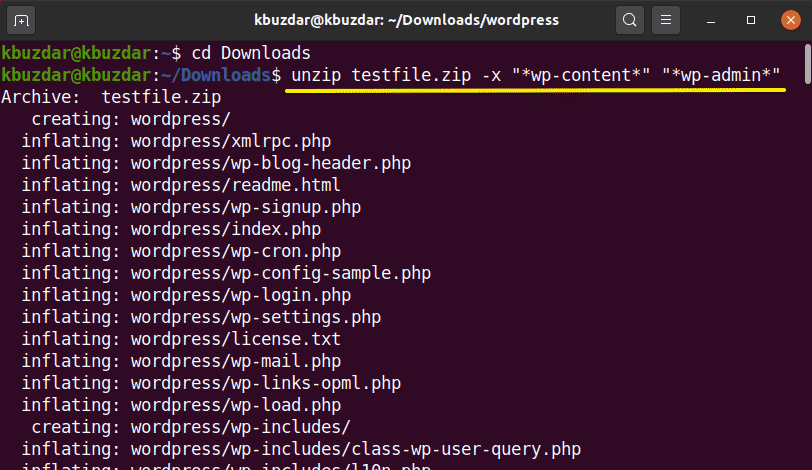
You can exclude directories and files while unzipping a zip file. Use ‘-x’ switch with unzip command and excluded files name separated with space as follows:
For example, we want to exclude ‘wp-content’ and ‘wp-admin’ directories on extraction as follows:
Overwrite the existing unzipped files
If you have already unzipped file and you will again run the command as follows:
In this case, it will ask you to overwrite the existing unzipped file which is displayed in the following output:
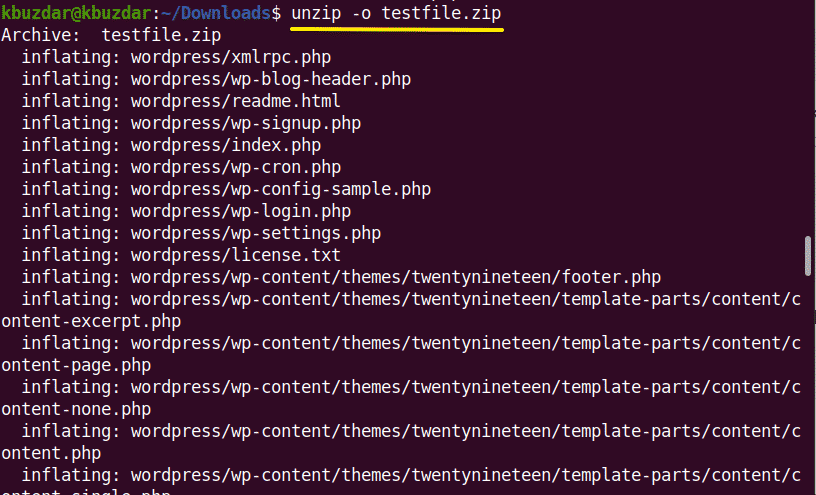
To overwrite the existing files without generating prompt, you will use ‘-o’ option with unzip command as follows:
Please use this command carefully because due to any mistake you can lose your original data.
List contents of the zip file
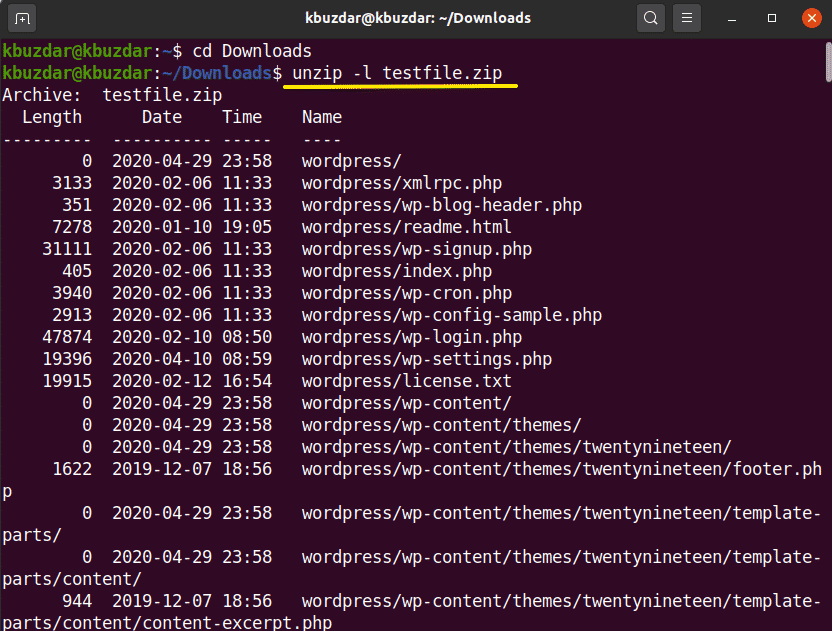
The ‘-l’ option with unzip command is used to list the contents of a zip file as follows:
In the following example, we have listed the contents of ‘testfile.zip’.
If you don’t want to overwrite the existing files or accidentally delete some extracted files. Then, you can use the ‘-n’ option with unzip command that will forcefully skip extracting those files that are already extracted or exist.
Unzip multiple files
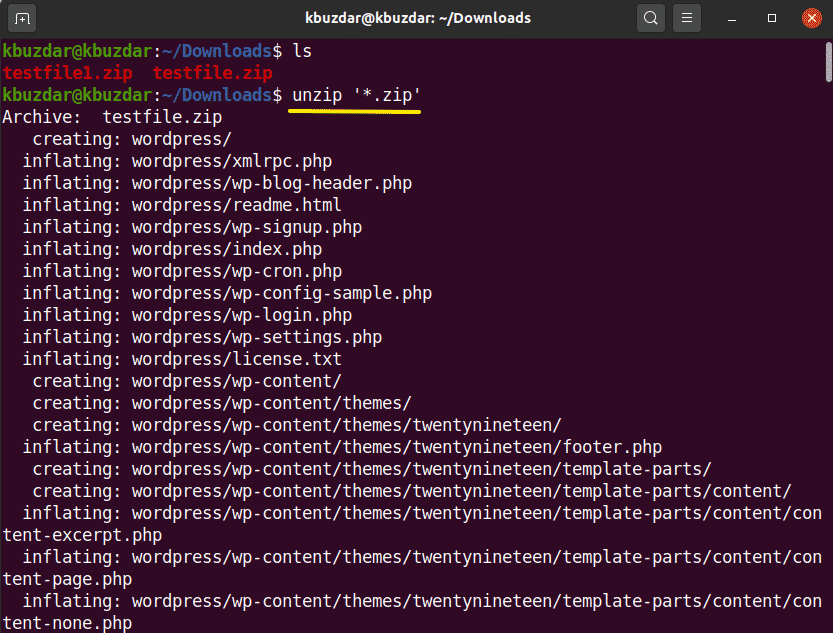
Using regular expressions, you can unzip multiple matched archive files in the current directory. To unzip multiple files, you will use the following command on the terminal:
In the following image, you see that it will extract all zip files from the current working directory.
How to unzip password protected files?
You can also unzip the password-protected zip files using the unzip command as follows:
To open password-protected files using the command line is not secure. So, it is better to avoid it.
In this article, you learned the uses of unzip command that is very helpful to list and extract the ZIP archives. I hope this article would be useful for you in the future.


