This blog will discuss the Java uninstallation methods for a Mac system.
How to Uninstall Java on Mac?
To eliminate the risks caused by older Java versions, the best practice is to uninstall Java from your Mac. After doing so, a Mac user can install the newer version without any difficulty.
On Mac, Java can be uninstalled:
Let’s check out both of the mentioned methods one by one!
Method 1: Using Terminal for Uninstalling Java on Mac
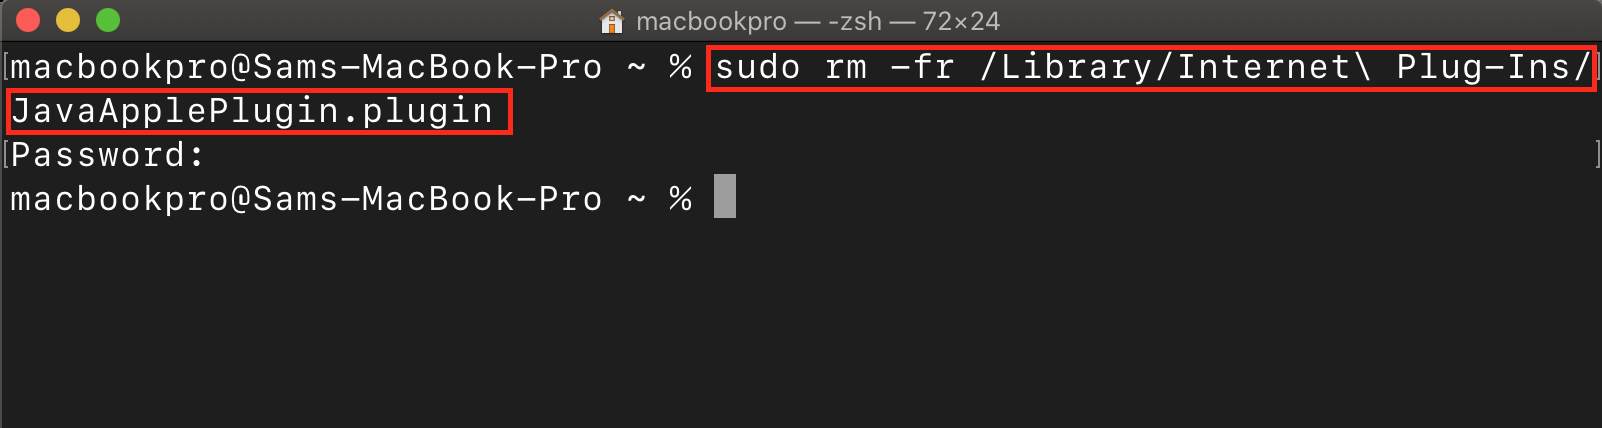
For the purpose of uninstalling Java on Mac, open the terminal with the Administrator credentials and type the following “rm” command to remove the specified “JavaAppletPlugin.plugin” directory:
You will be asked to enter the password of your system account:
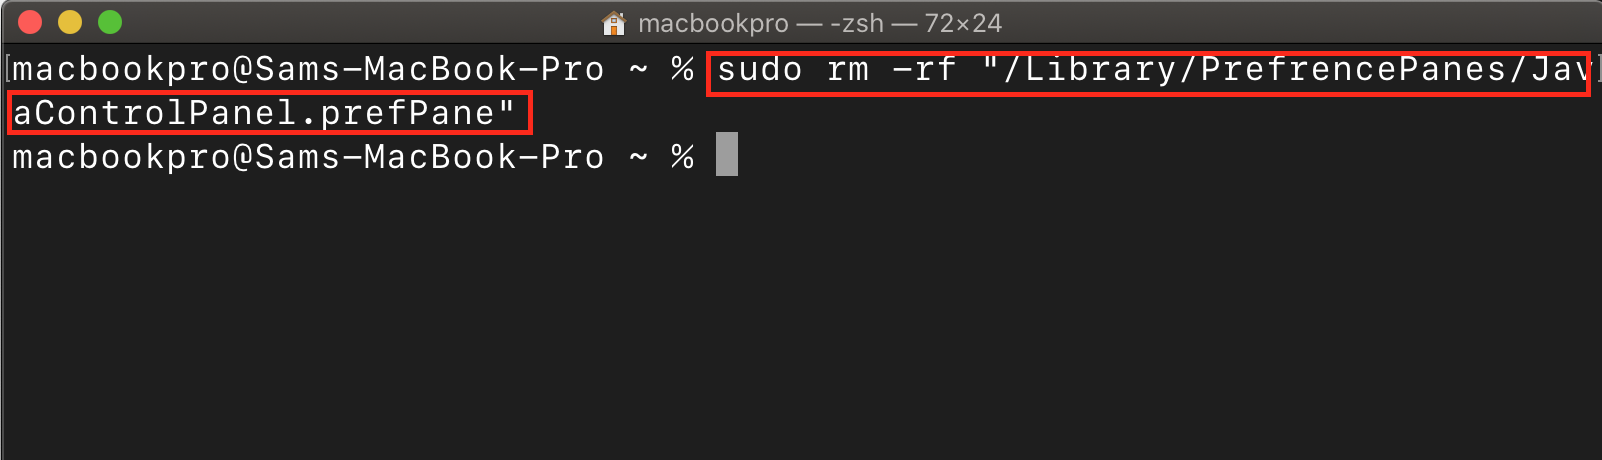
Then, type the given command to remove Java Control Panel:
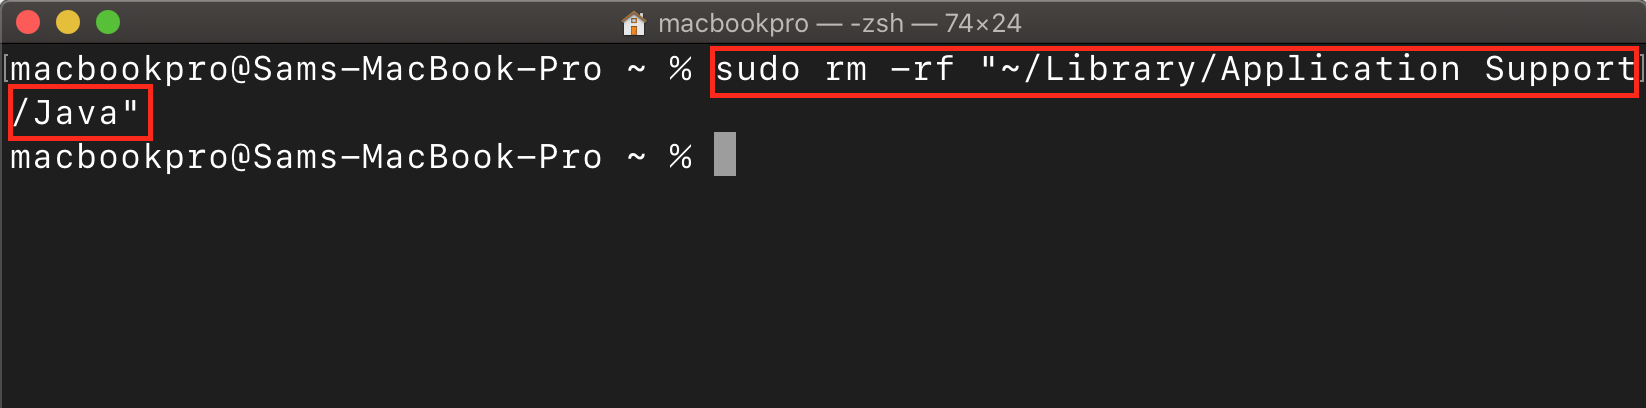
Lastly, remove all of the Java files saved in the given directory:
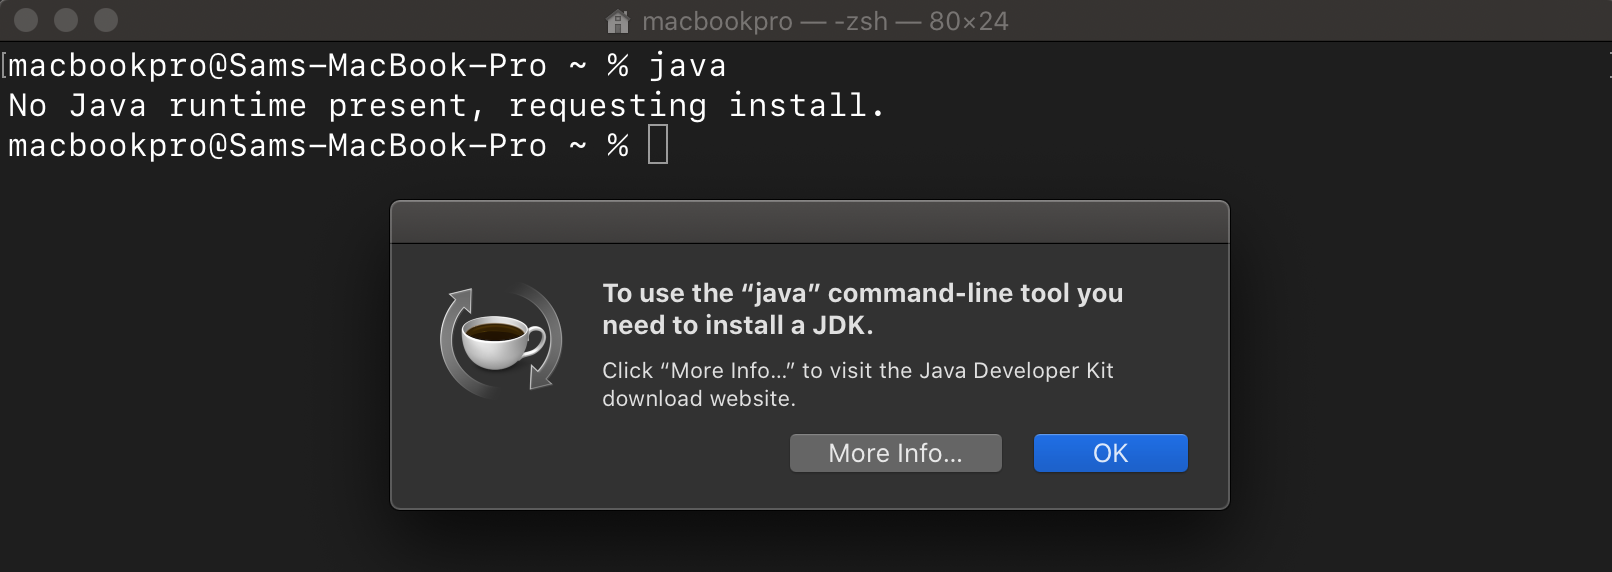
Verify either Java is successfully uninstalled or not:
The execution of the given command will show an error message “No Java runtime present, requesting install” which indicates that Java is removed from our Mac system:
Let’s head towards the GUI method for uninstalling Java from a Mac system.
Method 2: Using System Preferences for Uninstalling Java on Mac
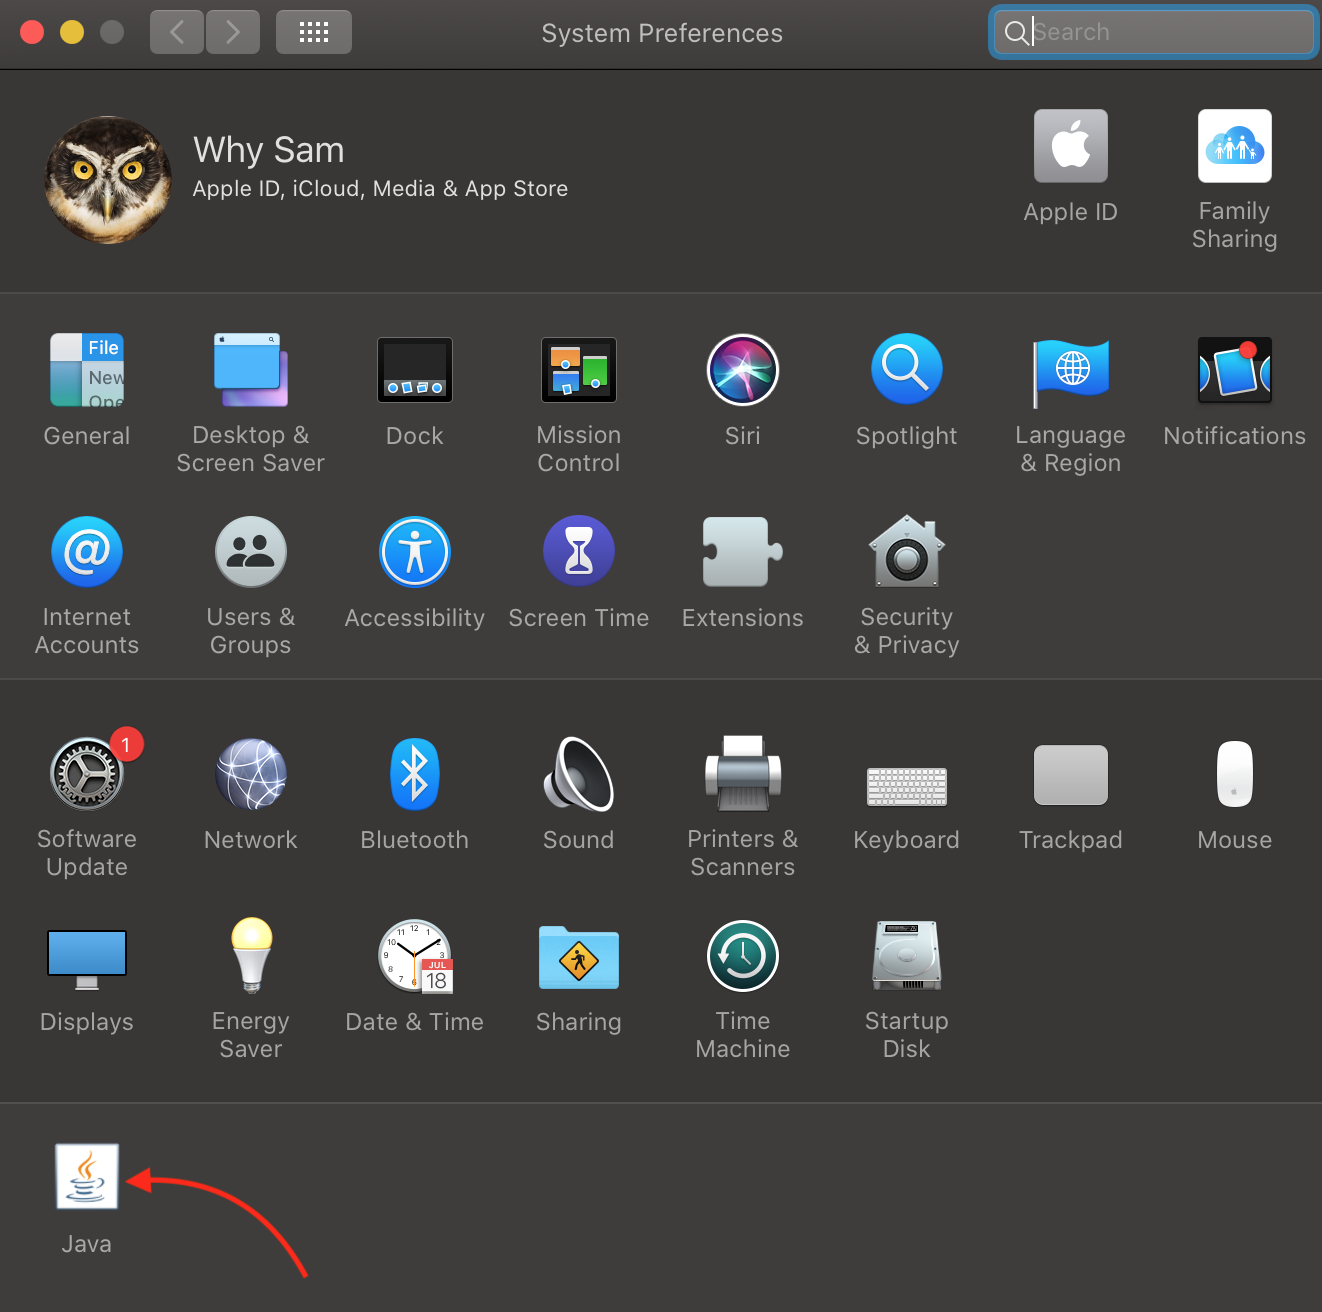
Java does not display in the Launchpad as it is not a typical software or tool. That’s why it is only accessible through System Preferences:
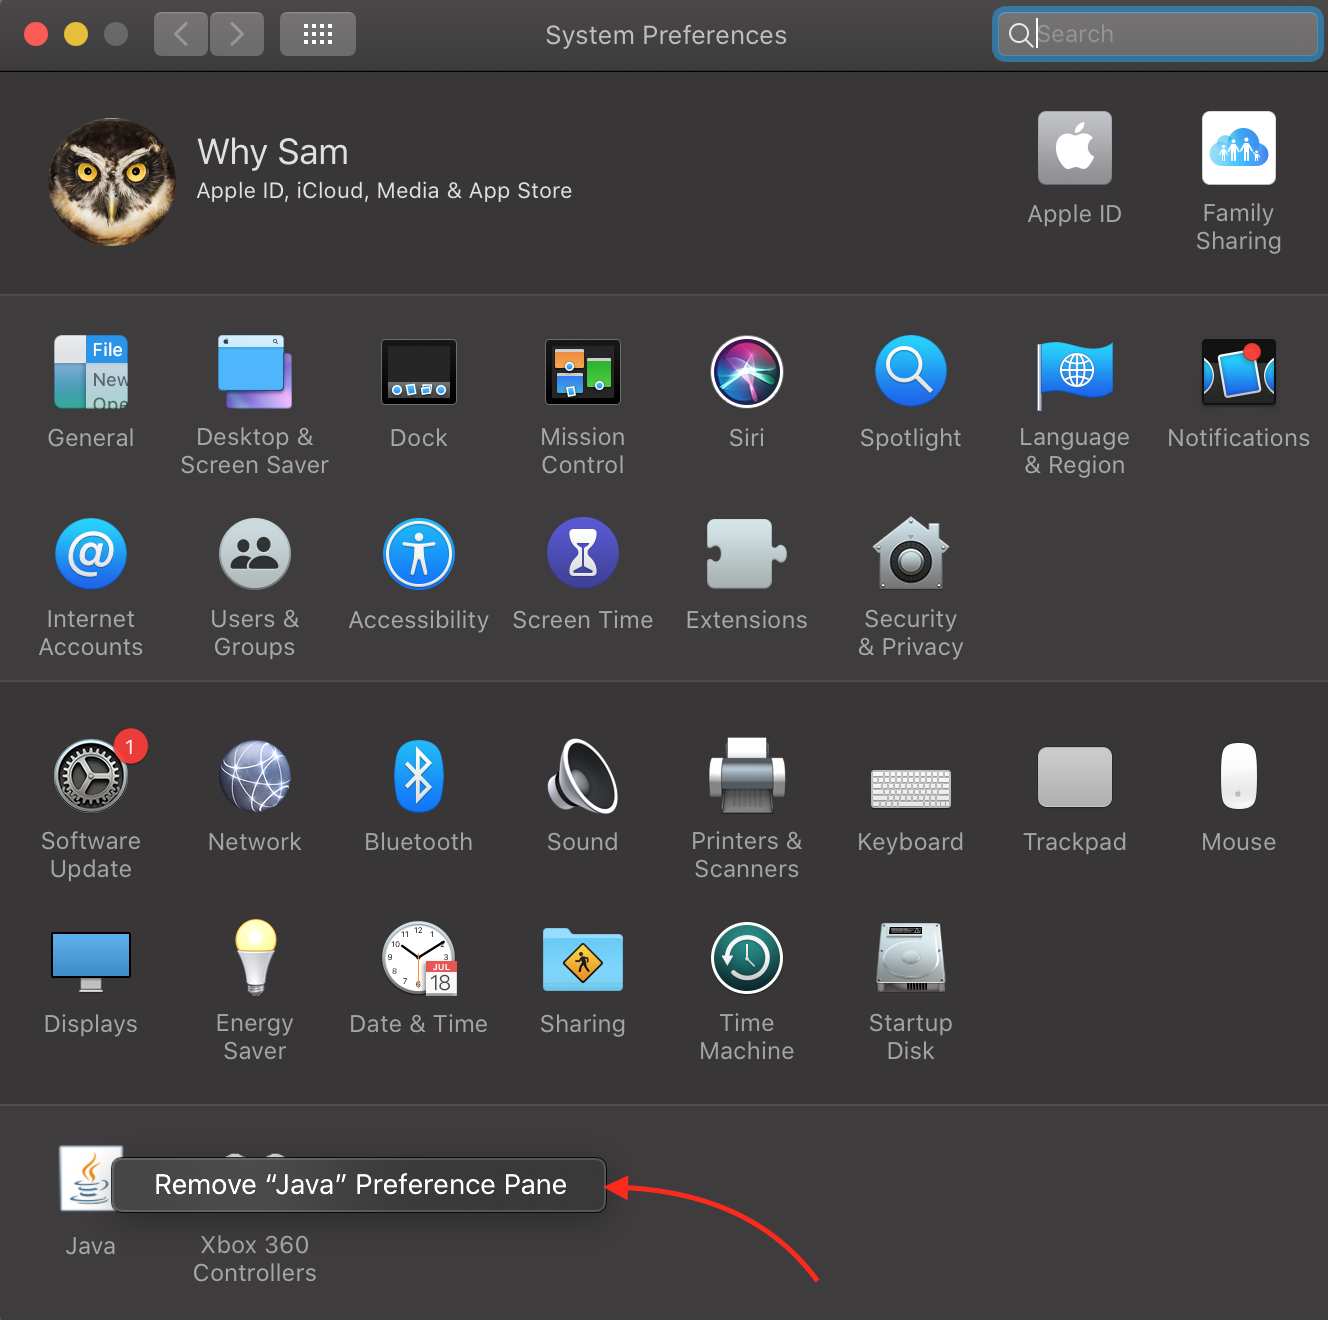
Right-click on the Java icon and click the “Remove “Java” Preference Pane” option:
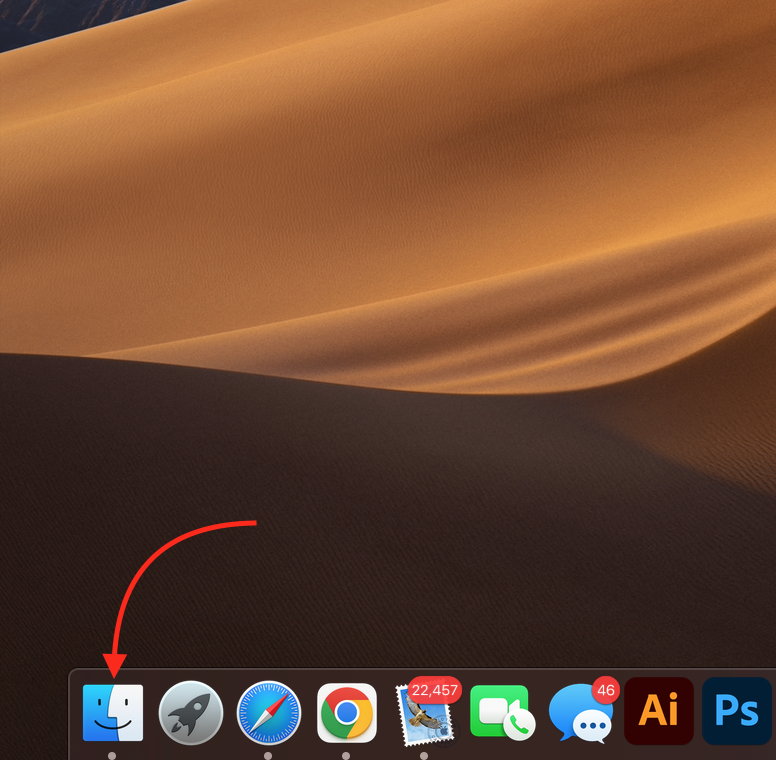
Now, click on “Finder”:
Click on Applications, then change icons arrangement, after that click on the search box:
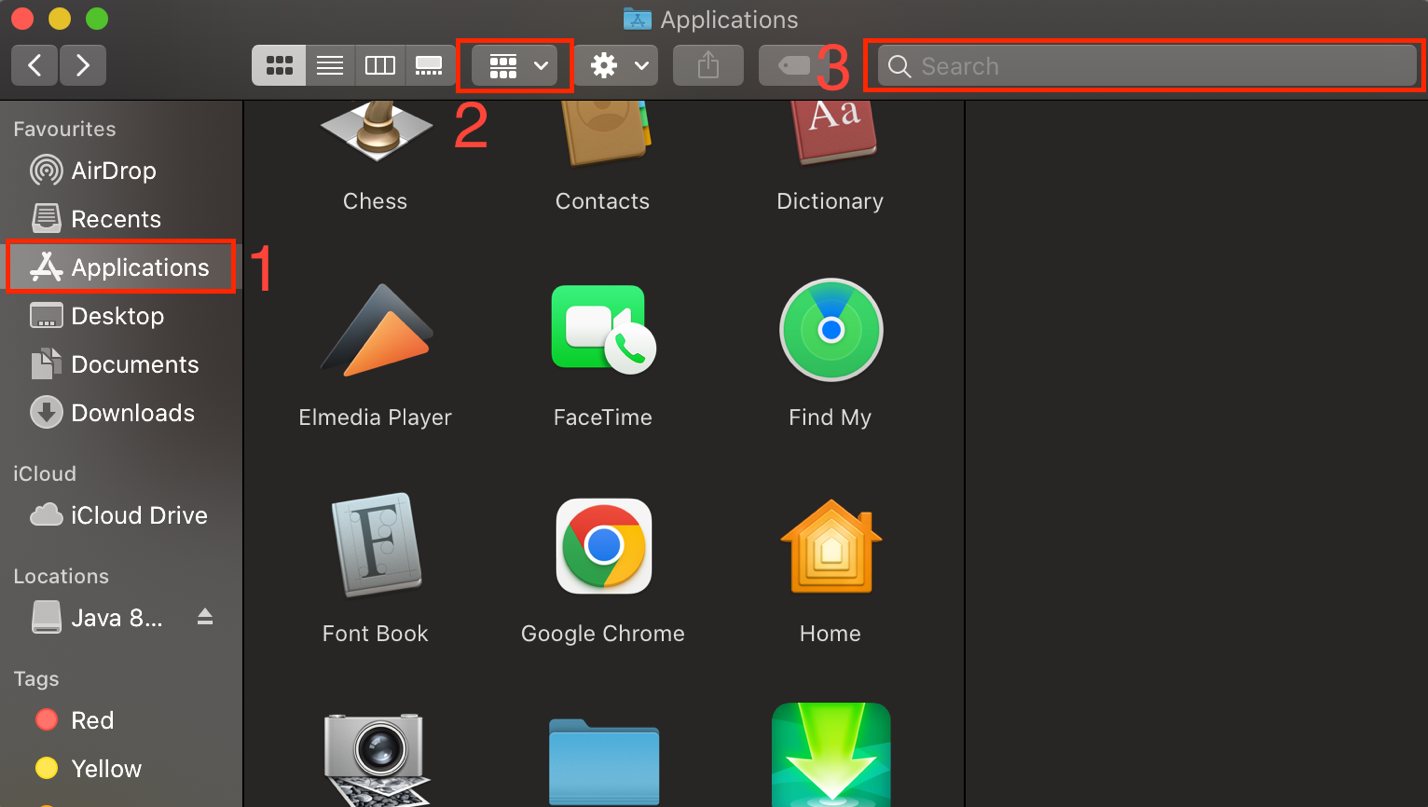
In the search box type “java” and press “Enter”:
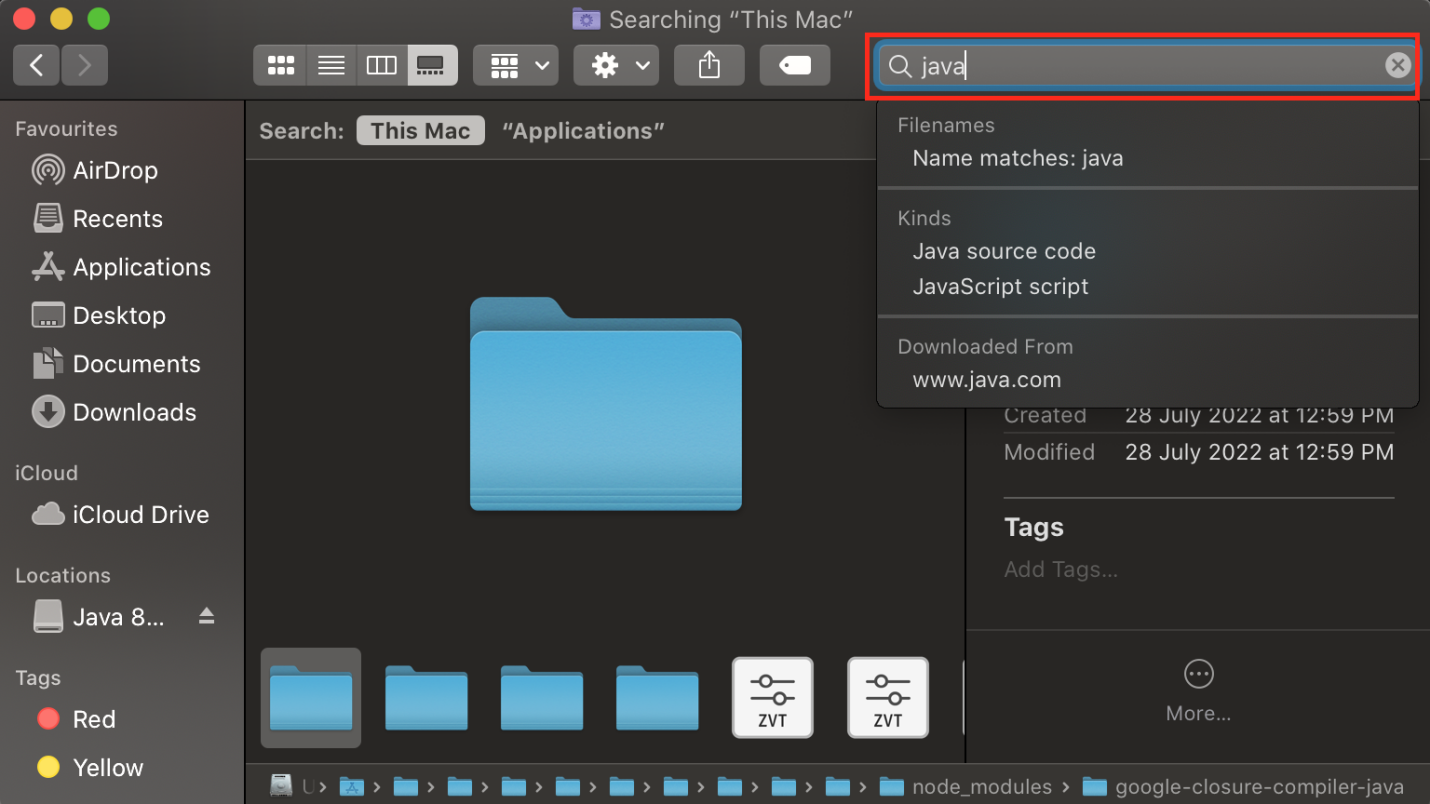
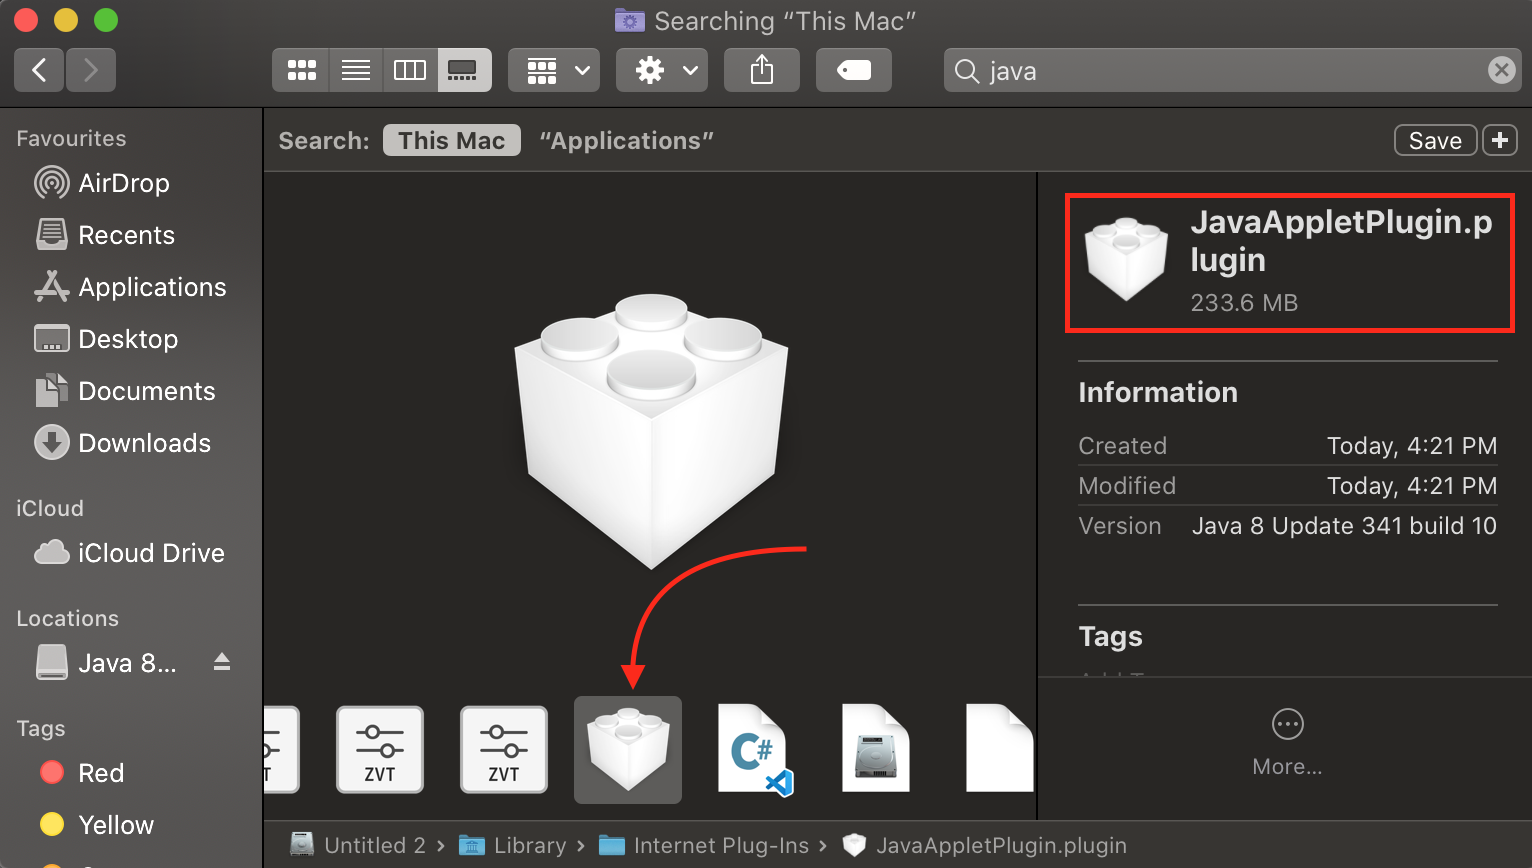
A list of Java related files will appear, find “JavaAppletPlugin.plugin”.
Note: Type the entire string “JavaAppletPlugin.plugin” to make a quick search:
Right-click on the file and select the “Move to Bin” option to remove the plugin file:
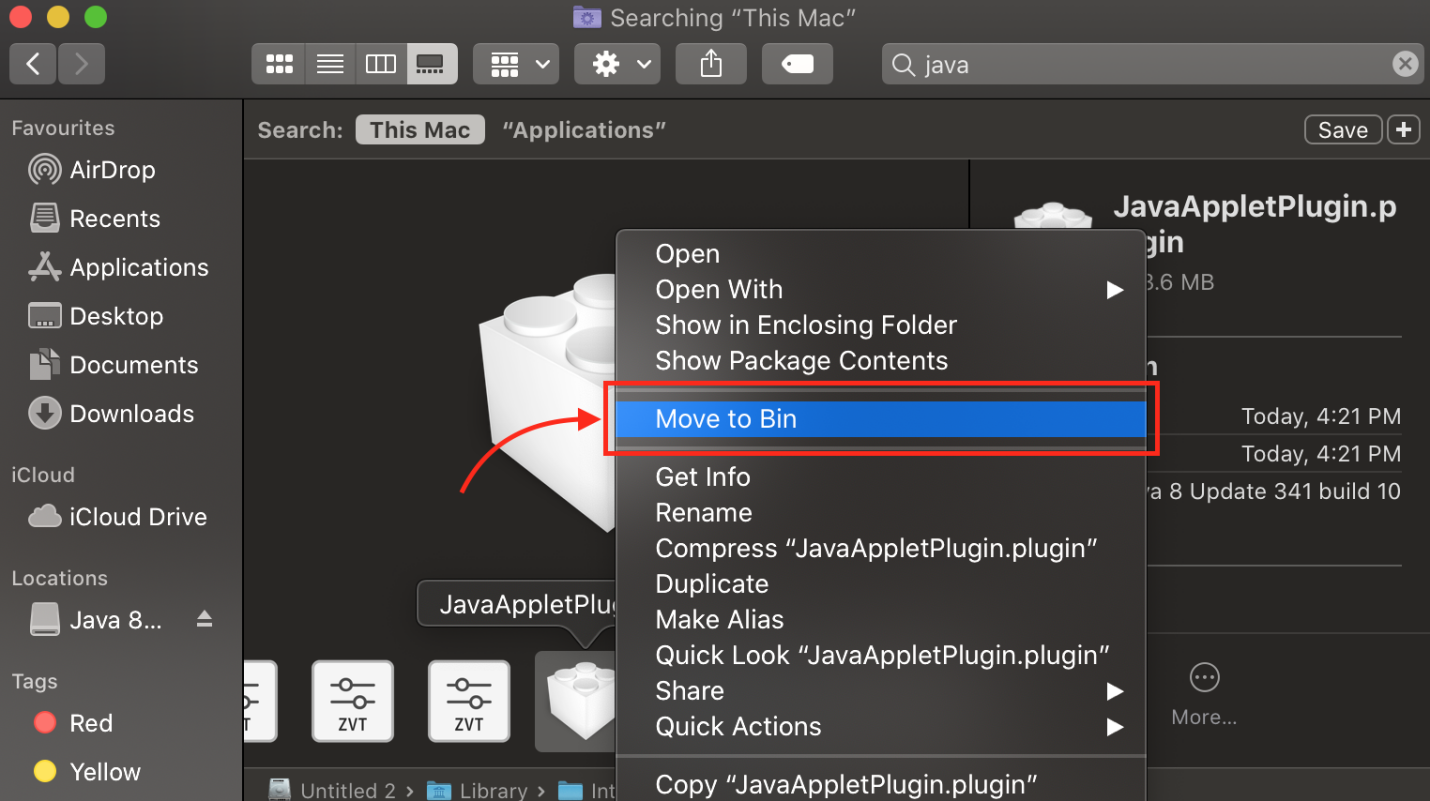
Note: You may experience some issues with apps that require Java after removing this plugin.
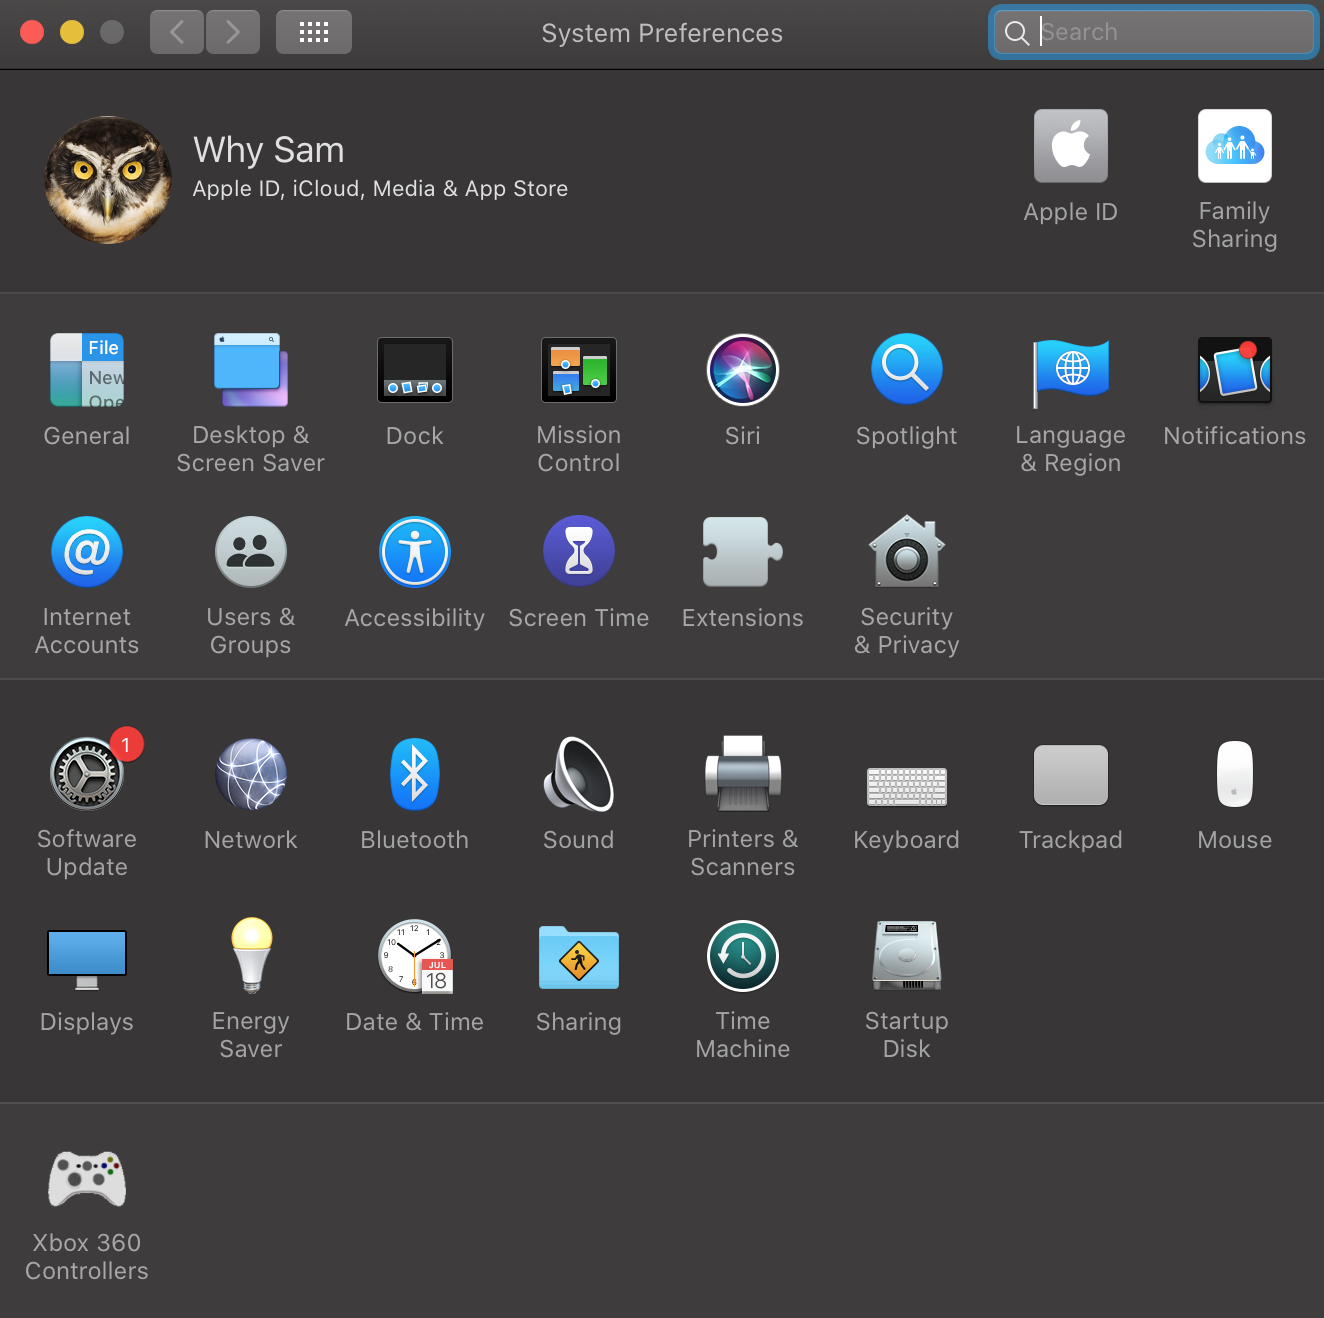
Now, Java is completely uninstalled from your Mac system. For the verification, open the “System Preferences” on Mac, and you will see that there is no Java Icon:
We have provided all the essential instructions related to uninstalling Java on Mac.
Conclusion
To uninstall Java on Mac, you can use the “rm” command on the Mac terminal. Mac also permits Java uninstallation through System Preferences. Both of the specified methods comprise some simple steps. However, you can select any of them according to your preferences. In this blog post, we explained how to uninstall Java on Mac.