This blog will discuss:
How to Use “git cherry-pick” Command?
The “git cherry-pick” command is the most useful when it is required to undo the existing modifications by selecting the Git repository commit through reference and appended to the current working HEAD position.
To do so, navigate to the Git repository and view the content list. Then, modify the required files and push changes to the repository. Next, remove all files with the provided extension, commit changes, and select the desired commit. Lastly, execute the “git cherry-pick <commit-id>” command.
Step 1: Go to Git Repository
Switch to the required git repository using the “cd” command:
Step 2: View Content List
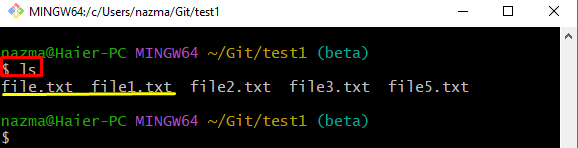
Run the “ls” command and display the list of existing content:
Here, the highlighted files are selected for further processing:
Step 3: Update Selected File
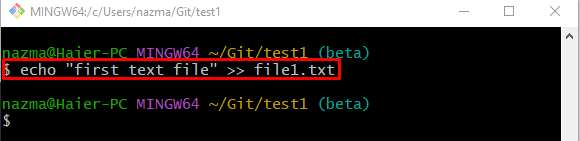
Now, execute the “echo” command to modify the selected file:
Step 4: Push Changes to Index
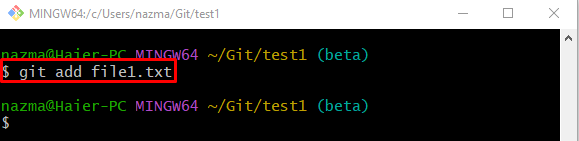
Next, push the changes to the staging area through the “git add” command:
Step 5: Update Git Repository
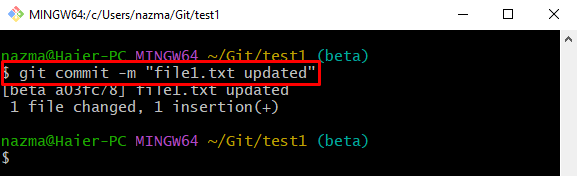
After that, utilize the below-listed command and save the added changes to the Git repository:
Step 6: Modify Another Selected File
Run the “echo” command and modify the previously selected another file:
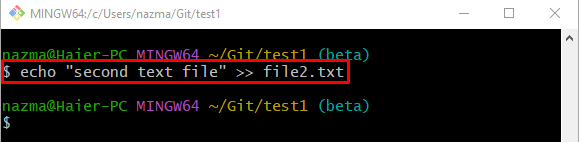
Step 7: Update Staging Index
Now, update the staging area through the below-stated command:
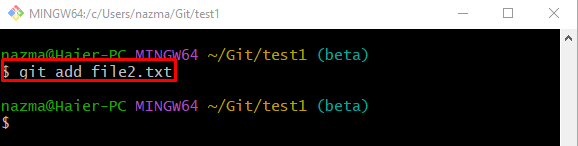
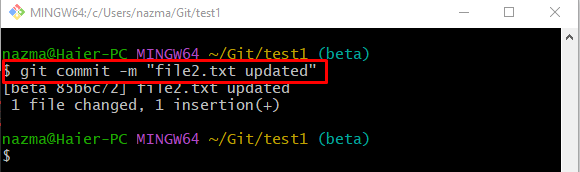
Step 8: Save Changes to Git Repository
Utilized the “git commit” command to save the added changes to the local repository:
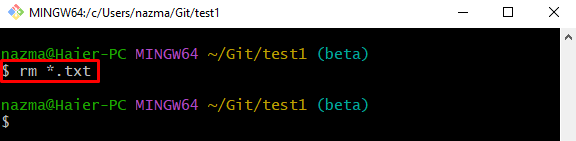
Step 9: Remove All Files having With “.txt” Extension
Now, delete files from the Git repository which have the “.txt” extension by running the “rm” command:
Here, the asterisk “*” symbol is used to fetch all files having the provided extension:
Step 10: Track Changes
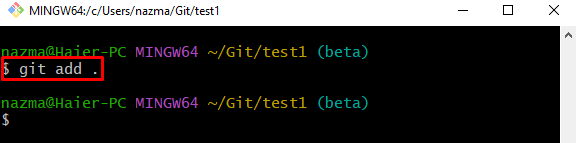
Next, use the “git add .” command to track all added changes from the working area to the staging index:
Step 11: Update Git Repository Status
After that, push all staged changes to the Git repository with the help of the “git commit” command:

Step 12: View Git Repository Reflog History
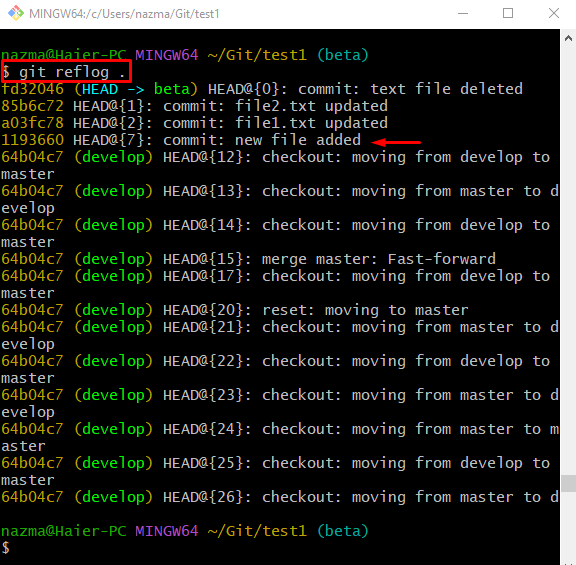
To display the Git repository reflog history, use the “git reflog .” command:
In the below-given output, the highlighted commit is our target HEAD pointer, so we will copy its SHA-hash Id:
Step 13: Cherry Pick Commit
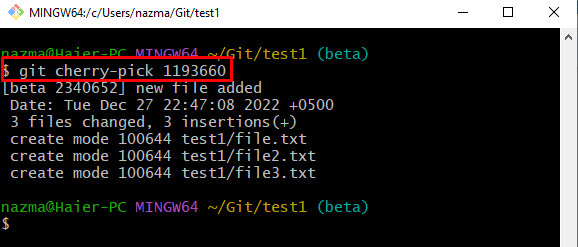
Execute the “git cherry-pick” command along with the selected commit reference Id and change the HEAD pointer to it:
Step 14: Verify Cherry Pick Operation
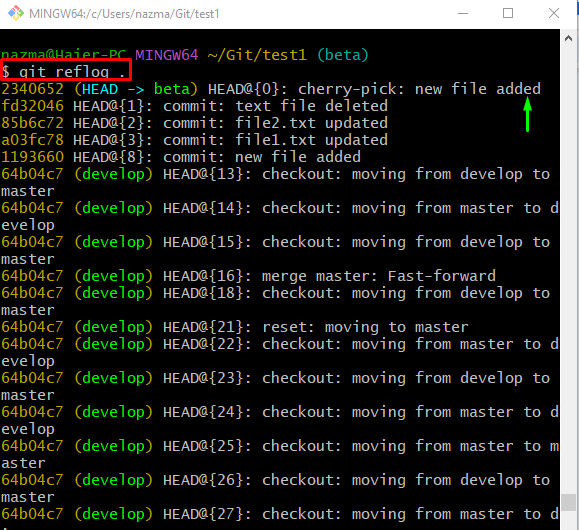
Now, check the Git log history through the “git reflog .” command:
As you can see, the current position of the HEAD pointer changed to provided commit, and the rest of the changes are reverted:
Check out the next section to undo the successful “git cherry-pick” operation.
How to Revert a Successful “git cherry-pick”?
Try the following steps to revert the performed “git cherry-pick” operation.
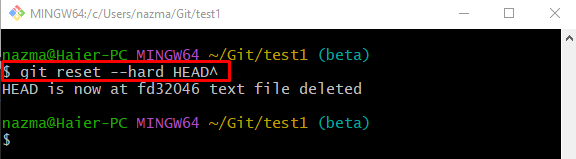
First, execute the “git reset” command along with the “–hard” option and desired index pointing, such as “HEAD^”:
According to the below-given output, the HEAD move to the previous commit Id:
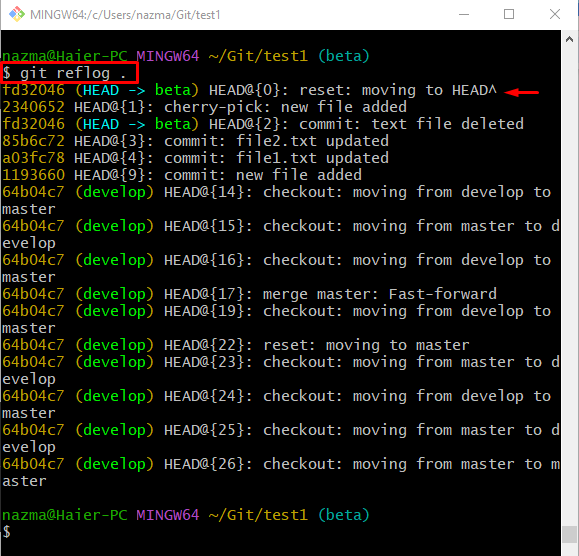
To ensure that the HEAD is reverting to the previous position, use the “git reflog .” command:
It can be observed that the “git cherry-pick” operation is undone successfully:
That’s all! We have provided the easiest way of undoing the successful “git cherry-pick” operation.
Conclusion
The “git cherry-pick” command is used when users want to undo the existing changes by selecting the commit through reference. To do so, go to the local Git directory and list its content. Then, modify the required files and push changes to the repository. Next, remove all files with the provided extension, commit changes, and select the desired commit. Execute the “git cherry-pick <commit-i’d>” command. To undo this operation, execute the “git reset –hard HEAD^” command. This blog illustrated the way of undoing the successful “git cherry-pick” operation.