This post will discuss:
How to Revert a Git Commit?
To “un-revert” the reverted Git commit; first, we will learn how to revert the Git commit. Then, un-revert the reverted Git commit. To do so, follow the below-provided steps.
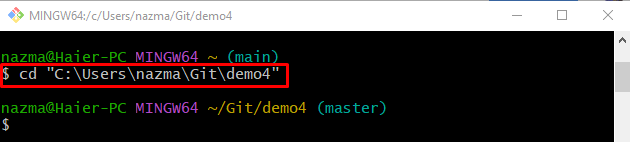
Step 1: Navigate to Particular Local Repository
First, use the “cd” command to move to the desired local repository:
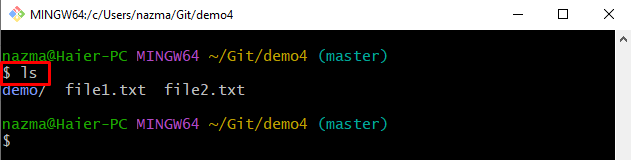
Step 2: View List of Content
Now, show the existing list of content of the local repository through the “ls” command:
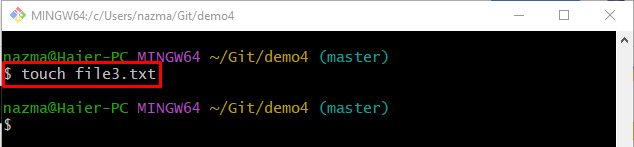
Step 3: Generate New Test File
Execute the “touch” command to generate a new text file in the current local repository:
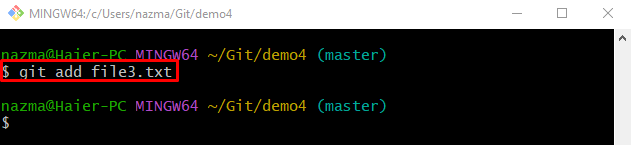
Step 4: Track File
Now, add the newly generated text file in the staging area from the working area by executing the provided command:
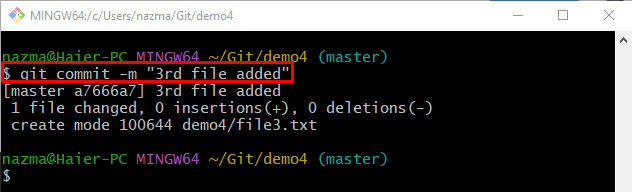
Step 5: Update Local Repository With Added Changes
Next, run the “git commit” command along with the commit message using the “-m” option to update the current working directory with the newly added changes:
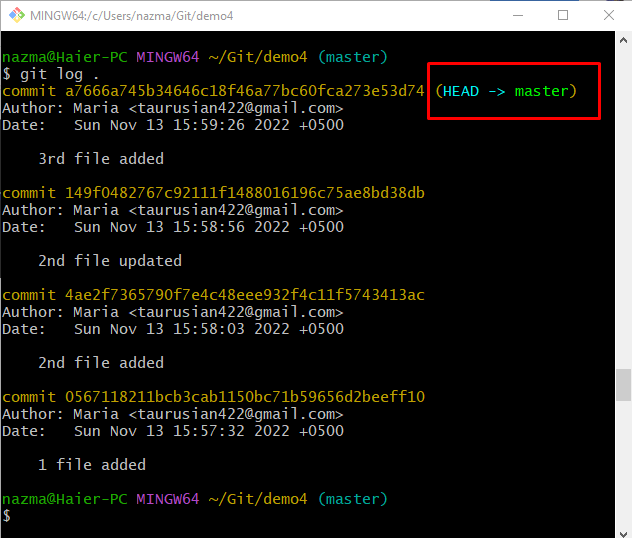
Step 6: Display Current Repository Log History
Next, check the reference log history of the current local repository using the “git log .” command:
As you can see, the HEAD is pointing to the most recently added commit:
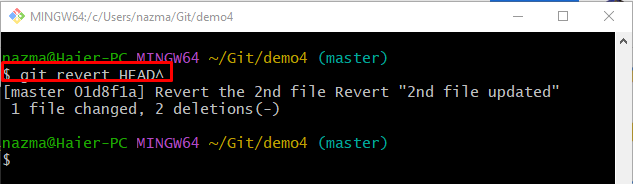
Step 7: Revert HEAD Pointer
To perform the HEAD reverting operation in the current local repository, execute the below-stated command:
You will be asked to add the commit in the opened text commit file with the default text editor:

As you can see, the “HEAD^” pointer is moved to the most previous commit:
Step 8: Verify Reverting Operation
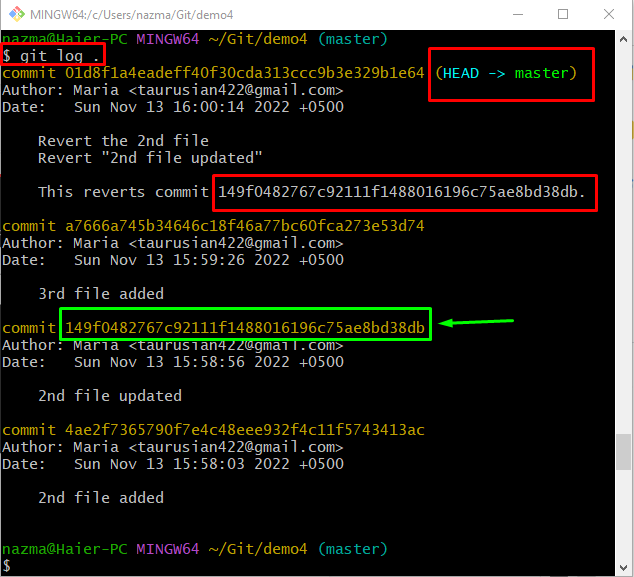
To ensure the Git commit is reverted, execute the “git log .” command:
According to the below-provided output, the HEAD points to the previous commit as a recent commit:
Now, move ahead and understand the procedure to un-revert the Git commit.
How to “un-revert” a Reverted Git Commit?
To un-revert the reverted Git commit, the “$ git reset –hard HEAD^” command can be utilized. To utilize the corresponding command for a specified purpose, follow the below-listed steps.
Step 1: Un-revert a Reverted Commit
Now, execute the “git reset” command with the “–hard” parameter and “HEAD^” position:
As you can see, the HEAD is moved to the previously reverted Git commit:

Step 2: Check Git Reference Log History
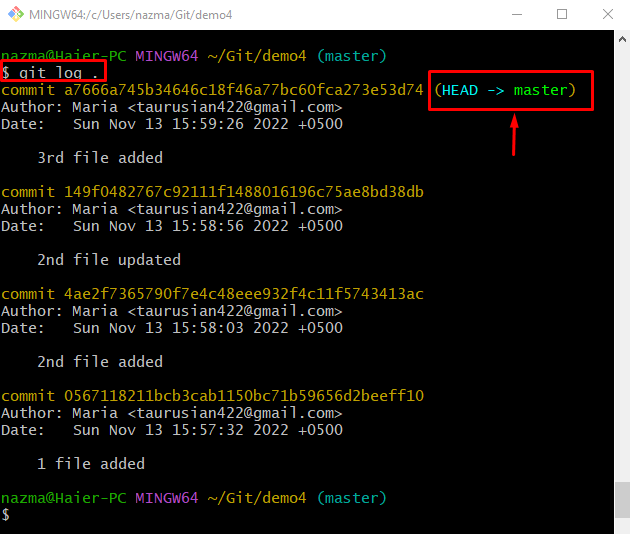
Lastly, run the “git log .” command to ensure the performed operation:
Conclusion
To un-revert a reverted Git commit, first, move to the particular Git repository. Then, view the list of the current local repository, execute the “$ git reset –hard HEAD^” command and verify the un-reverted Git reverted commit. This post illustrated the procedure to “un-revert” the reverted Git command.