
Pre-requirements
All commands you should run under the ‘sudo’ command privileges.
Installation of Flask on Ubuntu 20.04
Follow the below-mentioned steps to install the Flask on Ubuntu 20.04 system:
Step 1: Installation of Python
Ensure that Python is installed on your Ubuntu system. To check the installation, run the below-given command on the terminal:

It is a recommended method to create a virtual environment in python using the venv module. You can create this environment with the help of the python3-venv package. Therefore, you will have to install this package by executing the below-mentioned command on your system:
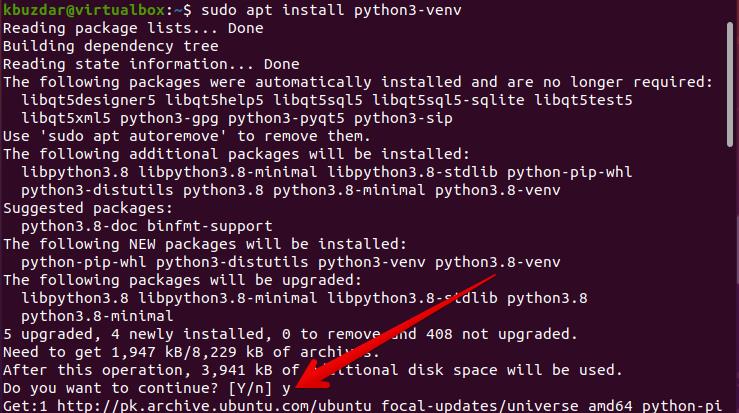
Once the above package module is installed on your Ubuntu system, you can create a python virtual environment in which you will install and use the Flask application.
Create a directory for the Flask application and navigate it in this folder using the below-given command:
![]()
Step 2: Create a python virtual environment
Now, inside the specified directory ‘flask_application’, create a virtual environment by running the following command:
![]()
A new directory or virtual environment is created with the name ‘venv’ that consists of a copy of all Python supporting files. You can also create a different name with this virtual environment.
Now, activate the above virtual environment using the following command, and then you can use it:
![]()
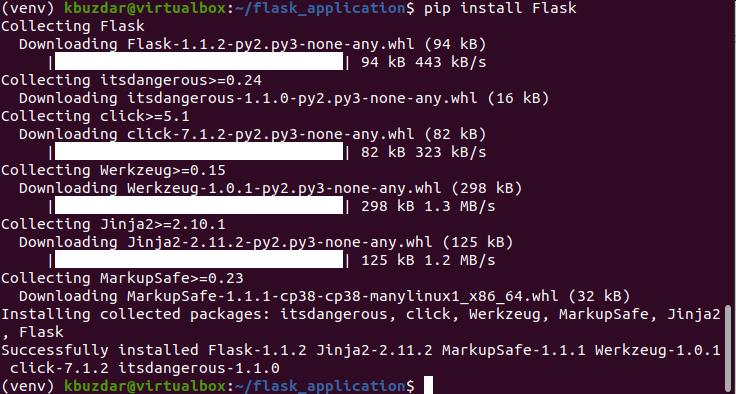
Step 3: Install Flask using pip
Once the environment is activated, you will notice that the virtual environment name will be added at the beginning of the shell prompt. Now, install Flask using the Python package manager pip as follows:
You can print the installed version of Flask using the following command:

At this time, the latest version of Flask 1.1.2 has been installed on your Ubuntu system, which you can also see in the below-given screenshot:
Create Minimal Application using Flask
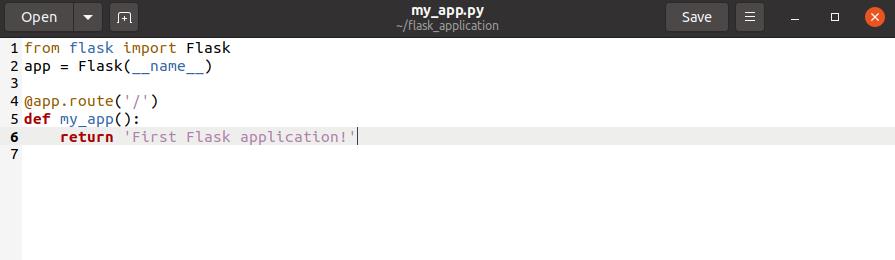
Here, we will create a simple application that will print the text ‘First Flask application!’. Open the text editor and paste the following code into this file:
app = Flask(__name__)
@app.route('/')
def my_app():
return 'First Flask application!'
Save the above file inside the Flask_application directory with the name ‘my_app.py’.
In the above code:
- The first line will import the Flask class.
- The second line will create a new Flask class instance.
- The function my_app is registered through route() decorator. When you requested this route the ‘First Flask application!’ text will print on the terminal.
To execute the above code run the following commands:
(venv) $ flask run
![]()
The following output will print on the terminal:

Now, open the browser and type the ‘http://127.0.0.1:5000’ URL in the address bar. The ‘First Flask application!’ message will display in the browser.

To stop the shell output, press ‘Ctrl-C’. Once you have finished your work, type the following command to deactivate the virtual environment or exit from it:
![]()
Conclusion
In the above article, we have explained the procedure of how to install the Flask on the Ubuntu 20.04 environment. We have also described how you can create a python virtual environment and install Flask in it. We have experienced different commands to run the application using Flask. For more details, please visit the Flask documentation from internet resources.