This tutorial below is a guide on how to take screenshots on Ubuntu using keyboard shortcuts and without making use of any third-party tools. In addition, we will also find out the best screenshot tools you could get for Linux.
What Exactly Are Screenshots?
A screenshot is an image of the data on your screen, while a screencast occurs when you record a video of the happenings on your screen. They are usually taken when you have to share something from your screen with someone else’s.
For operating systems such as Windows and Mac, you can easily take screenshots using the print screen icon on the keyboard that captures your screen as it is. However, in Ubuntu and other Linux distros, there are a number of techniques other than this. Read them in detail below.
1. Take Screenshots Through Keyboard Shortcuts in Linux
The first method is about utilizing keyboard shortcuts to capture an image of the contents on your desktop. These techniques work best when you don’t have to make any edits or changes to the screenshot later on. Almost all Linux distros, including Ubuntu, support these shortcuts.
PrtSc – Captures a Screenshot of the entire screen as it is. This is then saved to the ‘Pictures’ directory.
Shift + PrtSc – Captures a screenshot of a specific region that you select. This is also saved to the ‘Pictures’ directory.
Alt + PrtSc – Captures a screenshot of the current window you are working on. This is also saved to the ‘Pictures’ directory.
Ctrl + PrtSc – This shortcut copies the screenshot of the entire screen directly to the clipboard.
Shift + Ctrl + PrtSc – This shortcut copies the screenshot of a specific region that you select on the clipboard.
Ctrl + Alt + PrtSc – This shortcut copies the screenshot of the current window that you are working on to the clipboard.
The shortcuts above are very useful and simple for the quick sharing of pictures. They all make use of the default screenshot tool of Linux.
2. Take Screenshots through a Dedicated Screenshot Tool
a. FLAMESHOT
Flameshot is a dedicated feature-rich screenshot tool for Linux-based systems. It is not just for capturing screen images but also for editing and annotating them. Some of its quality features include:
- Editing (highlighting, adding texts, boxes, and points to the image)
- Blurring
- Cropping
- Uploading Images
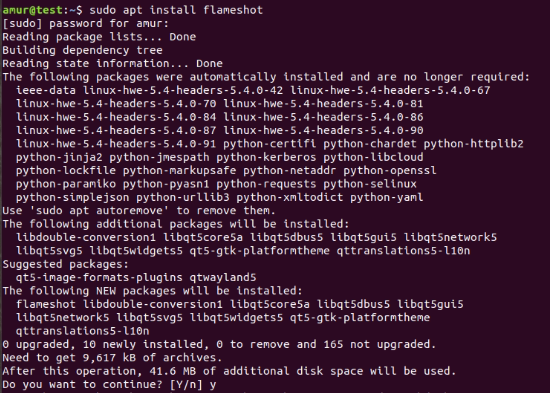
To use Flameshot in Ubuntu, follow the simple steps below to first install the tool in your system. To do that using the terminal, type in the command:
Once you’re done installing, you can start taking a screenshot after launching the tool by finding it through the search option. However, there is also an option where you can trigger the tool using the PrtSc key after setting a custom keyboard shortcut.
To do that:
- Open system settings -> Keyboard settings
- In the keyboard shortcuts, find the button ‘+’
- Click the ‘+’ button to add a custom keyboard shortcut
- Enter the fields as shown:
Name: Shortcut
Command: /usr/bin/flameshot gui - Now set this shortcut to the PrtSc button
- Note that the functionality of the default screenshot tool for PrtSc will be disabled once you perform the steps above
This is what it should look like:

You can take a look at how the Flameshot tool will work on your system below.
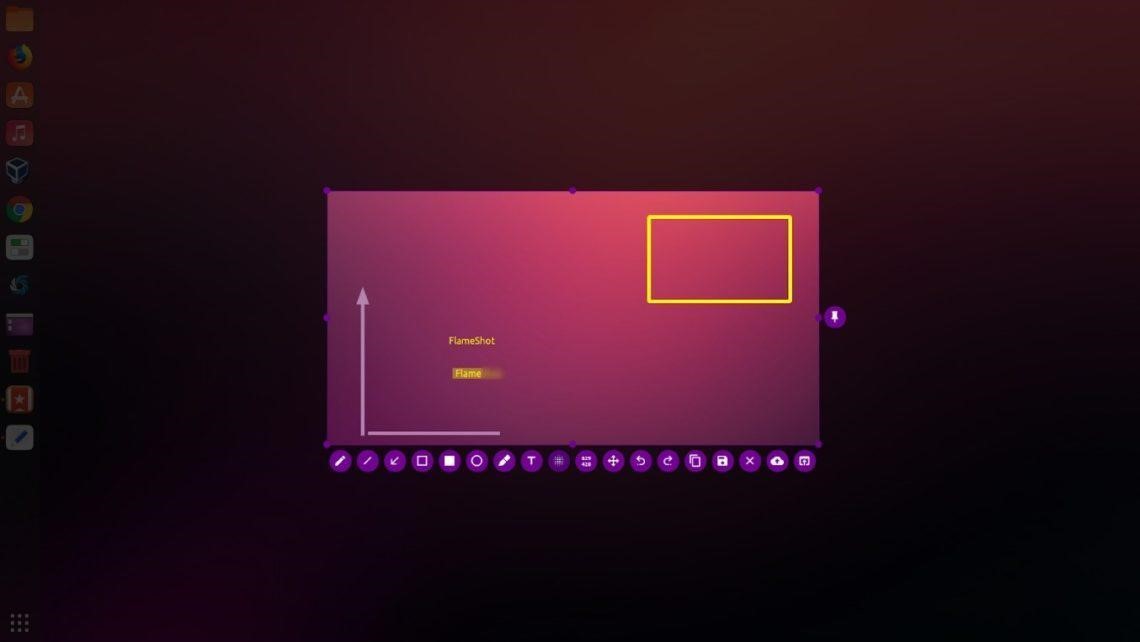
You can take a screenshot and edit it right away before you save it.
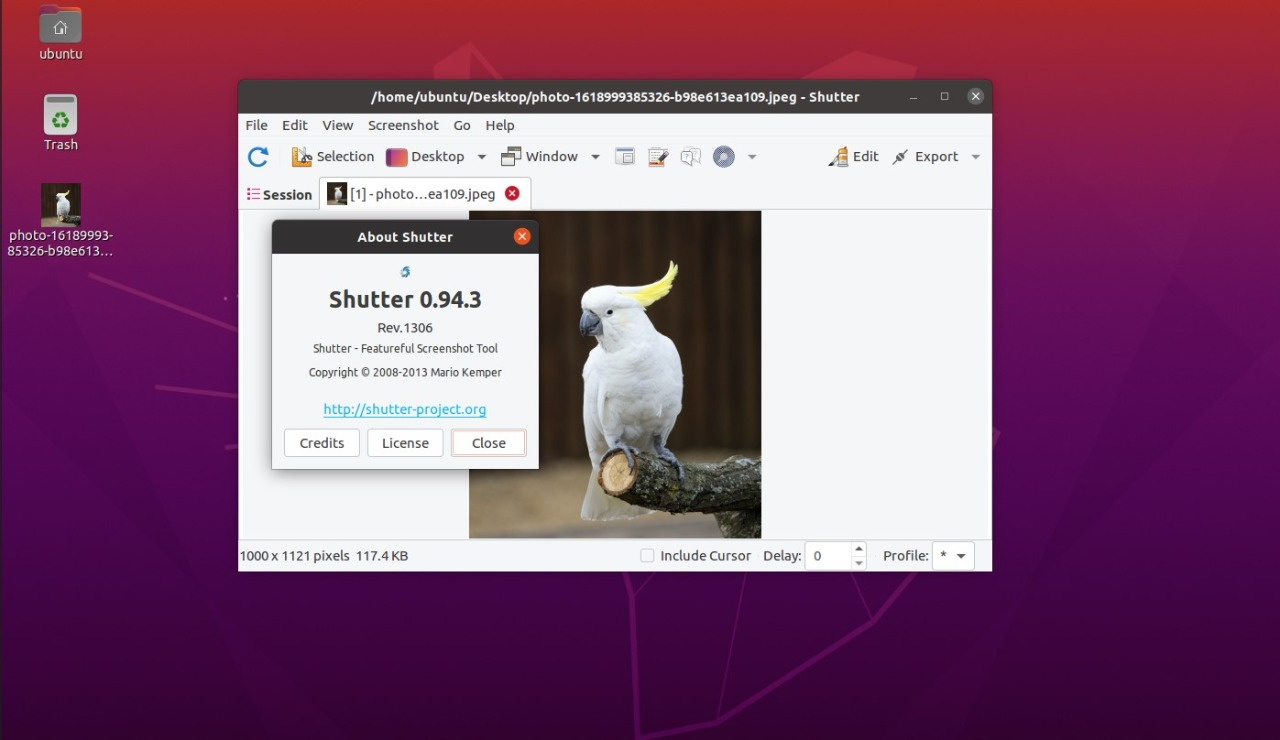
b. SHUTTER
Shutter is another popular tool for taking screenshots on Ubuntu and all major Linux distros. It is free and can be easily downloaded. Despite its inactive interface, Shutter seems to be a perfect choice for capturing, handling, and editing screenshots. However, one major con of this tool is that its editing feature is disabled by default. The shutter can also help to annotate, blur, crop, and upload images to other sites like Flameshot.
To install Shutter using the following command:
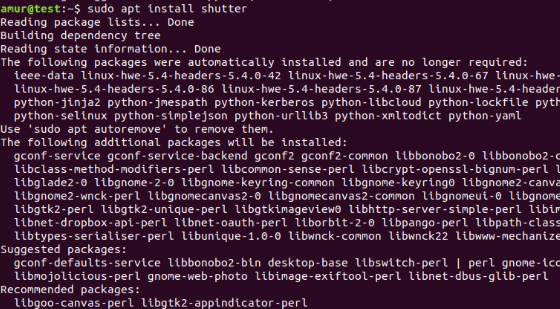
You can use Shutter directly from the search option or set a custom keyboard shortcut to trigger the tool. The instructions are the same as for Flameshot. Just remember to use ‘shutter –f’ in the command field.
3. Take Screenshots Using Command Line Tools
The tools below are for people who love using the terminal and its command-driven interface. They help to instantly capture the screen using a few commands.
a. GNOME SCREENSHOT TOOL
This tool exists in all distros that have a Gnome desktop. To take a screenshot, type the command below
If you want to capture a screenshot with a slight delay, type in:
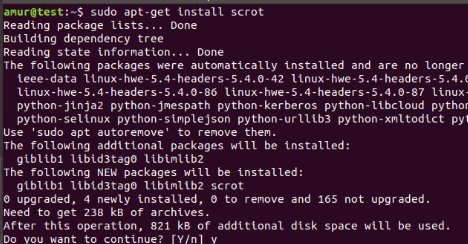
b. DEEPIN SCROT SCREENSHOT TOOL
This is also a terminal-based tool, which is usually present in most distros by default. If you don’t have it, you can install it using the command:
Now, to take a screenshot of an entire screen, type:
If you want to only capture a selected area, type:

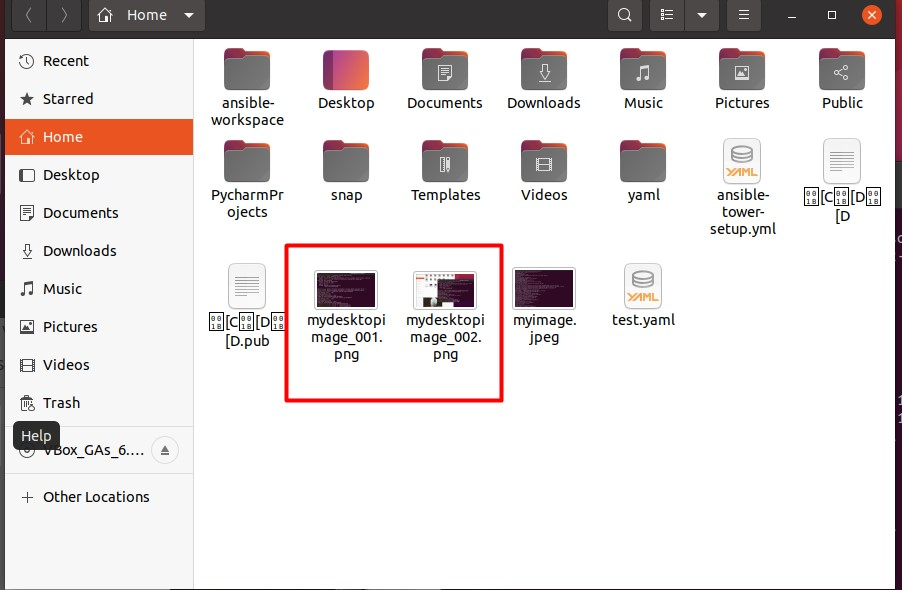
Viola, here are your saved screenshots!
Conclusion
Taking screenshots is one of the most used and nifty tools one uses while sitting in front of a screen. You can use screenshots to attach the data required in your report or to share a moment or a meme with your friend. Taking screenshots is really easy on Linux if you know the right tools or shortcuts. We hope that taking screenshots is not a hassle for Linux users now. This brings an end to our guide. Keep snipping.