Most Ubuntu users prefer graphical application managers when they first start using Ubuntu. Although the graphical application manager of Ubuntu has a large number of applications, it still lacks many powerful utilities, particularly those for the command line. After realizing this, move forward to using “apt-get,” a more competent package management tool.
What is apt in Ubuntu
For the dpkg packaging system, “apt” is a command-line frontend. “apt” stands for “Advanced Packaging Tool”. For many distributions, it is the most favored method of managing packages via the command line. A Linux-based operating system like Ubuntu has this primary package management system. This utility can be used to:
- Update installed software
- Update package repositories
- Get the source code for any installed package
- Search for available packages
- Remove a package from your Ubuntu
- Reinstall a software package.
While the program”dpkg” forms the essential packaging layer in Ubuntu, “apt-cache” and “apt-get” implement dependency handling and offer user-friendly interfaces. With the help of “apt-get“, you can install, update, upgrade, and uninstall packages, while “apt-cache” is utilized for searching and retrieving information related to packages from the packages database.
What is the difference between apt-get and apt?
apt-get is a command-line “backend” that provides supports for other apt-based tools and apt is intended for the end-users. apt utility comprises the features of apt-cache and apt-get. apt commands replace the commonly used apt-cache, apt-get, and their features, still, most of them are not all backward compatible, also apt-get is the default package manager in Ubuntu. That’s the reason why in this article, we are pursuing the usage of apt-get (default package manager) in our Ubuntu system. In the upcoming section, we will talk about how to manage packages in Ubuntu. So, let’s get started!
How to update packages in Ubuntu
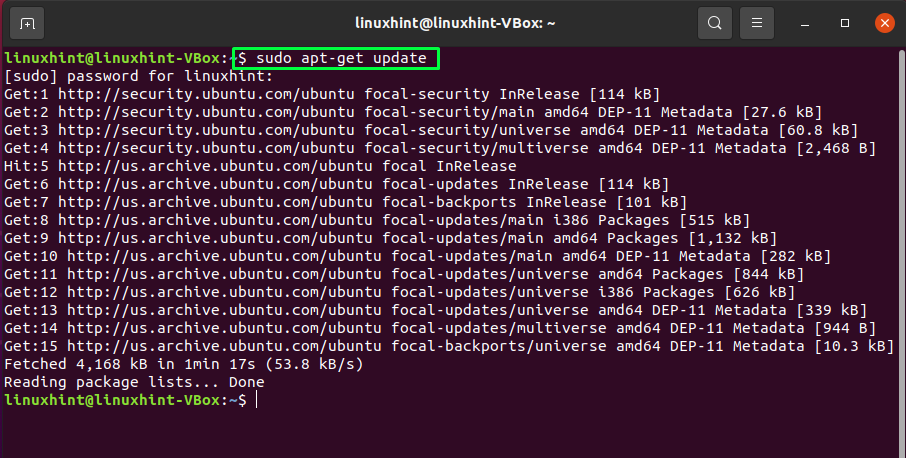
The apt-get works with a database of known and accessible software applications. It uses this database to perform installations, searching packages, and a variety of other tasks. So, before we begin any apt-get packaging activities, we must first check that our local copy of the database is updated. Utilize the below-given command to update the repositories. For most activities, apt-get needs administrator privileges:
How to upgrade packages in Ubuntu
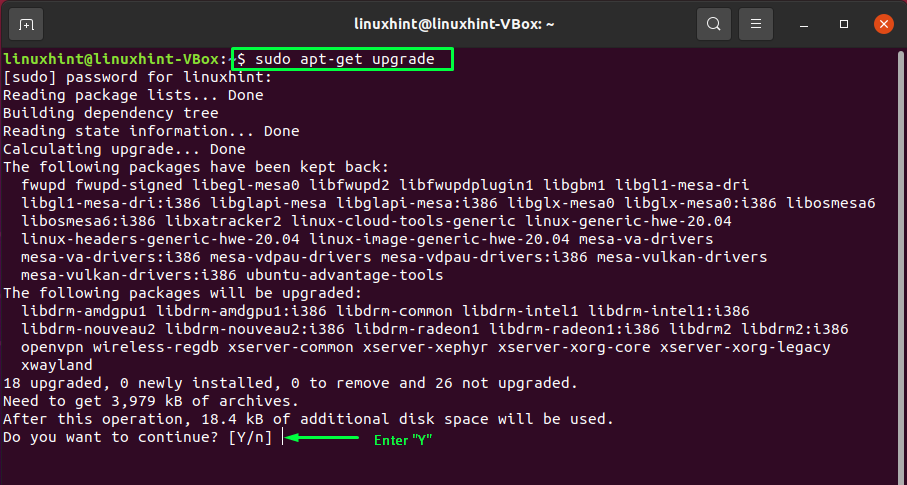
If you want to upgrade the packages, then write out the below-given command in your Ubuntu terminal:
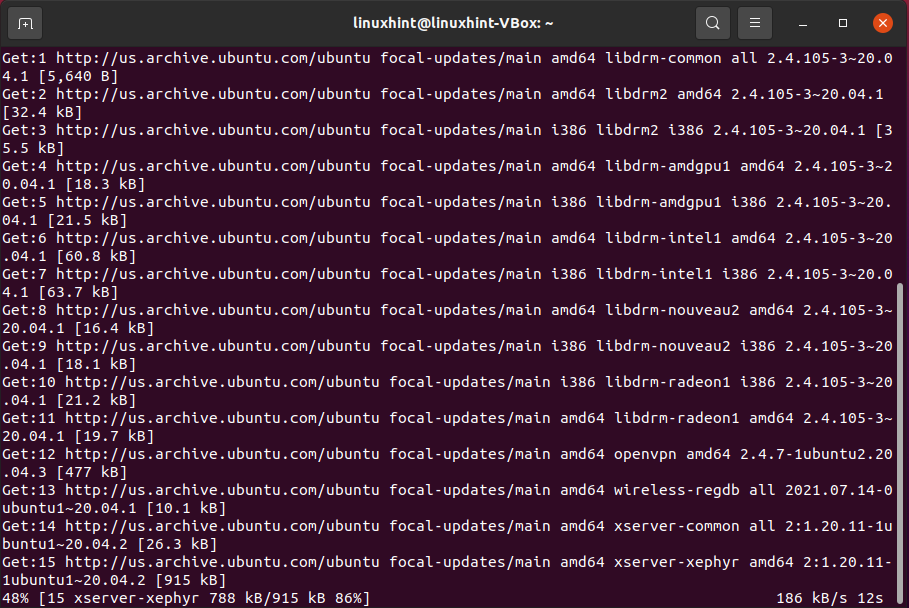
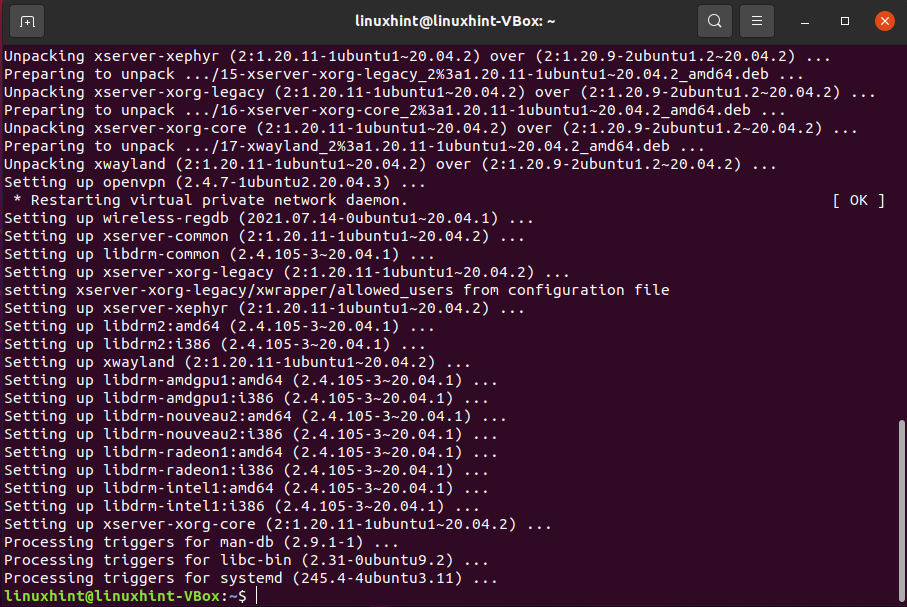
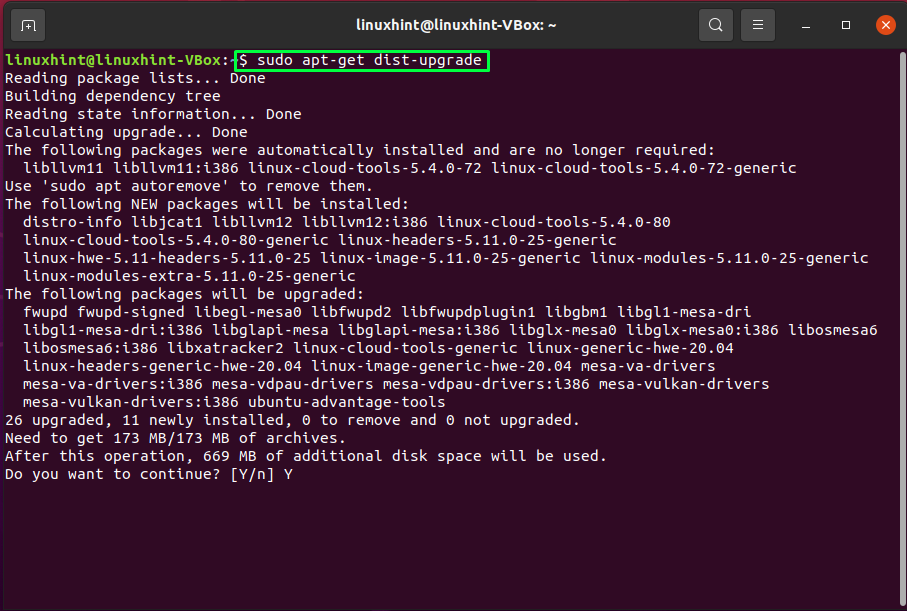
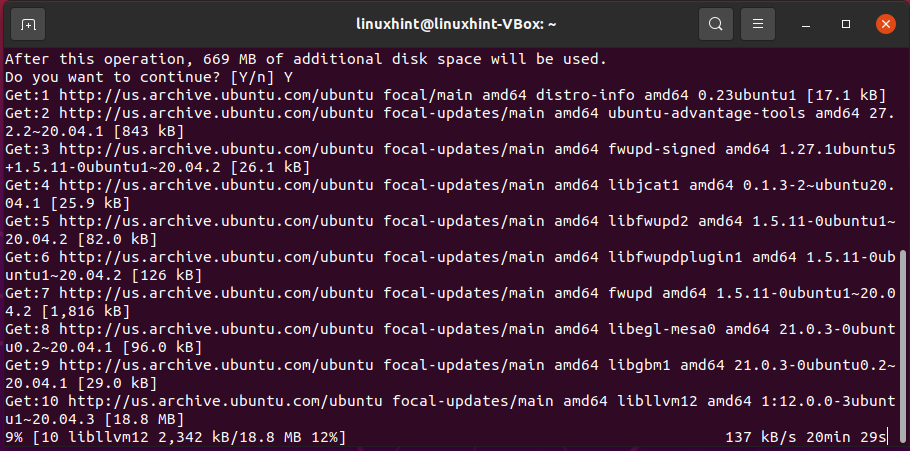
Enter “Y/y” to permit the process to continue:
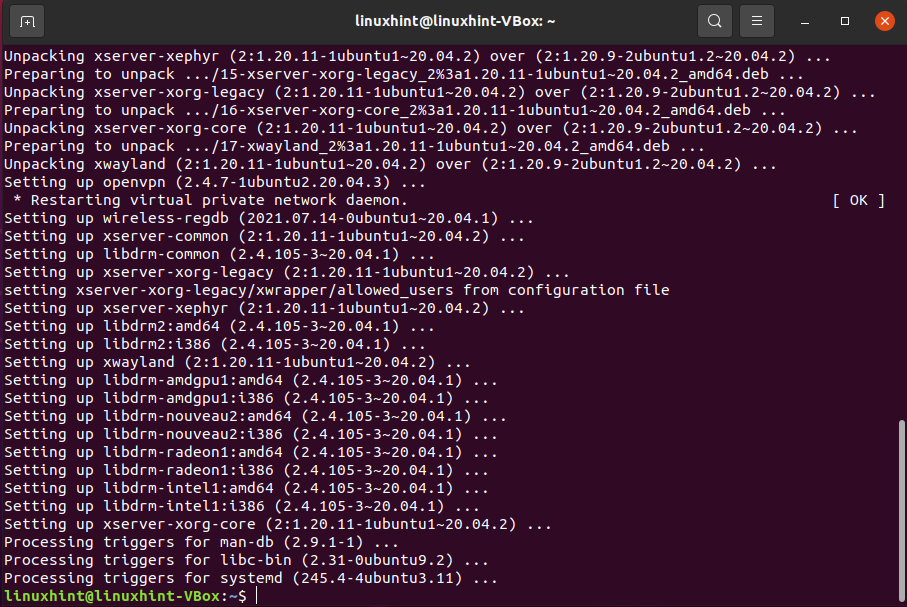
You can also utilize the “dist-upgrade” option for a more comprehensive upgrade and to ensure dependencies are resolved:
Now, let’s move towards the installation of packages on our system.
How to install a new package in Ubuntu
You can use below-given syntax to install a package if you know its name:
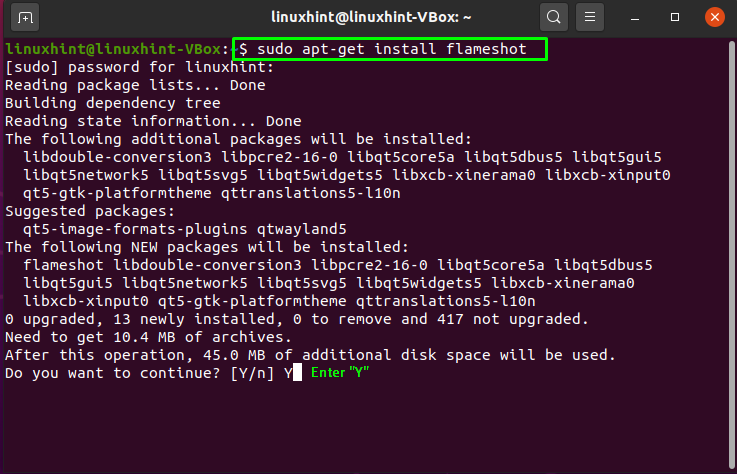
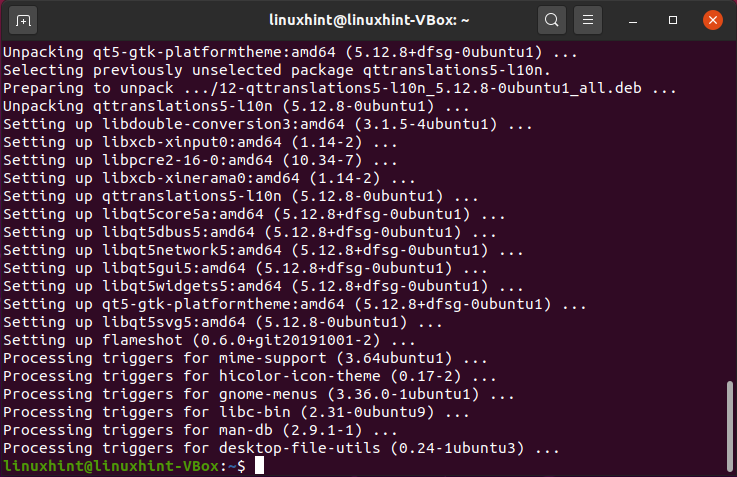
For instance, we will install the “flameshot” package in our Ubuntu which is a freely available annotation tool for Ubuntu users. This package has a wide range of markup tools. To install it on our system, we will write out this command:
That was the procedure for installing a single package.
How to install multiple packages in Ubuntu
In Ubuntu, multiple packages can be installed simultaneously, which is excellent for getting all the software needed for a project in one go. Here is the syntax for installing multiple packages using apt-get:
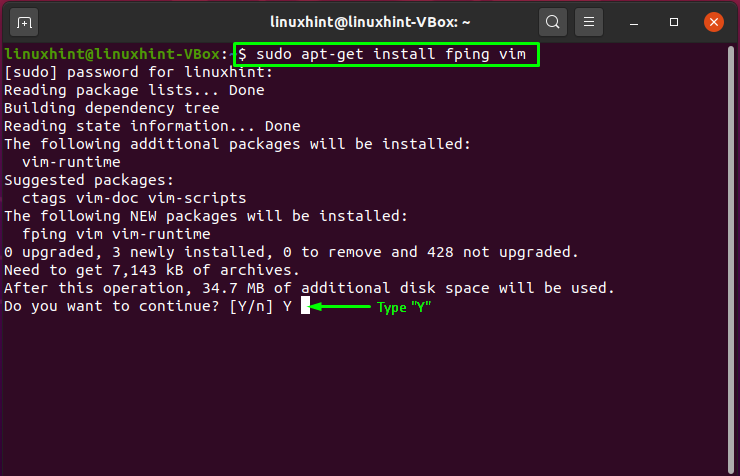
In the below-given example, we will try to install two packages, “fping” and “vim” using a single command:
Enter “y” to permit the operation to install multiple packages:
How to remove a package in Ubuntu
check out the syntax of the apt-get command, if you want to delete or remove a package from your Ubuntu:
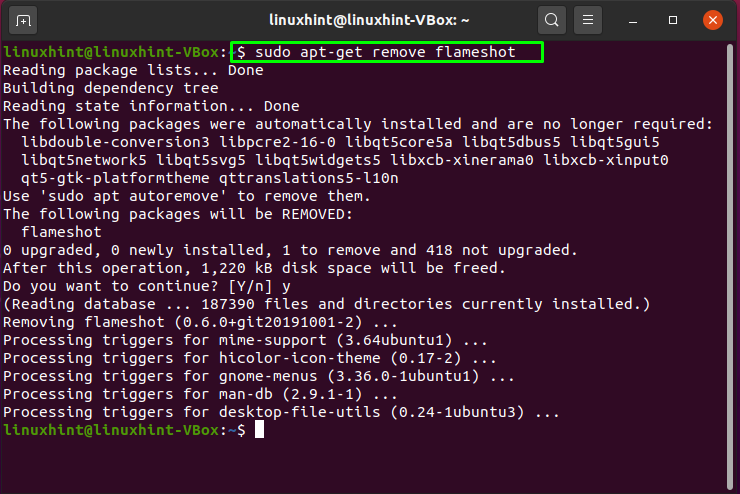
For instance, we will remove the installed “flameshot” package by utilizing the below-given command:
The execution of the above-given command will keep the configuration files while removing the package on Ubuntu. Your settings will be saved in this way, although the application has been removed from your system. If this isn’t what you want, then clean all of the configuration files:
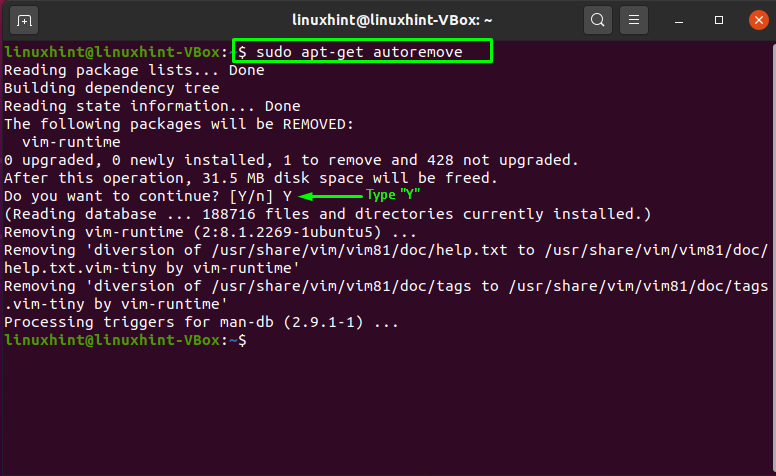
Write out the following command to remove packages that are no longer requires:
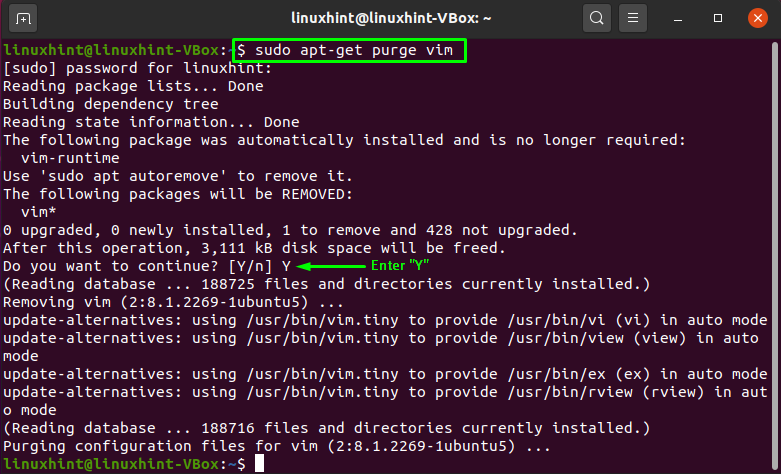
We will perform this operation for the “vim” package:
How to search for a package in Ubuntu
The “apt-cache” is utilized in the terminal for searching for a package that meets your requirement and it does not require any administrative privileges. Here is the syntax of the “apt-cache” command:
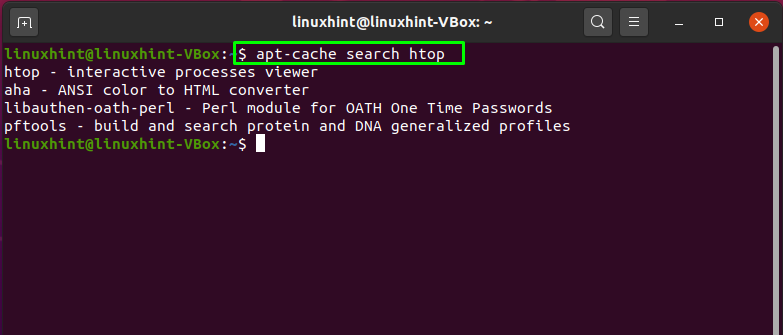
Now, we will execute the “apt-cache” command to search for the “htop” package:
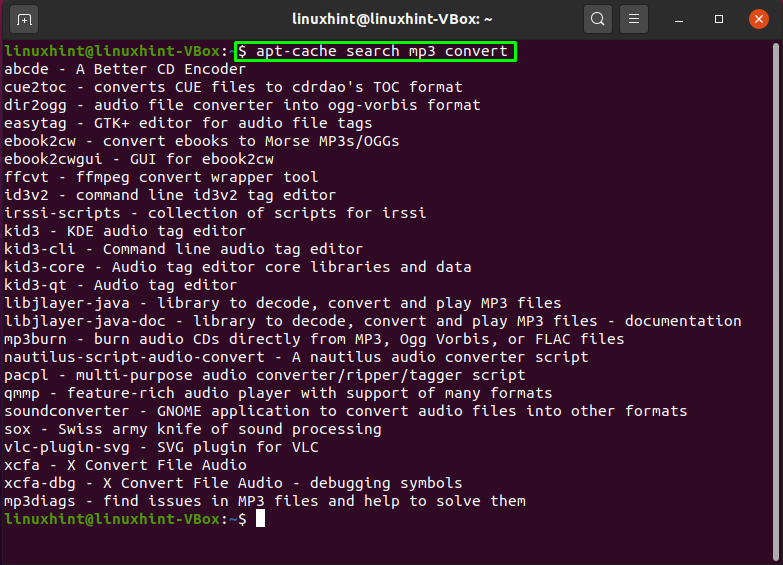
Instead of searching for a specific package, you can also look for packages using some generic terms. For example, we will look for the packages utilized for “mp3 conversion”:
How to view package information in Ubuntu
Utilize the below-given command if you want to view information related to a specific package:
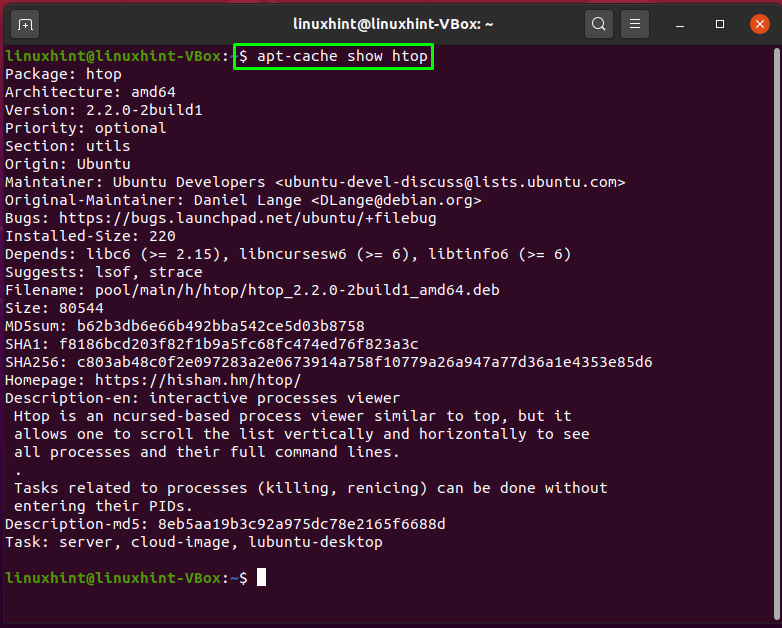
As an example, execute this command for viewing the information of “htop” package in the Ubuntu terminal:
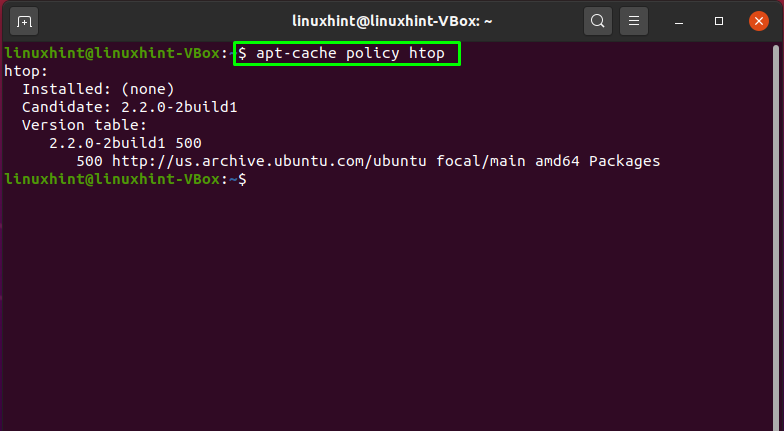
If you utilize the “policy” option the “apt-cache” command, it will show you the packages dependencies and the download size of the searched package:
Execution of the above-given will also let you know if the package is installed in your system and to which repository it belongs:
Conclusion
Knowing how to manage and use multiple packages in Ubuntu can assist the user in the daily tasks. Installing and downloading packages from repositories, handling dependencies, and updating and removing packages operations are essential for Linux system administration. You learned about how to manage packages in Ubuntu in this article. If you are spending your time and effort in Ubuntu, read out our article to better understand managing packages in Ubuntu.

