
Syntax:
The syntax of the two-dimensional vector has given below.
A particular data type is defined at the time of vector declaration. If the vector size is not defined then the vector is called an empty vector. The size of the vector can be changed by using different methods or initializing the vector.
Example-1: Create a 2-Dimensional vector of an equal number of columns
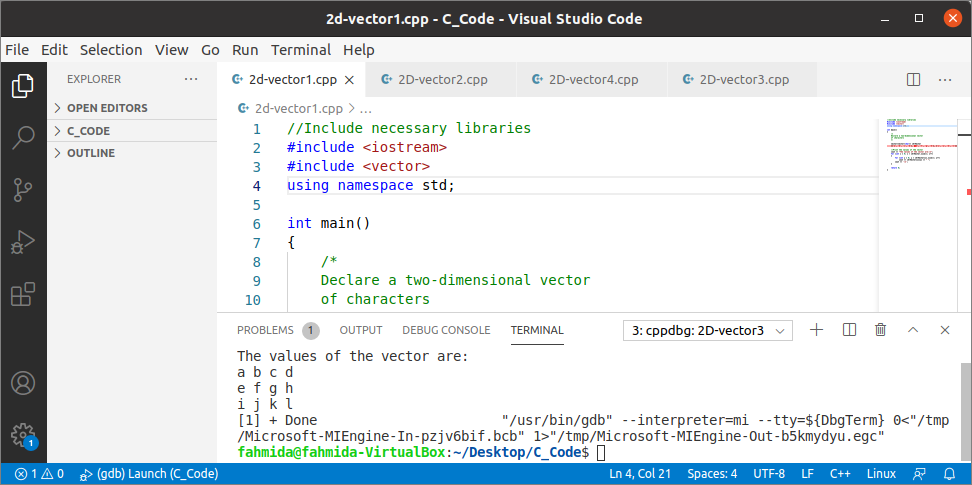
The following example shows the way of declaring a 2-dimensional vector of three rows and four columns that contains character data. Here, the values of the vector have been defined at the time of vector declaration and the nested ‘for‘ loop has been used to print the values of the vector.
#include <iostream>
#include <vector>
using namespace std;
int main()
{
/*
Declare a two-dimensional vector
of characters
*/
vector<vector>chrVector
{{'a', 'b', 'c', 'd'}, {'e', 'f', 'g', 'h'}, {'i', 'j', 'k', 'l'}};
//Print the values of the vector
cout<< "The values of the vector are:\n";
for (int i = 0; i<chrVector.size(); i++)
{
for (int j = 0; j <chrVector[i].size(); j++)
cout<<chrVector[i][j] << " ";
cout<< '\n';
}
return 0;
}
Output:
The following output will appear after executing the above code.
Example-2: Create a 2-Dimensional vector with a different number of columns
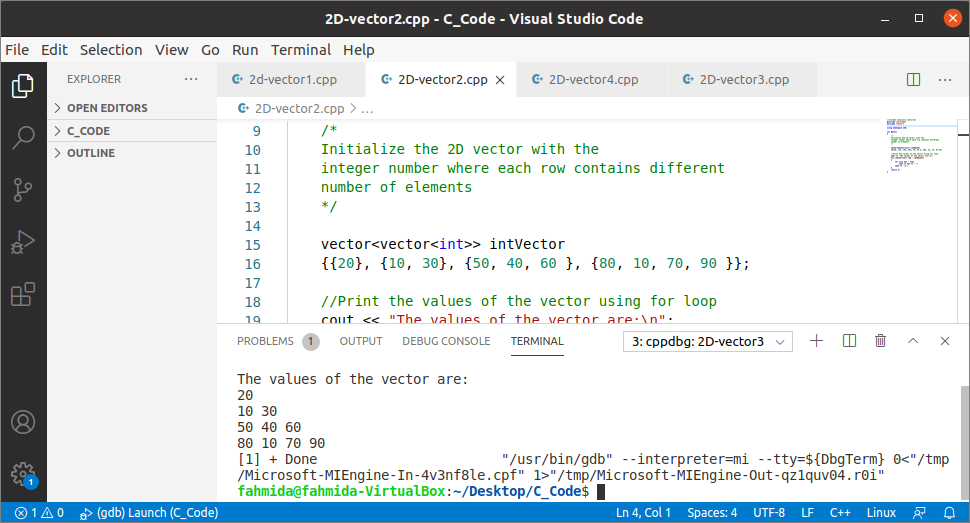
The following example shows the way of declaring a 2-dimensional vector of four rows where the first row contains one column, the second row contains two columns, the third row contains three columns, and the fourth row contains four columns. The vector has initialized with the integer data and printed using the nested ‘for’ loop.
#include <iostream>
#include <vector>
using namespace std;
int main()
{
/*
Initialize the 2D vector with the
integer number where each row contains different
number of elements
*/
vector<vector>intVector
{{20}, {10, 30}, {50, 40, 60 }, {80, 10, 70, 90 }};
//Print the values of the vector using for loop
cout<< "The values of the vector are:\n";
for (vectorrow :intVector)
{
for (int val : row)
cout<<val<< " ";
cout<< '\n';
}
return 0;
}
Output:
The following output will appear after executing the above code.
Example-3: Initialize a 2-Dimensional empty vector with the default value
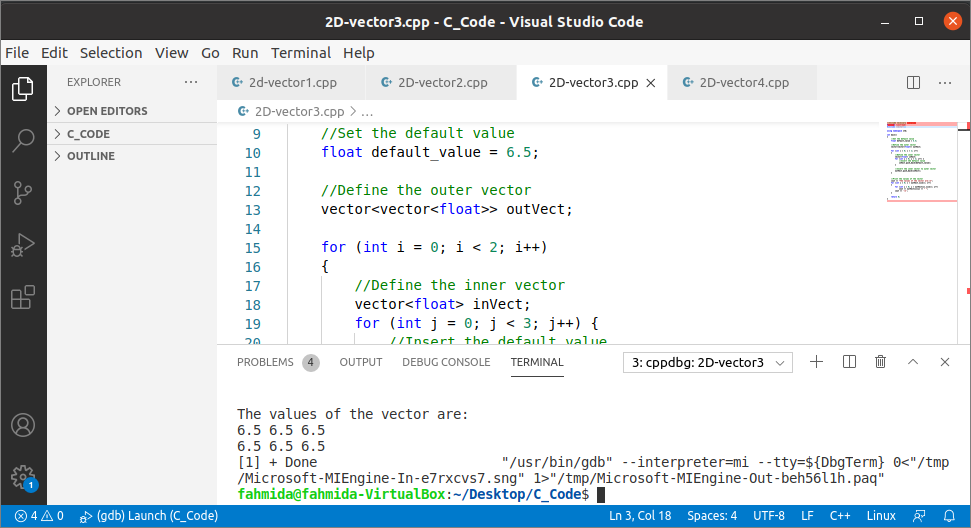
The way to declare a 2-dimensional empty vector of float number and initialize the vector with a float number has shown in the following example. Here, the nested ‘for’ loop has been used to insert data into the vector using the push_back() function and print the values of the vector.
The default value, 6.5 has been inserted into the vector by creating 2 rows and 3 columns. The size() function has been used to count the total rows and columns for printing the values of the vector.
#include <iostream>
#include <vector>
using namespace std;
int main()
{
//Set the default value
float default_value = 6.5;
//Define the outer vector
vector<vector>outVect;
for (int i = 0; i< 2; i++)
{
//Define the inner vector
vectorinVect;
for (int j = 0; j < 3; j++) {
//Insert the default value
inVect.push_back(default_value);
}
//Insert the inner vector to outer vector
outVect.push_back(inVect);
}
//Print the values of the vector
cout<< "The values of the vector are:\n";
for (int i = 0; i<outVect.size(); i++)
{
for (int j = 0; j <outVect[i].size(); j++)
cout<<outVect[i][j] << " ";
cout<< '\n';
}
return 0;
}
Output:
The following output will appear after executing the above code. The output shows the content of the vector based on the default value and the number of rows and columns created by the code.
Example-4: Initialize a 2-Dimensional empty vector by taking input values
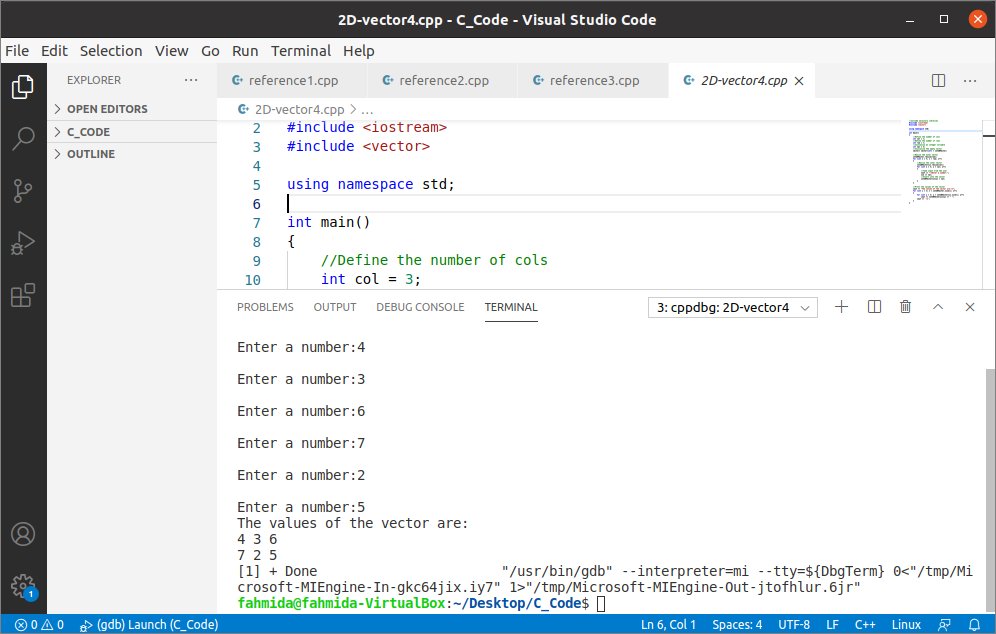
The way to create a 2-dimensional vector by taking input from the user has shown in the following example. A 2-Dimensional empty vector of an integer has been declared in the code that will contain 2 rows and 3 columns.
The nested ‘for‘ loop has been used to take 6(2×3) integer numbers from the user and insert them into the vector using index values. Another nested ‘for‘ loop has been used to print the inserted values of the vector.
#include <iostream>
#include <vector>
using namespace std;
int main()
{
//Define the number of cols
int col = 3;
//Define the number of rows
int row = 2;
//Initialize an integer variable
int val = 0;
//Initialize the empty vector
vector< vector>int2DVector;
//Resize the outer vector
int2DVector.resize(row);
for (int i = 0; i< row; i++)
{
//Resize the inner vector
int2DVector[i].resize(col);
for (int j = 0; j < col; j++)
{
//Take input from the user
cout<>val;
//Insert into the vector
int2DVector[i][j] = val;
}
}
//Print the values of the vector
cout<< "The values of the vector are:\n";
for (int i = 0; i< int2DVector.size(); i++)
{
for (int j = 0; j < int2DVector[i].size(); j++)
cout<< int2DVector[i][j] << " ";
cout<< '\n';
}
return 0;
}
Output:
The following output will appear after executing the above code. The output shows the 6 input values and the content of the vector based on the number of rows and columns.
Conclusion
A 2-Dimensional vector is used in C++ programming to store and access data based on rows and columns. Different ways to create a 2-Dimensional vector have been shown in this tutorial by using simple examples. The purpose of using the 2-Dimensional vector in C++ will be cleared after reading this tutorial.