Do you want to manage your Ubuntu partitions using GUI-based tools? In this post, we will look at some best tools for partitioning and managing drives on Ubuntu. So let’s start!
What is Gparted
The first option is to use Gparted as a partition manager to organize your hard drive in a better way. GParted is an acronym for “GNOME Partition Editor”. It is a cross-platform tool and can be used on both x86 and x86-64 architectures, independent of the operating system you are using. This partition manager application is available for Linux, macOS, and Windows users. You can even utilize a live USB/CD to execute it without installing it on your system. ext2, ext3, and ext4, btrfs, NTFS, FAT32, and other file systems supported by GParted. You can use this program to create a clone and migrate that partition without losing data.
This tool is one of GNOME’s official partition-editing utilities and can be found in the software repositories of most Linux distributions, including Ubuntu. You can utilize this disk manager to copy, resize, check, delete, label, or move your drive partitions. It also provides the facility to shrink or expand the root partitions and free up the space for the new operating system. GParted also assists you in recovering data from the lost partitions. Its source code is also accessible on the GNOME Git repository.
How to install GParted on Ubuntu
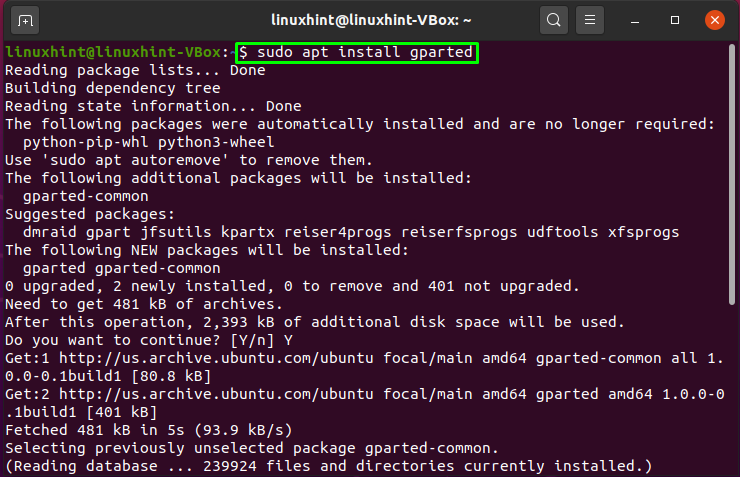
If you want to install GParted on your Ubuntu system, then open up your terminal by pressing “CTRL+ALT+T” and write out the below-given command in it:
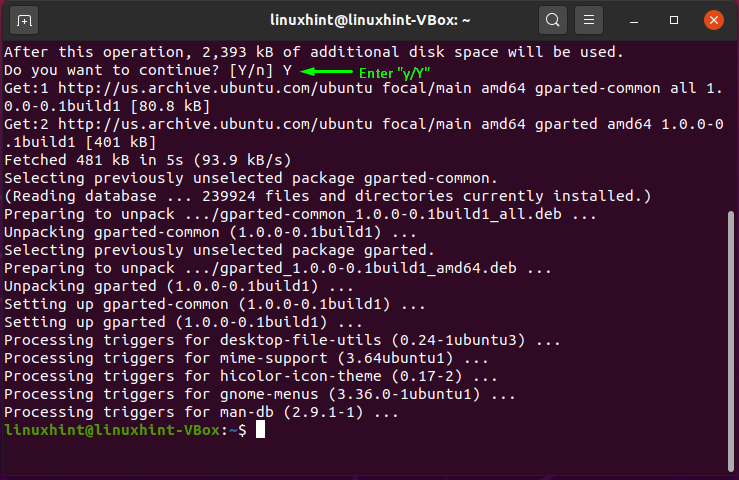
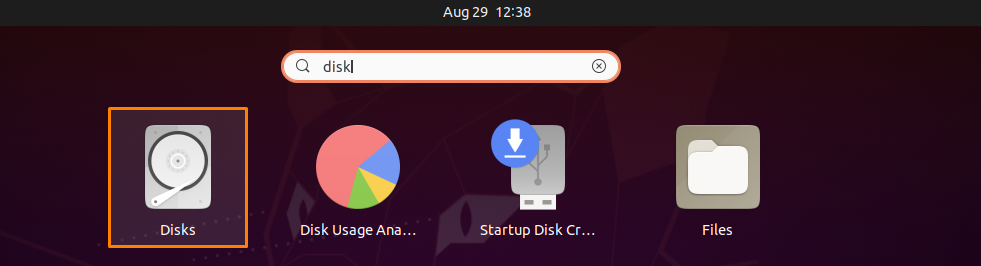
The error-free output declares that GParted is successfully installed on your system. Now to use GParted, open it by searching manually in the Applications search bar:

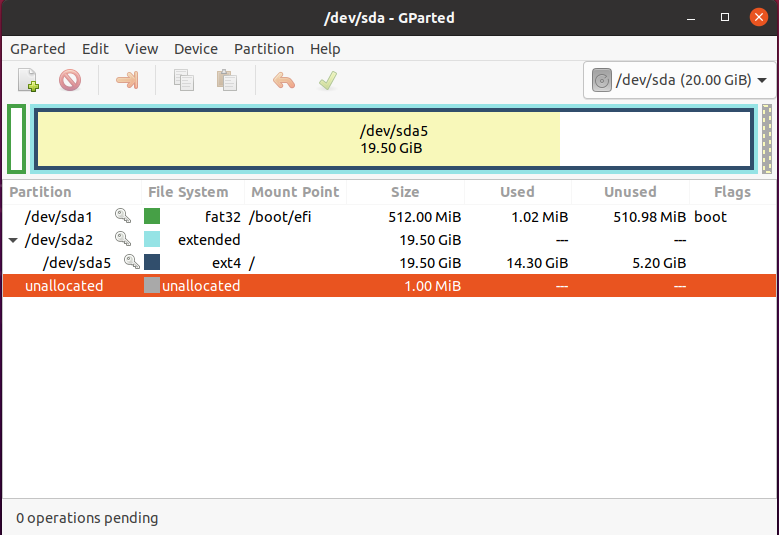
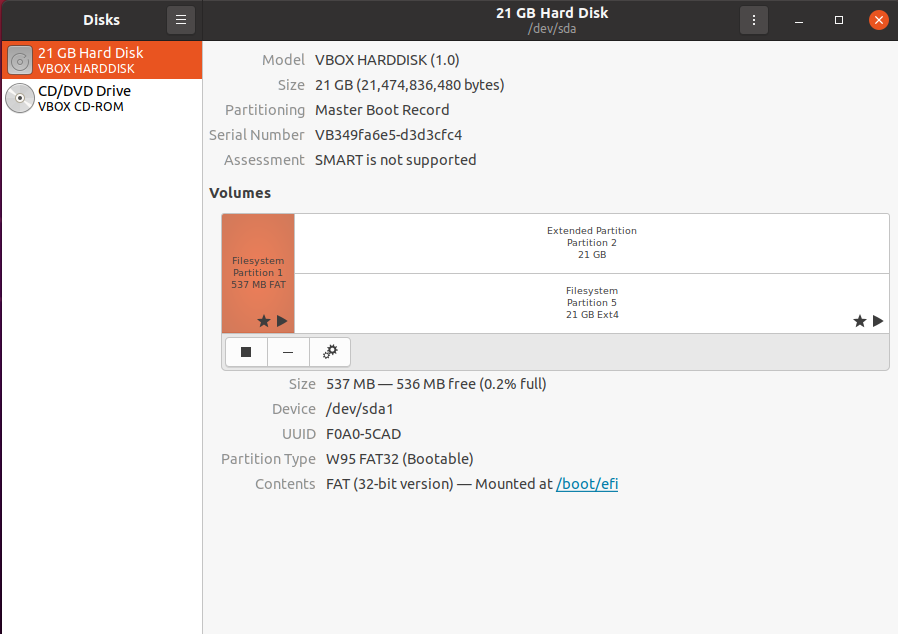
Now, use GParted for efficient management of your system partitions:
What is GNOME Disk
Apart from GParted, Disk or GNOME Disk is another official GNOME partition manager program. GNOME Disk comes pre-installed in most Linux distributions, including Ubuntu, Debian, Linux Mint, and Fedora. Benchmarking, partition management, smart monitoring are all possible with this utility. It is utilized to create and format partitions on hard drives and mount and unmount them. The most recent version includes a new capability to resize, add, check, and repair file systems. One of the most intriguing aspects of GNOME Disk is that even if you close the Disk utility, it still runs in the system background. This tool’s source code is also accessible on the GNOME Git repository.
If your system does not have the “Disk” utility, you can follow the article’s next section to install it!
How to install GNOME Disk on Ubuntu
Open up your Ubuntu terminal by pressing “CTRL+ALT+T“. After doing so, type the below-given command in your terminal and execute it:

The error-free output signifies that now you have “Disk” installed on your system. For using “Disk”, search it out manually in the Application’s search bar:
What is KDE partition manager
For K Desktop Environment or KDE KDE Partition Manager is an official partition manager. The characteristics and capabilities of this utility are similar to those of GParted. It also permits you to create, move, copy, remove, and resize your hard drive without the fear of losing any data. “Volker Lanz” originally built this tool, which is presently managed by “Andrius Tikonas”. NTFS, FAT16/32, ext2, ext3, and ext4, XFS, JFS, and other file systems are all supported by KDE Partition Manager.
This tool is the ideal solution for anyone looking for a basic Linux partition manager. As the KDE partition manager has a GUI, you will view the disk partition information in detail. Furthermore, the KDE partition manager is compatible with several extensions. KDE Partition Manager is exclusively available for Linux-based systems. This tool source code is also accessible on GitHub.
How to install KDE partition manager on Ubuntu
Execute the below-given command in your Ubuntu terminal to install KDE partition manager:
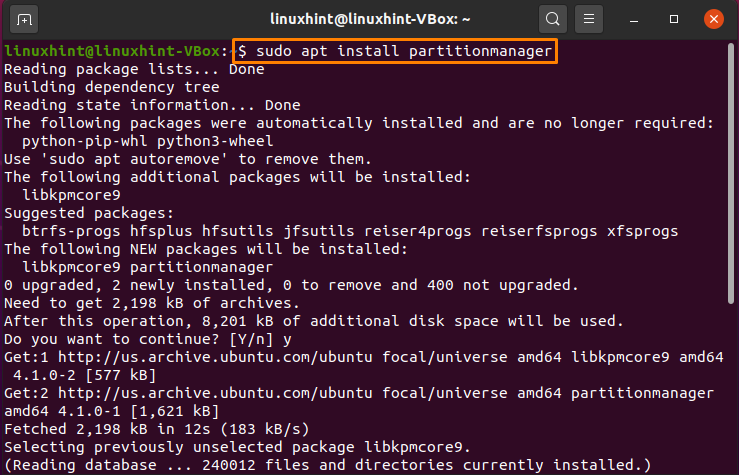
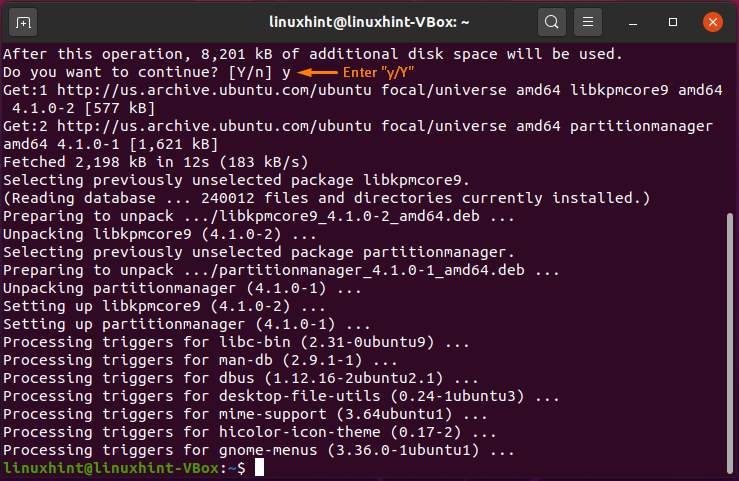
Enter “y/Y” to permit the installation process to continue:
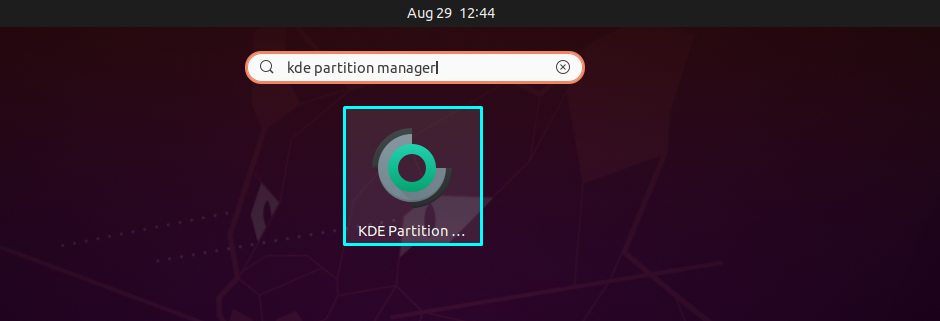
The error-free output declares that the KDE partition manager is successfully installed on your system. To use this tool, open it up by using “KDE partition manager” in the Application’s search bar:

Conclusion
If you are a Ubuntu user, you will need to utilize a Disk and Partition Manager to keep your system running smoothly. However, if you are a newbie, you may sometimes find operating the Linux partition too difficultl. There are a variety of open source partition software options. In this post, we have talked about some of the useful graphical disk and partition managers in Ubuntu. Moreover, the installation procedure for each of the discussed tools is also provided.