Here, we have compiled all the top Linux terminal commands that will help beginners, as well as intermediate and advanced users.
In this article, we will learn about these 25 Linux commands:
- ls
- echo
- touch
- mkdir
- grep
- man
- pwd
- cd
- mv
- rmdir
- locate
- less
- compgen
- “>”
- cat
- “|”
- head
- tail
- chmod
- exit
- history
- clear
- cp
- kill
- sleep
Now, let’s learn each of these commands one by one.
1. ls
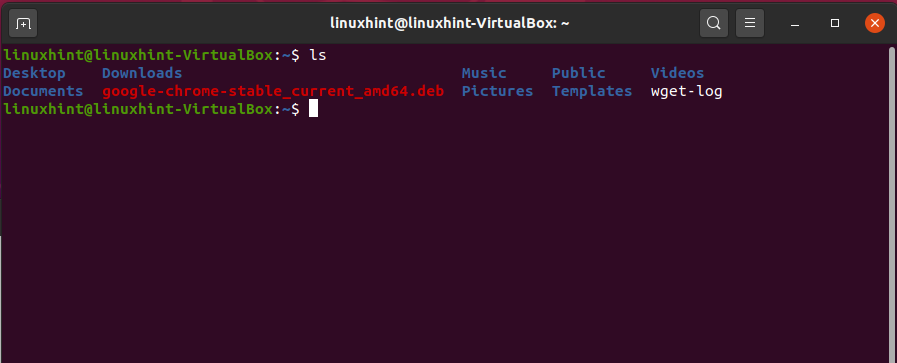
‘ls’ command is the most widely used in the CLI interface. This command lists out all the files present in the current/present working directory. Open up the terminal by pressing ‘CTRL+ALT+T’, and write out the following command:
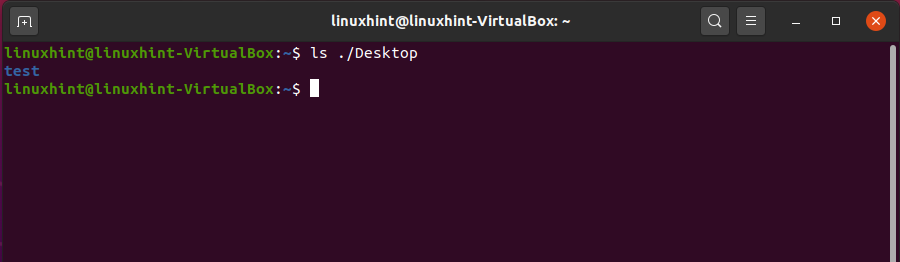
You can also list the files from a specific folder using this command:
It will show the list of files that resides in the ‘Desktop’ without changing the present work directory.
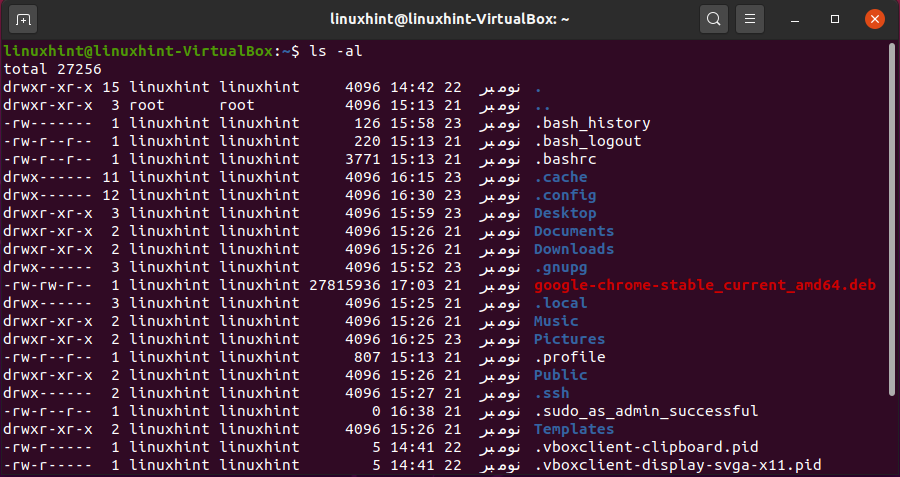
Another feature of the ‘ls’ command is that you can write ‘ls -al’, and it will print out all the doted files with the simple one, along with their file permissions.
2. echo
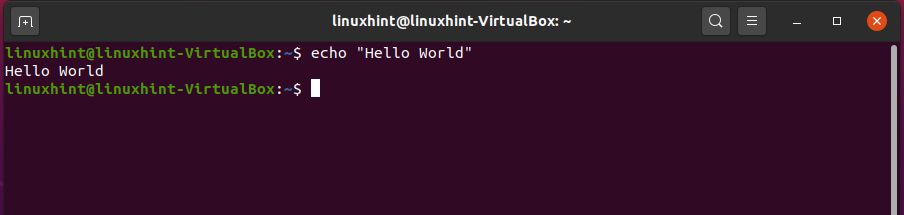
This command prints out the text to the command-line interface. The ‘echo’ command is used to print the text and can be used in the scripts and bash files as well. It can be put into the output status text to the main screen or any required file. It is also helpful in depicting environmental variables in the system. For example, write out the following command in the terminal:
It will show you the following results.
3. touch
The ‘touch’ command allows you to create any file. Use the ‘touch’ command with the ‘filename’ you want to give to the file and hit enter.
After that, type the ‘ls’ command in the terminal to confirm the file’s existence.
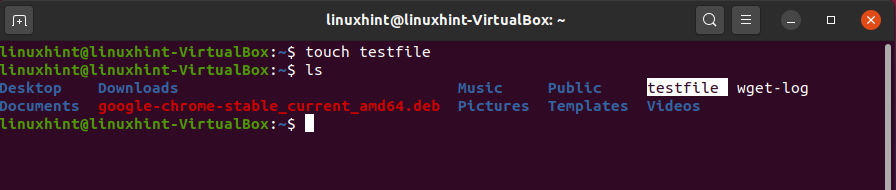
Here, you can see that the text file is created. Use the command given below to open the file:
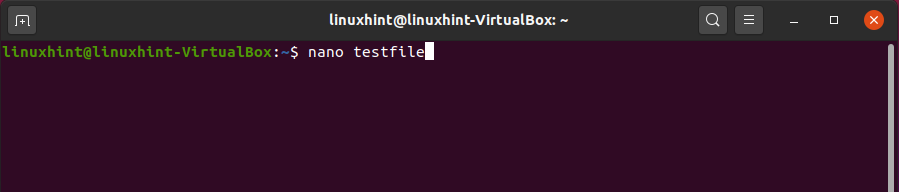
Execute the command, and you will see the following result.
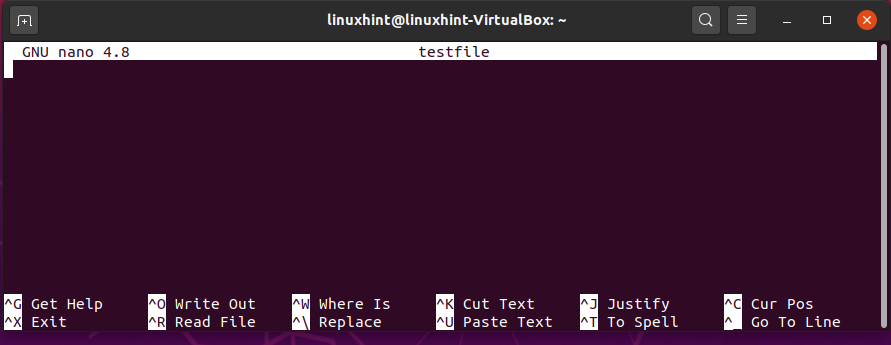
At this point, the file would be empty because you only created the file and have not added any content to it. This ‘touch’ command is not only used to create ‘text’ files but can also create multiple types of files by using their extensions. For example, you can also create a python script by using the following command:
Here, ‘.py’ is the extension for the python script.

4. mkdir
‘mkdir’ is used to create directories efficiently. This command will also let you create multiple directories at once, which would save you time.
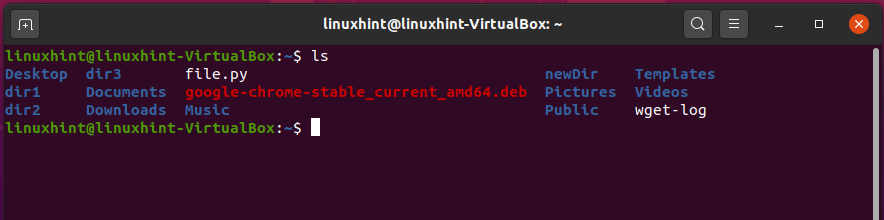
First, view the list of files that exists in the present working directory by using the command given below:

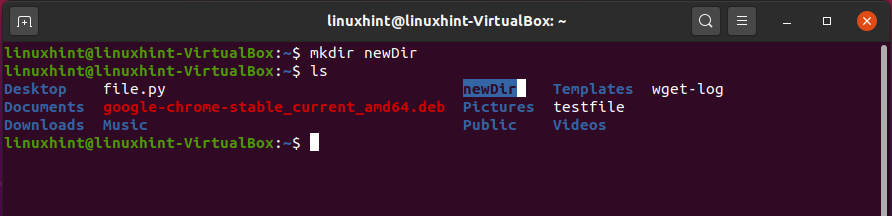
Now, create a new directory by the name of ‘newDir’.
If you are working as a superuser, then the command will be executed, otherwise, you have to execute the following command instead of the one given above.
Now, type the ‘ls’ command to view the list of files and folders.
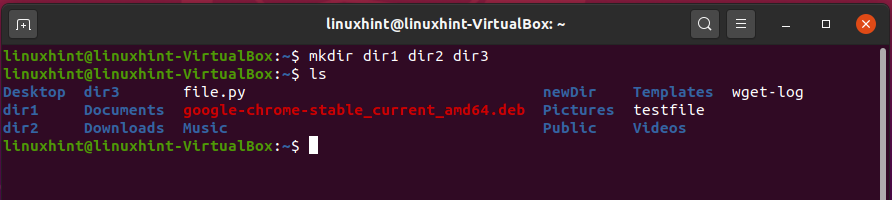
For creating multiple directories at once, give the names of the directories in a single ‘mkdir’ command.
Or
Now, list the files and folders using the ‘ls’ command.
You can see the dir1, dir2, and dir3 here.
5. grep
‘grep’ command is also known as the search command. It is a command to search for text files and performs the search through specific keywords. Before that, you should have some text in your text file. For example, use the following sample text in the ‘testfile’, which you already created using the ‘touch’ command.
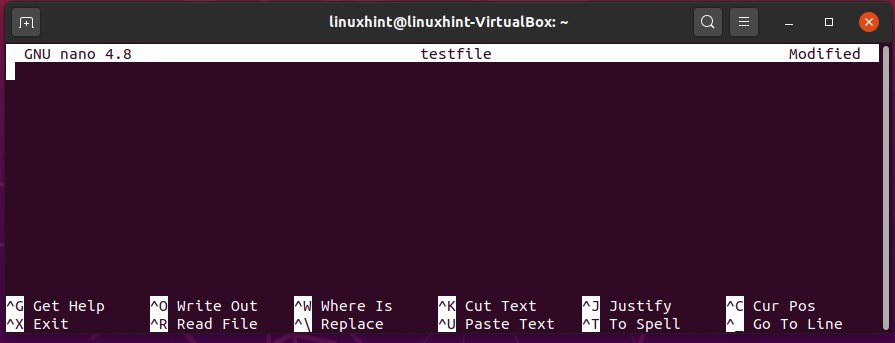
Open up the file through the terminal.
Execute the command. It will give you the following output.
Now, write the following text in the file ‘testfile’.
You are learning 25 basic commands of Linux.
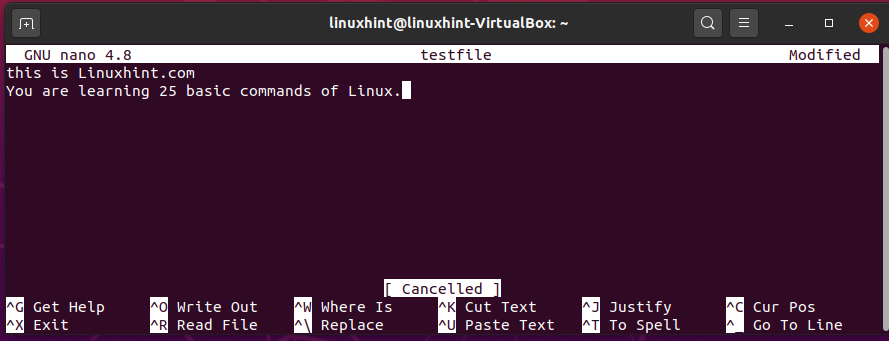
Press CTRL+O to write this content in the file.
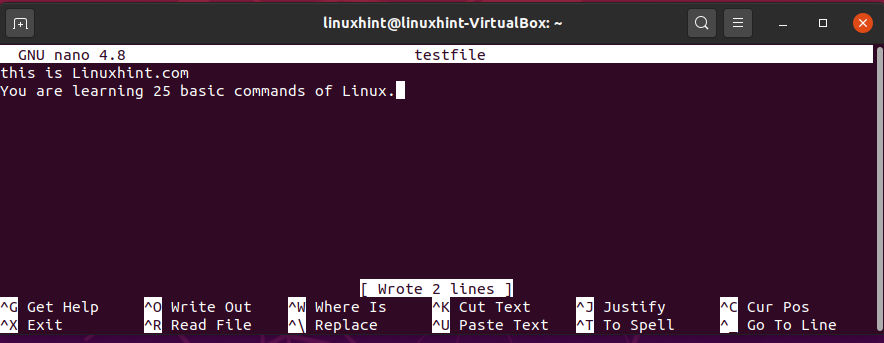
Come out of this file by pressing CTRL+X. Now, use the ‘grep’ command. The ‘-c-’ will let you know how many times the word ‘linuxhint’ appeared in the file.
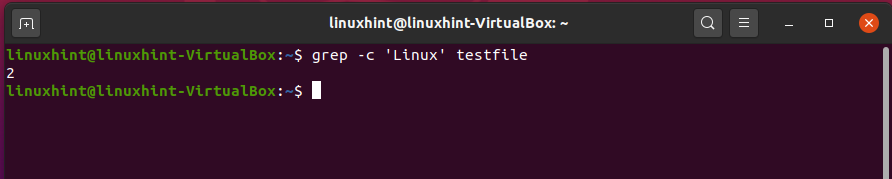
As the output is ‘2’, it means that the word ‘Linux’ exists two times in the ‘testfile’.
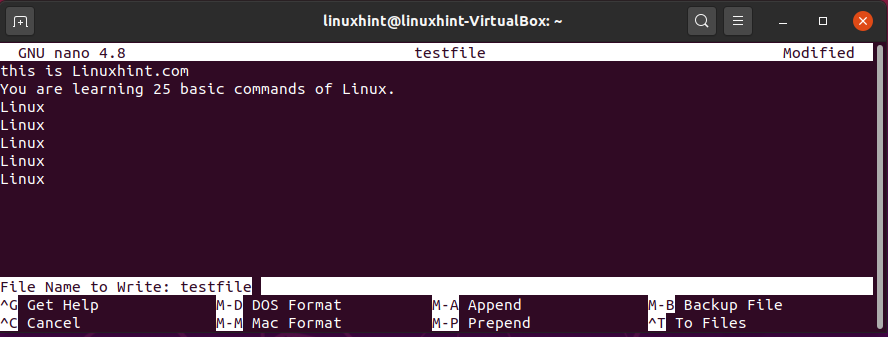
Now, let’s make some changes to this file by opening the file using the ‘nano’ command.
You may write any text multiple times in this file to check the working of the above ‘grep’ command.
You are learning 25 basic commands of Linux.
Linux
Linux
Linux
Linux
Linux
Now, press CTRL+O to write out the updated content in the file.
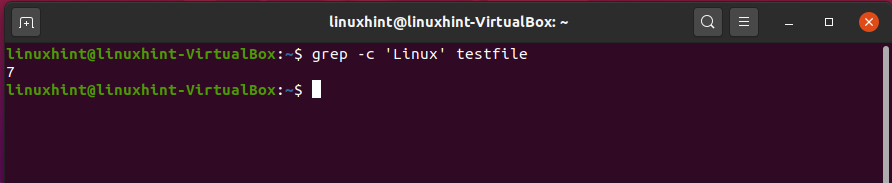
Come out of this file by pressing CTRL+X, and now execute the following commands to check whether it performs correctly or not.
Different flags can be used with the ‘grep’ command for various purposes, for example, ‘-i’ make the search case sensitive. Once you got the idea about the ‘grep’ command, you can explore it further according to your need.
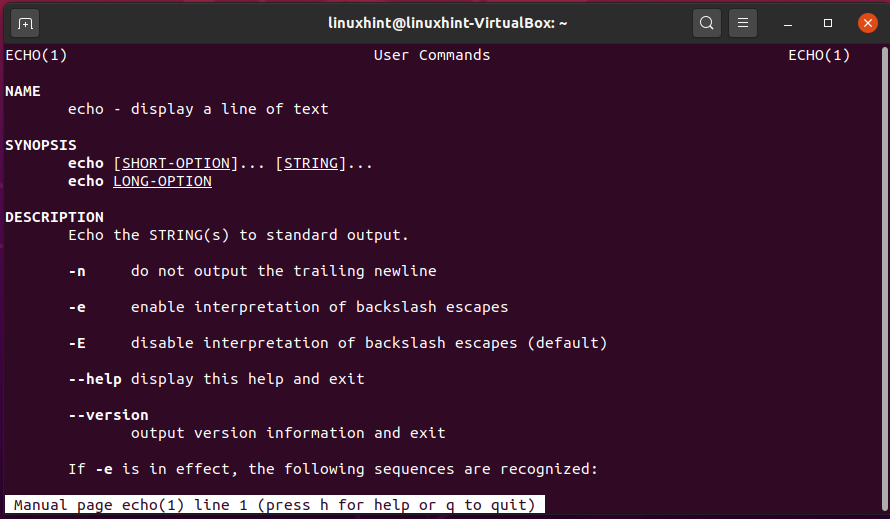
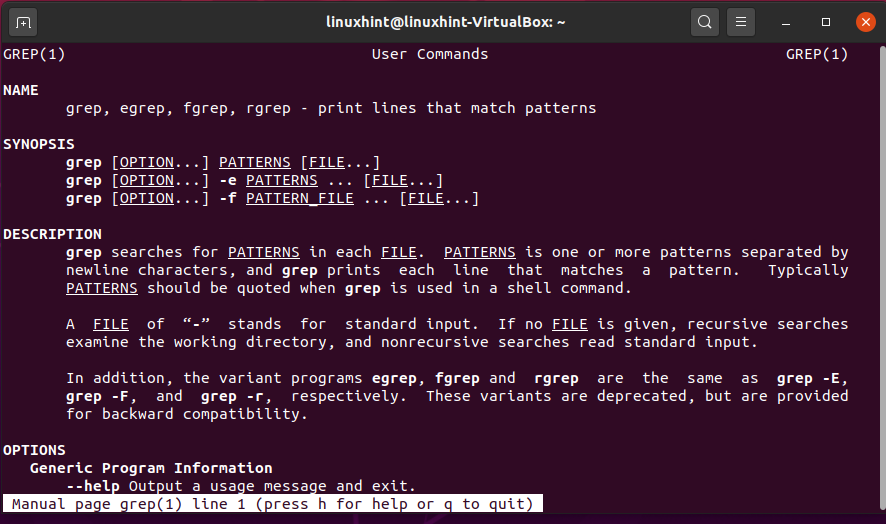
6. man
‘man’ command displays you a manual about the working of any command. For example, you don’t know what an ‘echo’ command does, then you can use the ‘man’ command to know its functionality.

Similarly, you can use the ‘man’ command for ‘grep’ as well.

Now, you can see all sources of options. Flags and all the other information related to ‘grep’.
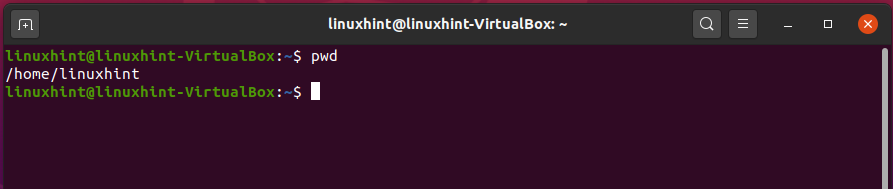
7. pwd
‘pwd’ stands for print working directory. It is used to print the current working directory for an instance. If multiple instances are working and you want to know the exact working directory, then in this case use the ‘pwd’ command.
Here, you can see the path of the present working directory.
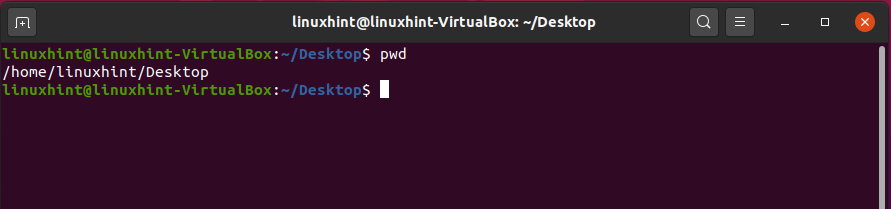
If you are working in the Desktop directory, in that case, this ‘pwd’ will print out the whole path leading towards the desktop.
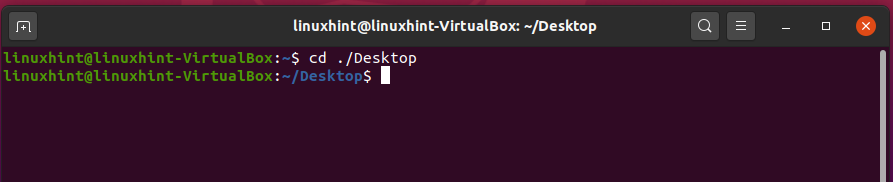
8. cd
‘cd’ stands for change directory. It is used to change the current directory because you can access all the files and folders in different directories in your system. For example, making Desktop as the current or present working directory, write out the following command in the terminal:
To know the path of the present working directory, write the following command:
To go back to the directory, type this:

You can check the present work directory here.

9. mv
‘mv’ command is used to rename and move a directory. While working with files in a directory, each file should be renamed, which is a time-consuming process, so the ‘mv’ command comes into play here. For example, in our directory, we have ‘testfile’ as shown below.
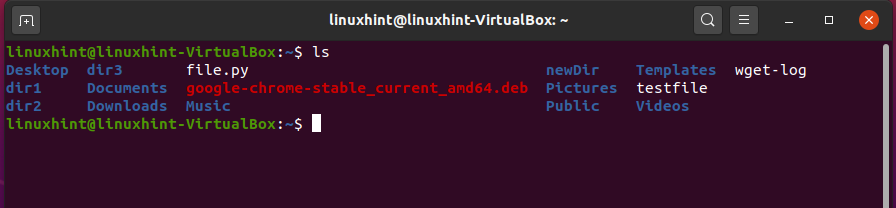
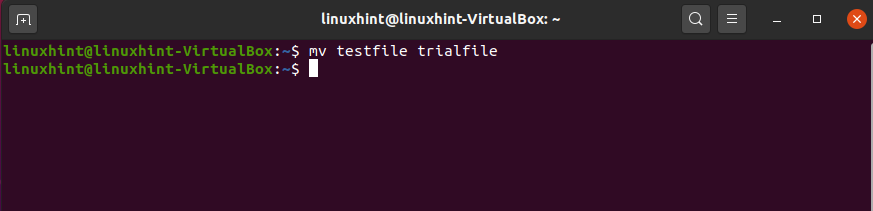
To rename this file use the ‘mv’ command in the following pattern.
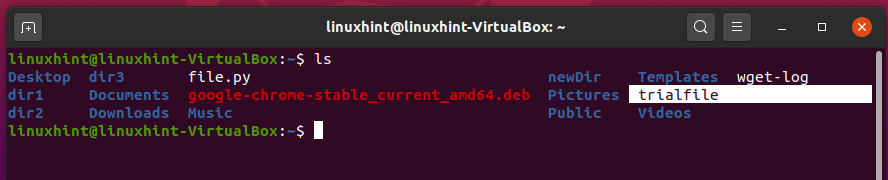
And then view the list of the files to check the changes.
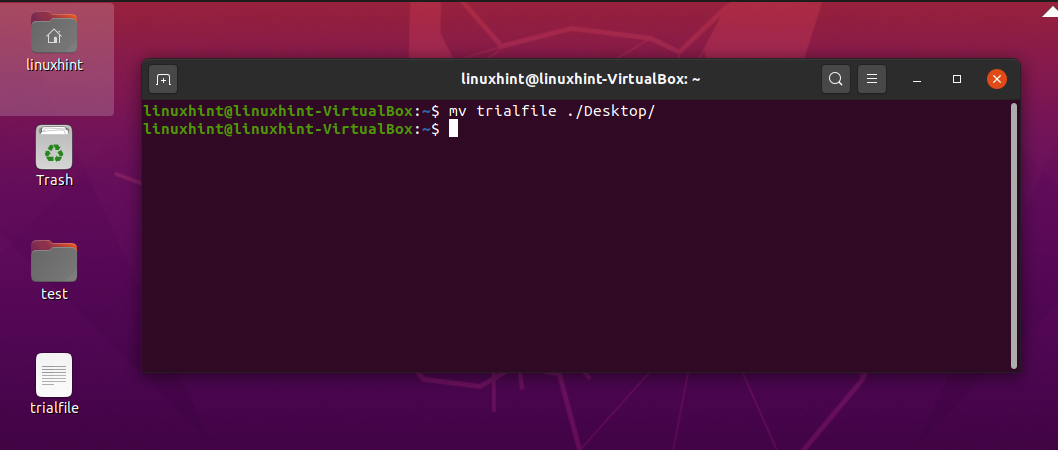
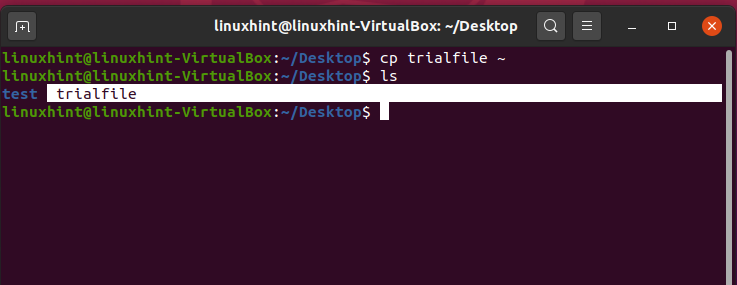
You can also transfer this file to any other directory using this ‘mv’ command. Let’s say you want to move this ‘trialfile’ to desktop. For that, write out the following command in the terminal:
10. rmdir
This command is used for removing directories. ‘rmdir’ helps save a lot of space on the computer and organize and clean up files. Directories can be removed using two commands ‘rm’ and ‘rmdir’.
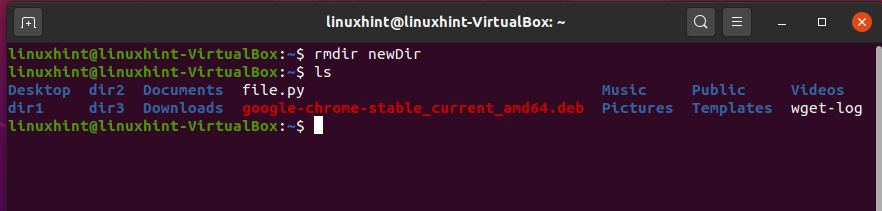
Now, let’s try to delete some directories. Step 1 is to view the directories in your current working space.
Now, we are going to delete the ‘newDir’ directory.
Now, use the ‘ls’ command to see if it exists or not.
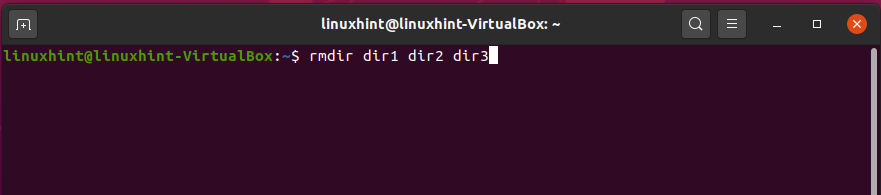
Now, we are going to delete multiple directories at once.
Now, use the ‘ls’ command.
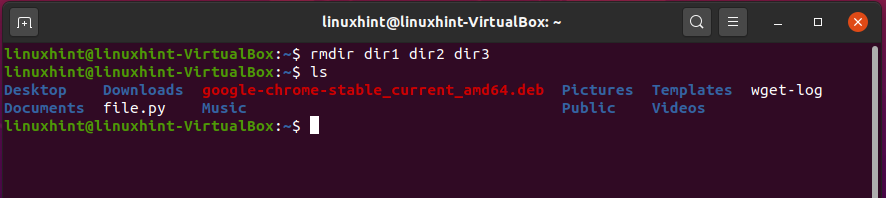
As you can see, all of those directories have been deleted from the home.
11. locate
‘locate’ command helps find a file or a directory. Through this command, a specific file or directory can be found. It also searches regular expressions by using wild-cards.
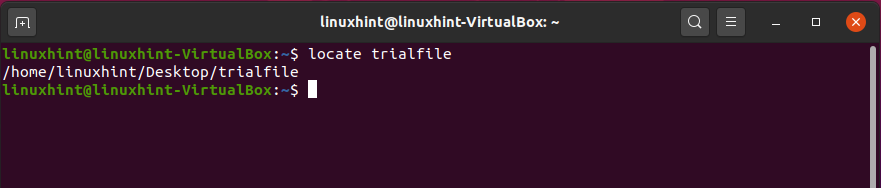
To find a file by its name, type the name of the file with the ‘locate’ command.
The output of this command will let you know the exact path to locate this file.
There are certainly other options for the ‘locate’ file. You will get to know all that stuff by using the ‘man’ command.
12. less
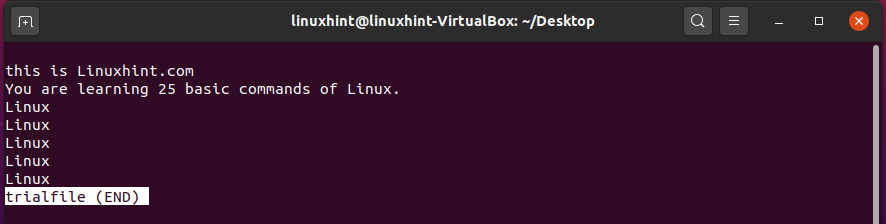
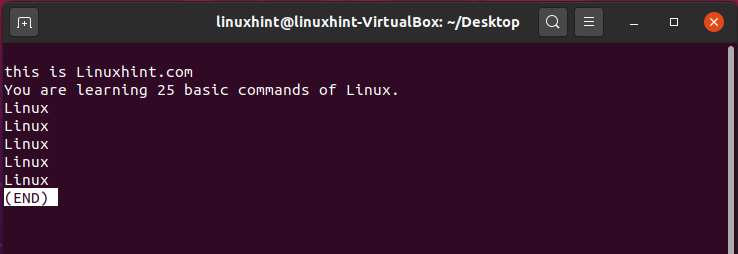
‘less’ command views the files without opening them in an editor tool. It is very quick and opens a file in an existing window while also disabling writing abilities such that the file cannot be modified. For that, write the ‘less’ command and define the file name.

It will give you the following output.
13. compgen
‘compgen’ command is a very efficient command that displays the names of all the commands, names, and functions on the command line interface. To display all the commands, write:
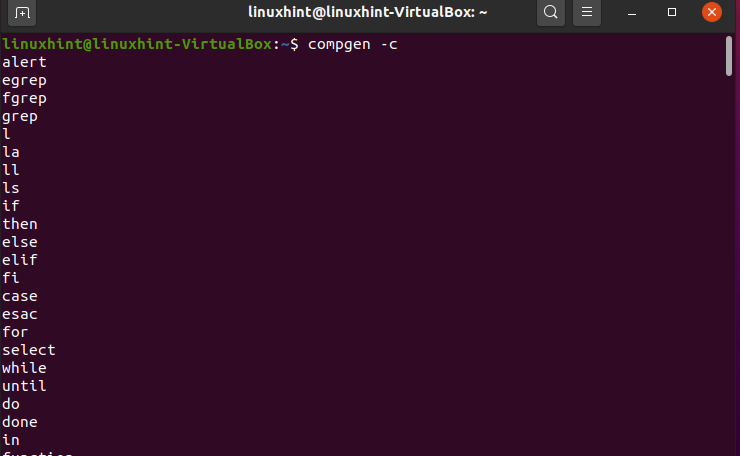
Here, you can see a long list of all commands that you can use in the terminal.
Similarly, you can also print out the functions and files name, which is also shown at the end of this list.
14. “>”
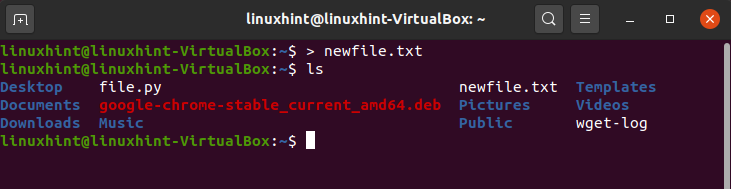
This character ‘>’ prints and redirects the shell commands. It displays output from the previous command in the terminal window and sends it to a new file. Now, if you want to send the output of the previous command to a new file, let’s use this command:
And then view the files.
Now open the file, it will be empty.
Now, we are sending the ‘compgen’ command result to this file.

Open the file to view the content, which is the result of the ‘compgen’ command.
15. cat
‘cat’ command is the widely used command, and it performs three main functions:
- Display file content
- Combine files
- Create new files
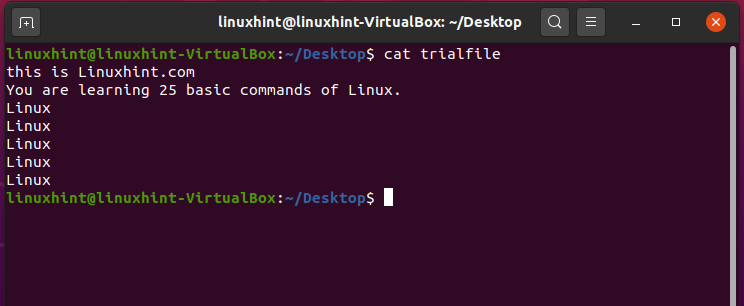
First of all, we are going to display the content of the ‘trialfile’.
It will give you the following output.
16. “|”
Pipe command “|” takes the output of the first command and utilize it as input for the second command. For example:
This command will be used to give input to another. We are using the filename and ‘less’ command as an input to that file.

17. head
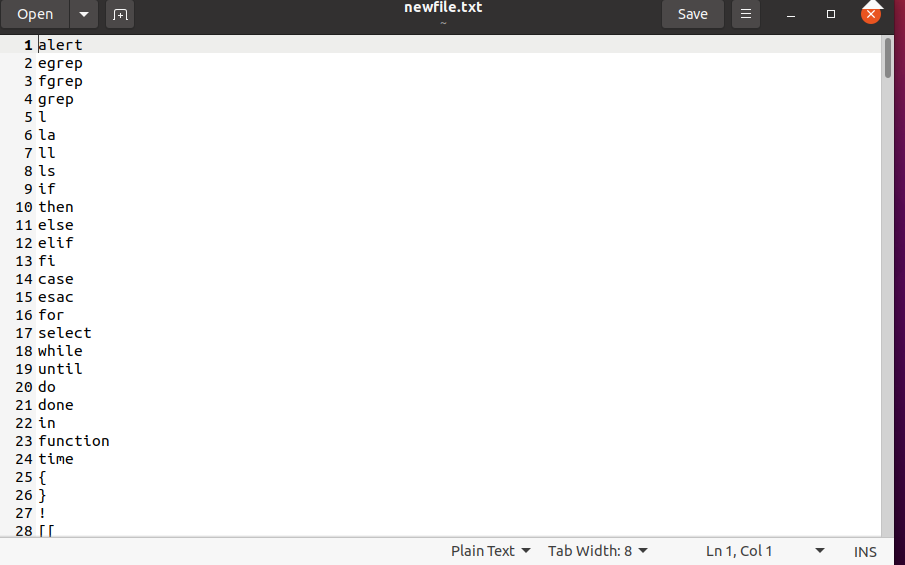
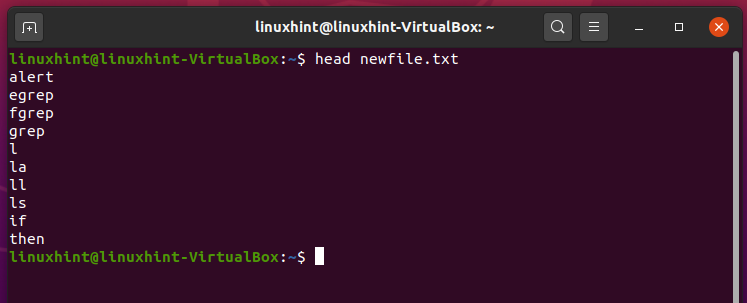
‘head’ command reads the start of a file. It shows you the first 10 lines of the file. It can also be customized for displaying more lines and the quickest way to read the content of a file. For example, the command given below will show you the first 10 lines from the file ‘newfile.txt’.
It is the perfect usage of the ‘head’ command in which you can quickly read the initial ten lines of the file and get the idea of what it is all about.
18. tail
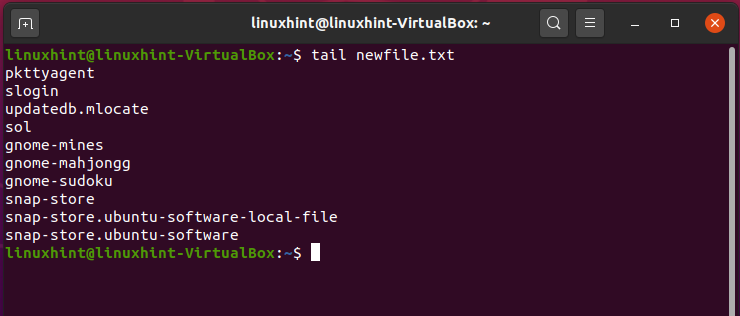
‘tail’ commands read the end of a file. It shows you the last ten lines of the file, but it can also be customized to display more lines.
It will print out the last ten lines of the ‘newfile’ file.
19. chmod
‘chmod’ command edits or sets permissions for a file or a folder. It is one of the best-known commands, and it changes the permissions of a specific file directory through a quick argument.
- W is used for writing permissions
- R is used for reading permissions
- X is used for the execution
- ‘+’ is used to add permissions
- ‘-’ is used to remove permissions
To view the files and folders with their permissions, type the following command in the terminal:
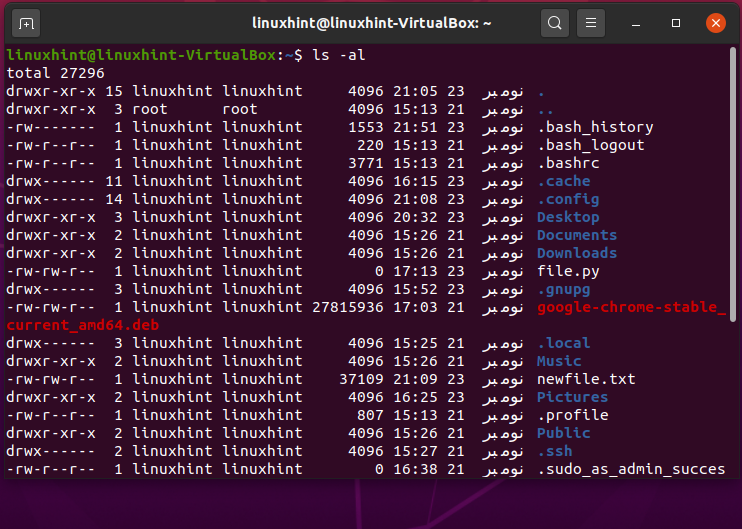
Here you can see that the highlighted portion represents the file permissions. The first section represents the permissions given to the owner, the second section represents the permissions given to the group, and the last section represents the permissions given to the public. You can change the permissions for all the sections. Let’s change the file permissions of ‘newfile.txt’.
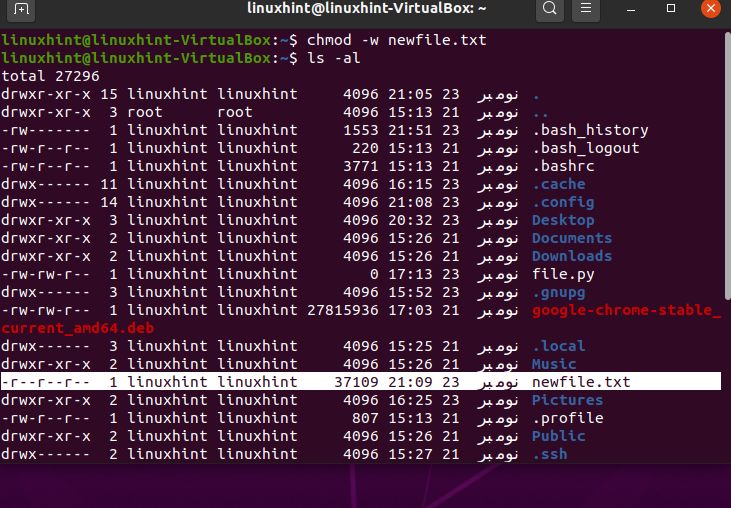
This command will remove the writing permissions from all of the sections.
Type the ‘ls -al’ command for its confirmation.
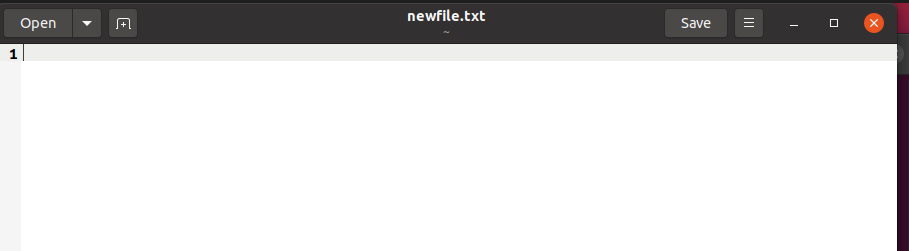
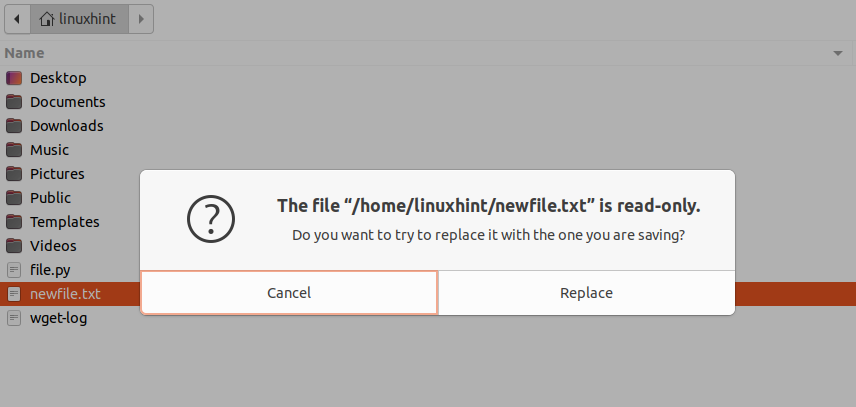
Open the file, and try to add some content to it and save this file. It will definitely give you a warning dialog box.
20. exit
This command is used to quit the terminal without GUI interaction. The terminal gives you the option to kill itself using the ‘exit’ command.
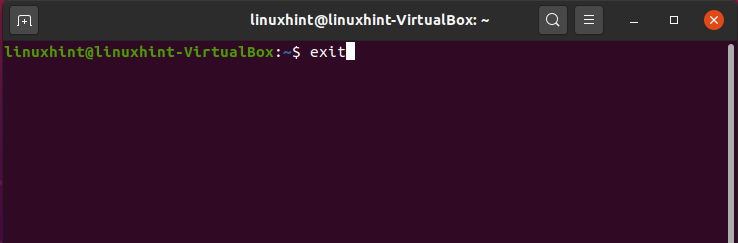
Press enter, and now you can see there is no terminal.

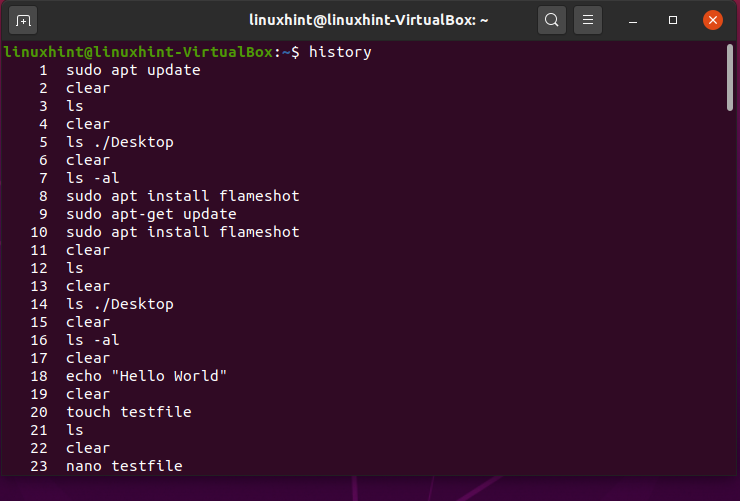
21. history
‘history’ command will show you a list that comprises the most recently used commands. It will display the record of the commands you used in the terminal for different purposes.
22. clear
This command clears the content of the terminal. It keeps the terminal clean.
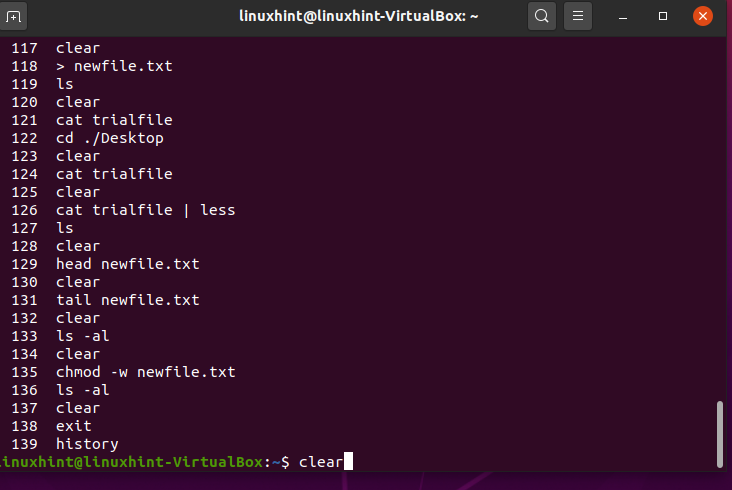
Press enter, and you will see a crystal-clear terminal.
23. cp
‘cp’ command stands for copying directory or file. You have to specify the destination with the filename.
Here, ‘~’ represents the home directory. Execute the command and then write the ‘ls’ command to check if it exists or not.
24. kill
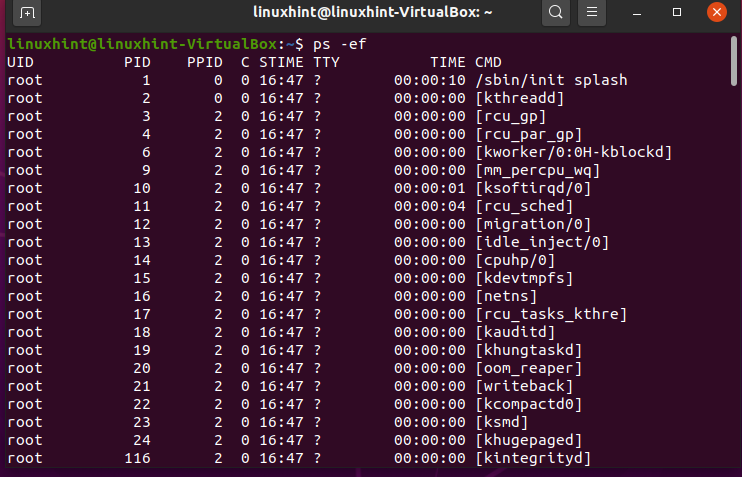
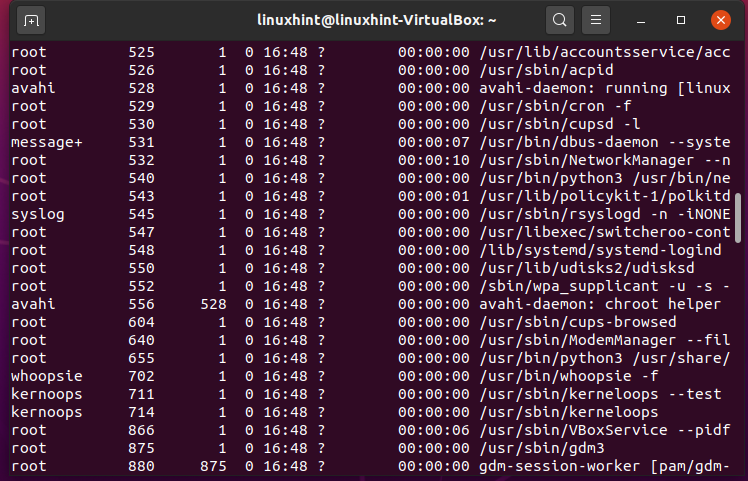
‘kill’ command terminates the process of working on the command line interface. Before using the ‘kill’ command, you have to find out all processes that are currently happening in the system.
Let’s kill the ‘whoopise’ process by using its process ID ‘PID’.
Enter your password to give permission.
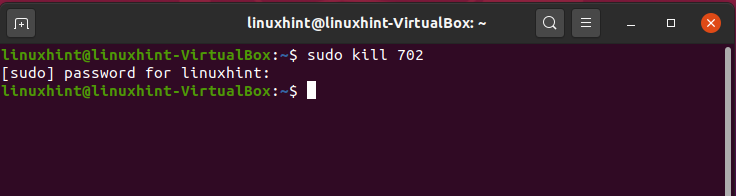
Here, we have no error message, which means that the process is killed.
25. sleep
‘sleep’ command delays the process for a specific time. It controls and manages processes in scripts as well. It delays the elements of a process for processing till a specified time. The time can be specified using seconds, minutes, or even days.
Let’s sleep the process for two seconds.
It will take a delay of two seconds to execute that command.

Conclusion:
We have learned some top 25 Linux terminal commands in this article. These are the essential commands for beginners to learn more about the Linux command-line interface.
Watch our YouTube Video about 25 Linux Terminal Commands: