TinyCP is one of the control panel applications available to you. It is a lightweight web-based control panel that can be used to perform multiple administrative functions. With TinyCP, you can manage the software packages on your system, run various web applications, set up file sharing servers, manage emails, databases, and much more.
Currently, TinyCP is available for Ubuntu and Debian users only. If you use either of these and wonder how to set up and use TinyCP as your primary system control panel, you have come to the right place as we will explain everything from installing to performing some basic functions TinyCP.
So, let’s dive right in.
Install TinyCP on Your System.
The first step we will be looking for is to install the application on your systems. The package for TinyCP is not available in either Ubuntu or Debian repositories, so you need to first add the installer for this software. There are different commands for different distributions. We will tell you both of them. Follow these steps.
First, we will look at how to install it on Ubuntu.
You need to install “gnupg” and the “ca-certificates” to your Ubuntu system. Use these commands to do that.
Next, add the keys from TinyCP.
$ echo "deb http://repos.tinycp.com/ubuntu all main" | sudo tee /etc/apt/sources.list.d/tinycp.list
In the next step you will update your repositories.
Now, install TinyCP.
Now, let’s have a look at the steps you need to take to install TinyCP on Debian.
First, you need to install “apt-transport-https”, ”dirmngr”, “gnupg” and “ca-certificates” to your Debian system. Do this by executing the following command.
After adding the above-mentioned things, add the TinyCP keys.
$ echo "deb http://repos.tinycp.com/debian all main" | tee /etc/apt/sources.list.d/tinycp.list
Next, update your repositories.
Now, install TinyCP on your Debian system.
These were the commands you needed to execute to install TinyCP on your respective system.
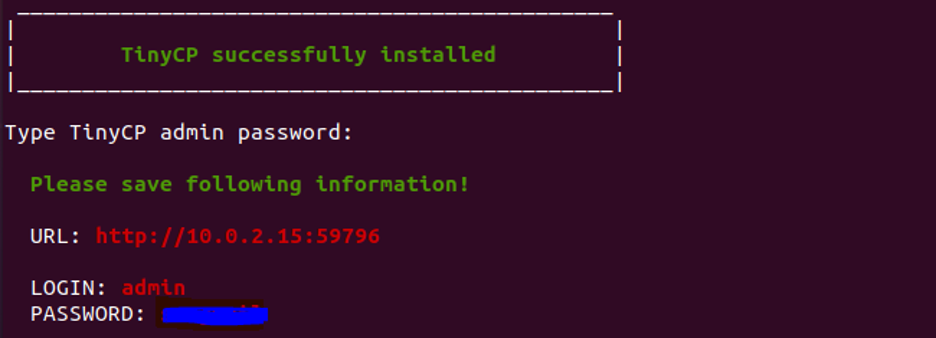
When the installation is complete, you should see this on your screen. There is the URL mentioned through which you will access the TinyCP webpage. The username and password will be your login credentials.
Alternatively, you can also use these commands to install TinyCP on Ubuntu or Debian.
$ chmod +x tinycp-install.sh
$./tinycp-install.sh
Using TinyCP.
As mentioned before, to access TinyCP enter the URL in your preferred browser. You will be led to such a page.
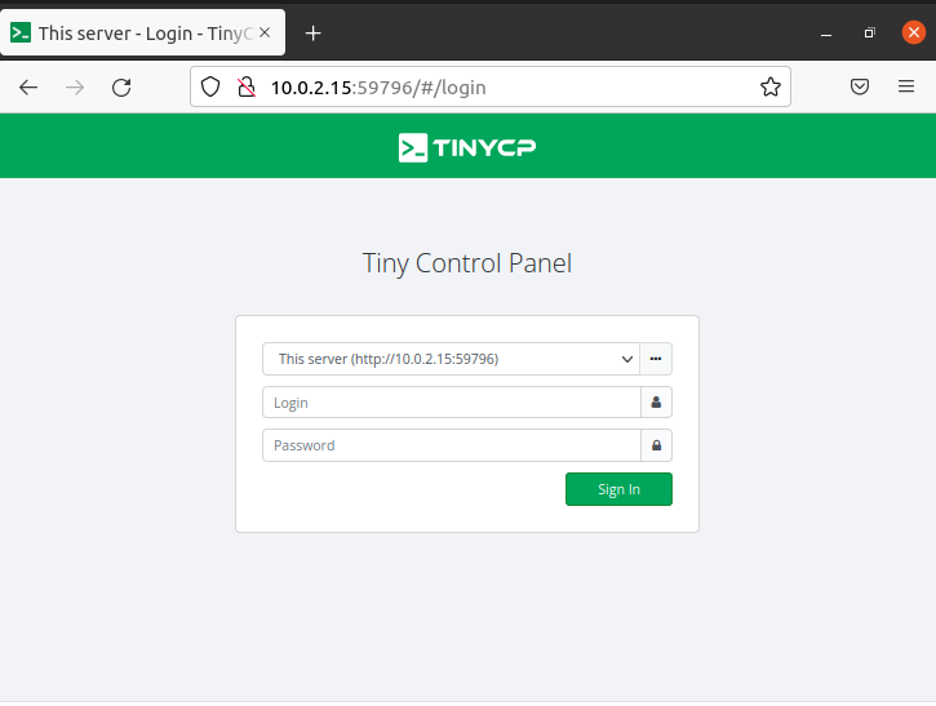
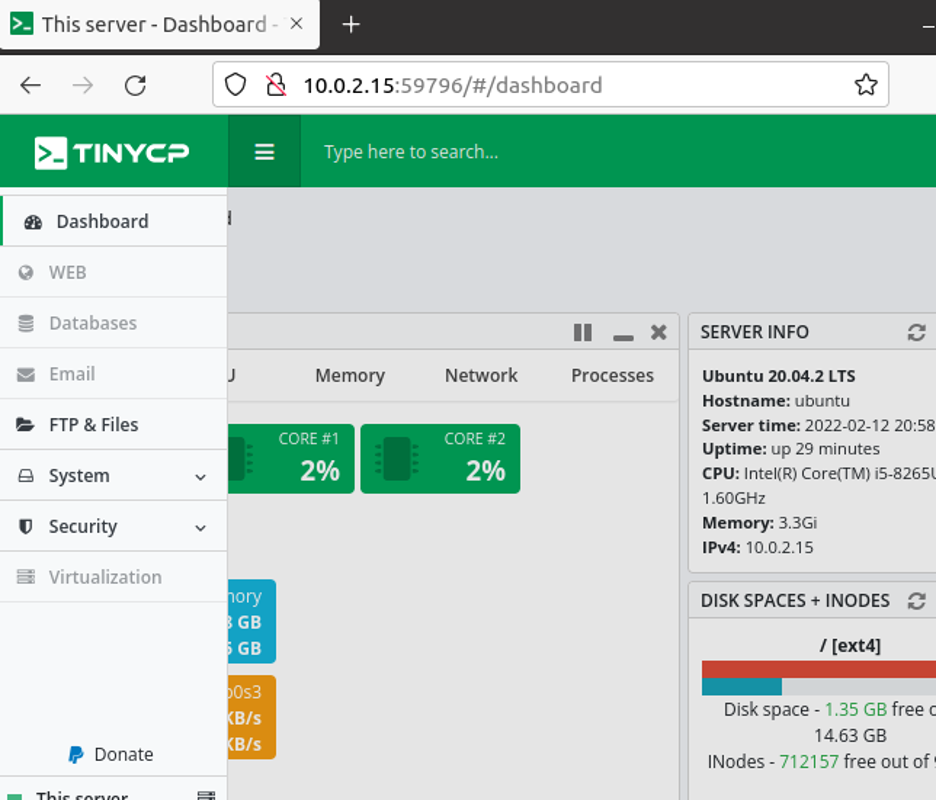
Enter your login credentials, and you will be led to the page below. This is TinyCP.
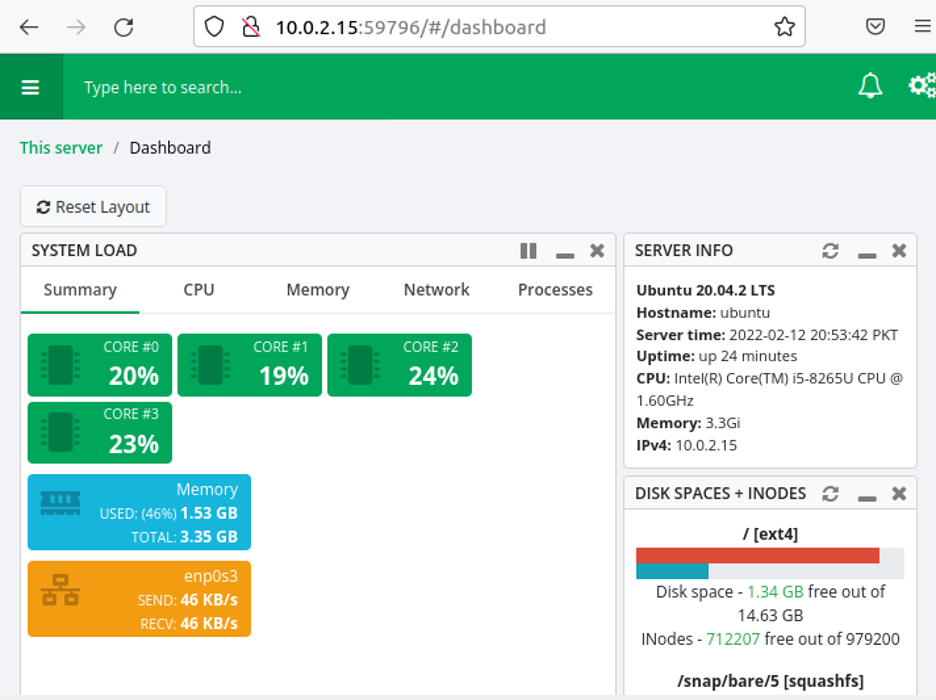
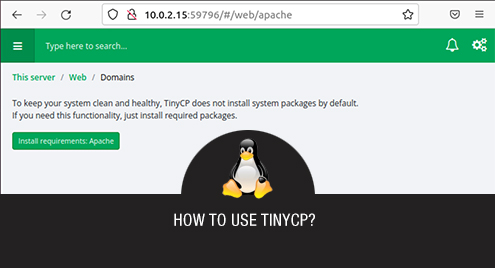
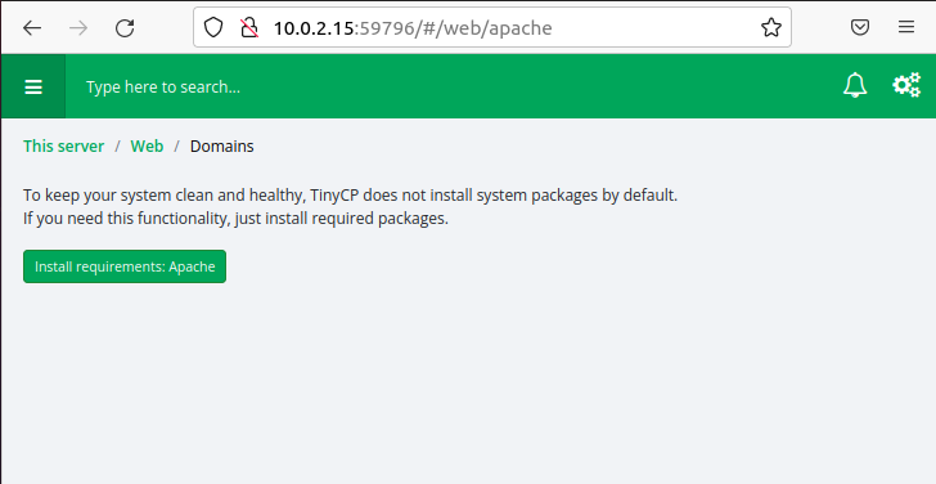
You can see close to everything about your system and its resources on this webpage. To use the different features of TinyCP, you will need to install some related packages. For example, go to the “web” category; you should see this on your screen.
Click on “Install Requirements: Apache”. This page with all the packages that are available with TinyCP will be visible.
As you can see, installing different packages gives you access to different features. Installing Apache will grant you the ability to create your own domains and add different web applications such as WordPress and RoundCube to your domain. You can also configure PHP settings for your own domain.
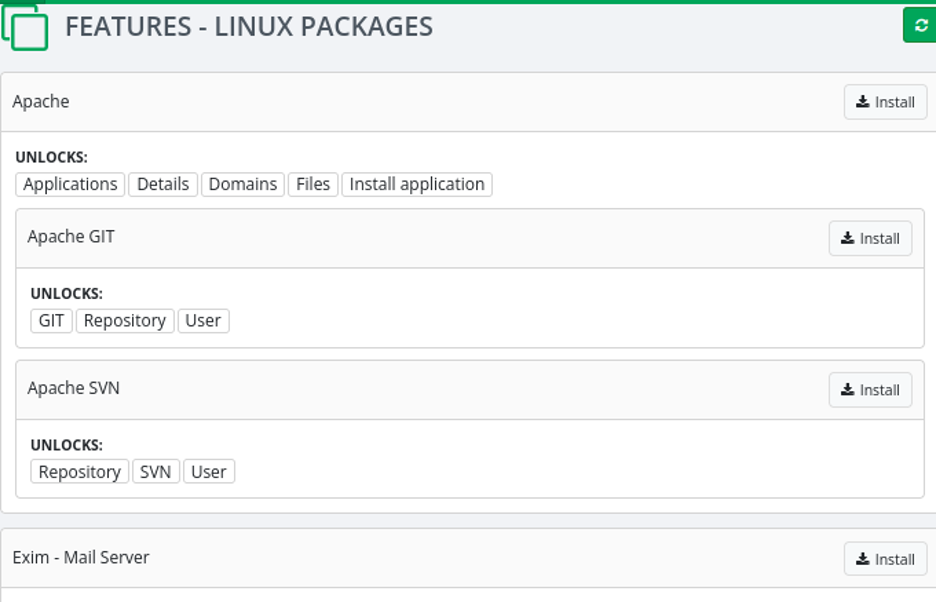
“Exim” is a mail server provided with TinyCP. Upon installing this package, you will manage your emails like any other email application.
“MariaDB” is the database management software. If you have to store and manage certain data being generated, you can do that using TinyCP and MariaDB. MariaDB is a competitive software, and you can utilize it to your benefit.
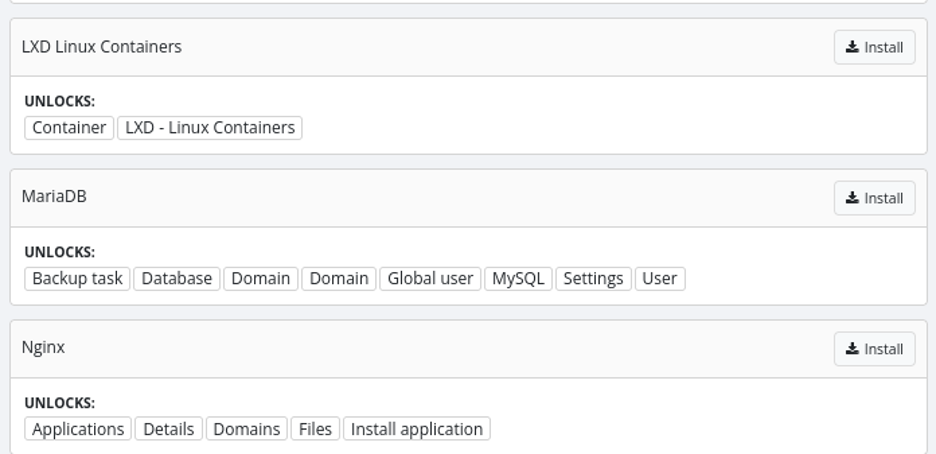
“NGINX” or Engine-X is a web server software that can be used to perform reverse proxy, load balancing, mail proxy, and media streaming. This is powerful software, and you can use it through TinyCP. You can also get it without TinyCP, but its configuration is a bit tedious. Thus, a control panel providing you with Nginx is certainly a useful application.
You can also use TinyCP to set up FTP and transfer files over your local network to different computers connected to that respective network. You can view all the directories and folders of your system. Sharing files through FTP is straightforward with TinyCP.

You can also configure your firewall for securing your browsing experience. Other than that, there is also the provision of its VPN.
Conclusion
This was a guide on installing and using TinyCP on your Ubuntu or Debian system. TinyCP is lightweight yet powerful in its features and usability. If you have limited system resources and want a good control panel to perform administrative tasks, TinyCP is the way to go.
There are multiple features available with TinyCP. However, all are not installed when you first start TinyCP. You can choose which software you want to install and utilize. We hope that we can help you out, and now you have the know-how to use TInyCP for your benefit.